Read a variation of Oyakodon using unlaid chicken eggs.
Nagoya Cochin Oyakodon名古屋コーチン親子丼
One of Japan’s most famous comfort food, Oyakodon, was invented in 1891 by a restaurant in Nihonbashi, Tokyo called Tamahide. Tamahide is now run by its 8th generation family owner who maintains the tradition of making it. The name Oyakodon literally means parent (oya) and child (ko) rice bowl which basically summarises what the dish consists of- chicken and egg served over a bowl of rice. Tamahide itself only serves this dish with a sukiyaki-sauce base and no additional ingredients in order to showcase the quality of their chicken meat and eggs. This being said, the standard Oyakodon you get everywhere comes with onions and Mitsuba parsley.
The Oyakodon at Tamahide is also cooked in special pans called Oyakonabe ( 親子鍋), which is a shallow pan with a vertical handle, just wide enough to fit over a single stove flame and just deep enough to contain a single portion of Oyakodon. Oyakonabe pans are typically made from stainless steel but the ones in at Tamahide are made from pure copper, which allows even heat conduction and even cooking of the egg. This is particularly interesting because the use of pure copper pans in France has been outlawed due to the dangers of metal poisoning, which is why copper pots in France are lined with tin or stainless steel. This is especially true when making sauces that can be acidic due to the addition of tomatoes or wine, which can corrode the copper. In Japan however, it is extremely easily to buy pure copper pans, be it sauce pans or tamagoyaki pans (square egg pans).
At Tamahide, a sukiyaki (hotpot) broth is heated up in an oyakonabe before pre-cooked chicken is then added. The meat used from the chickens comes from two different species and a mixture of red meat from the thighs and white meat from the breast is used. The eggs are then quickly beaten using chopsticks before being added into the pan. After being semi-cooked the entire contents of the pan is poured directly onto a bowl of steaming hot rice and served. Following this recipe to the dot would not yield the same results at home due to differences in ingredient quality and therefore I opted for the more conventional recipe containing onions etc.
As the quality of chicken pays a significant role in this dish, I decided to experiment with a variety of chicken known as Nagoya Cochin. If Wagyu beef is the king of Japanese beef, the Nagoya Cochin is its equivalent in the world of poultry, being just as high quality as that of the famous volaille de Bresse from France. This breed of chicken was produced at the beginning of the Meiji Era by the Kaihu brothers by crossing the native chicken of Nagoya known as the Owari with a variety from China known as the buff cochin. Like most premium produce, there are strict regulations regarding use of the name Nagoya Cochin which is overseen by the Aichi Prefectural Livestock Research Centre (愛知県畜産総合センター), with only chicks from the stockbreeding Centre being allowed to be labeled as pure-breed (Junkei/純系) Nagoya Cochin.
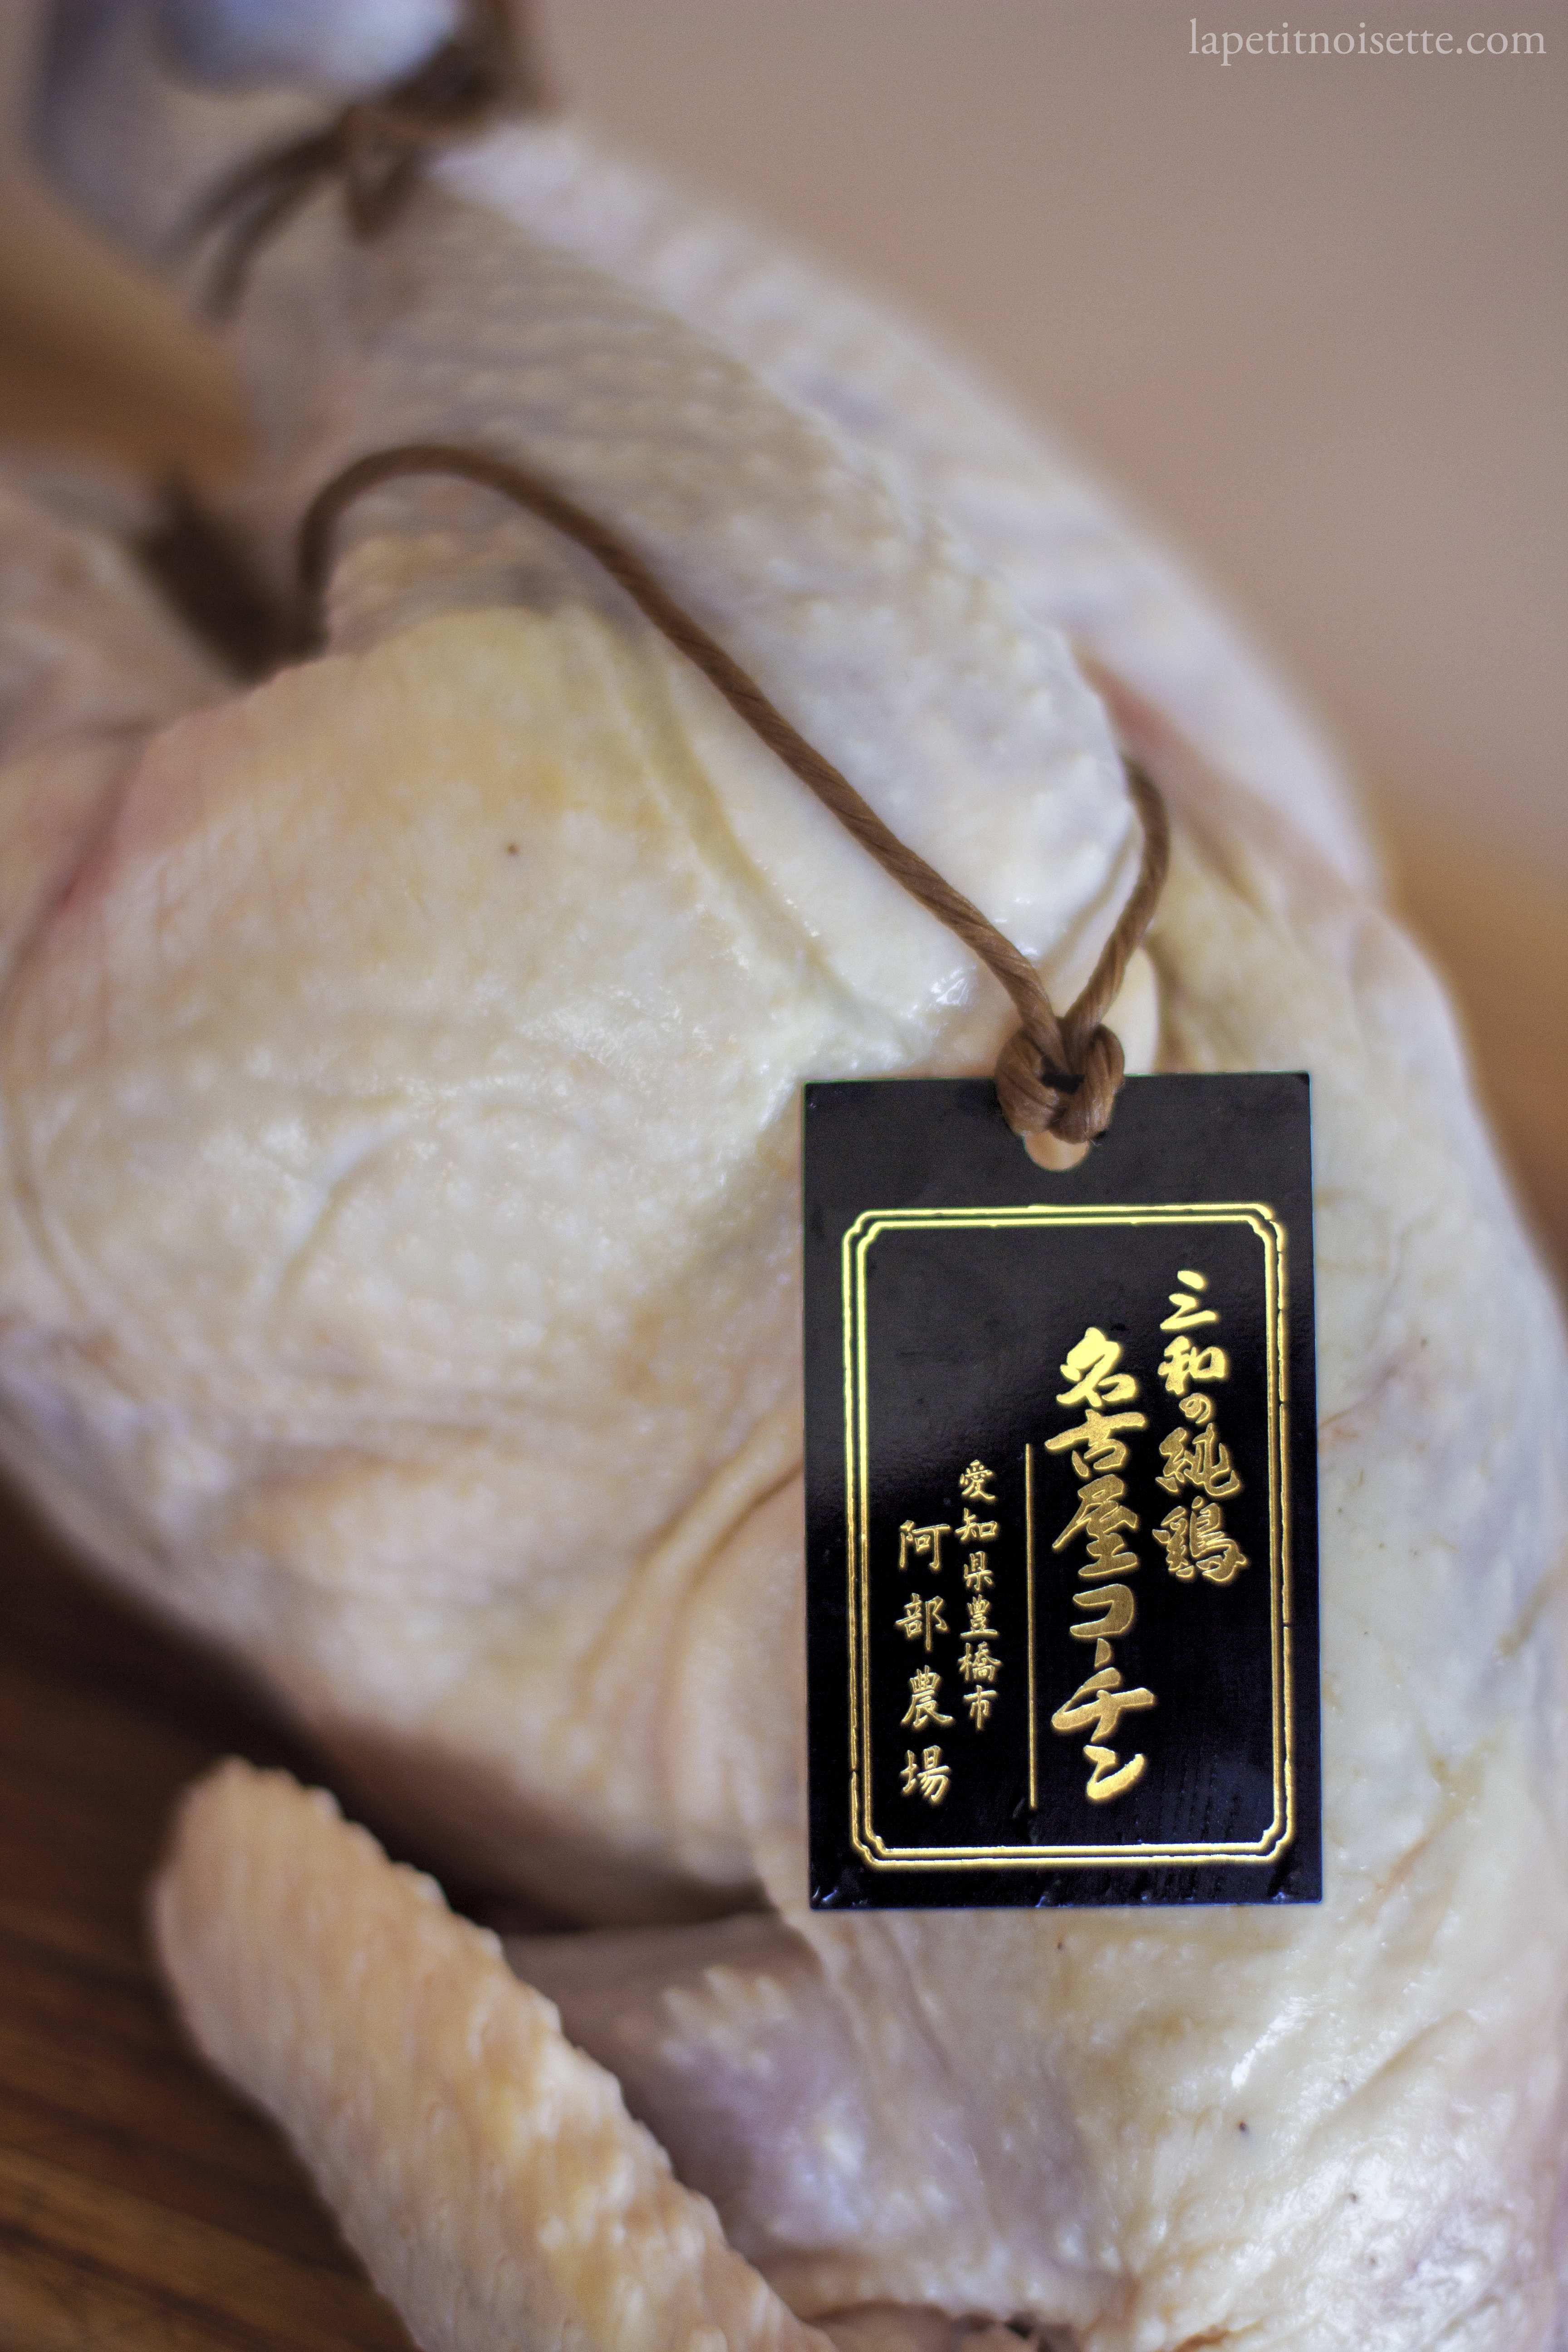
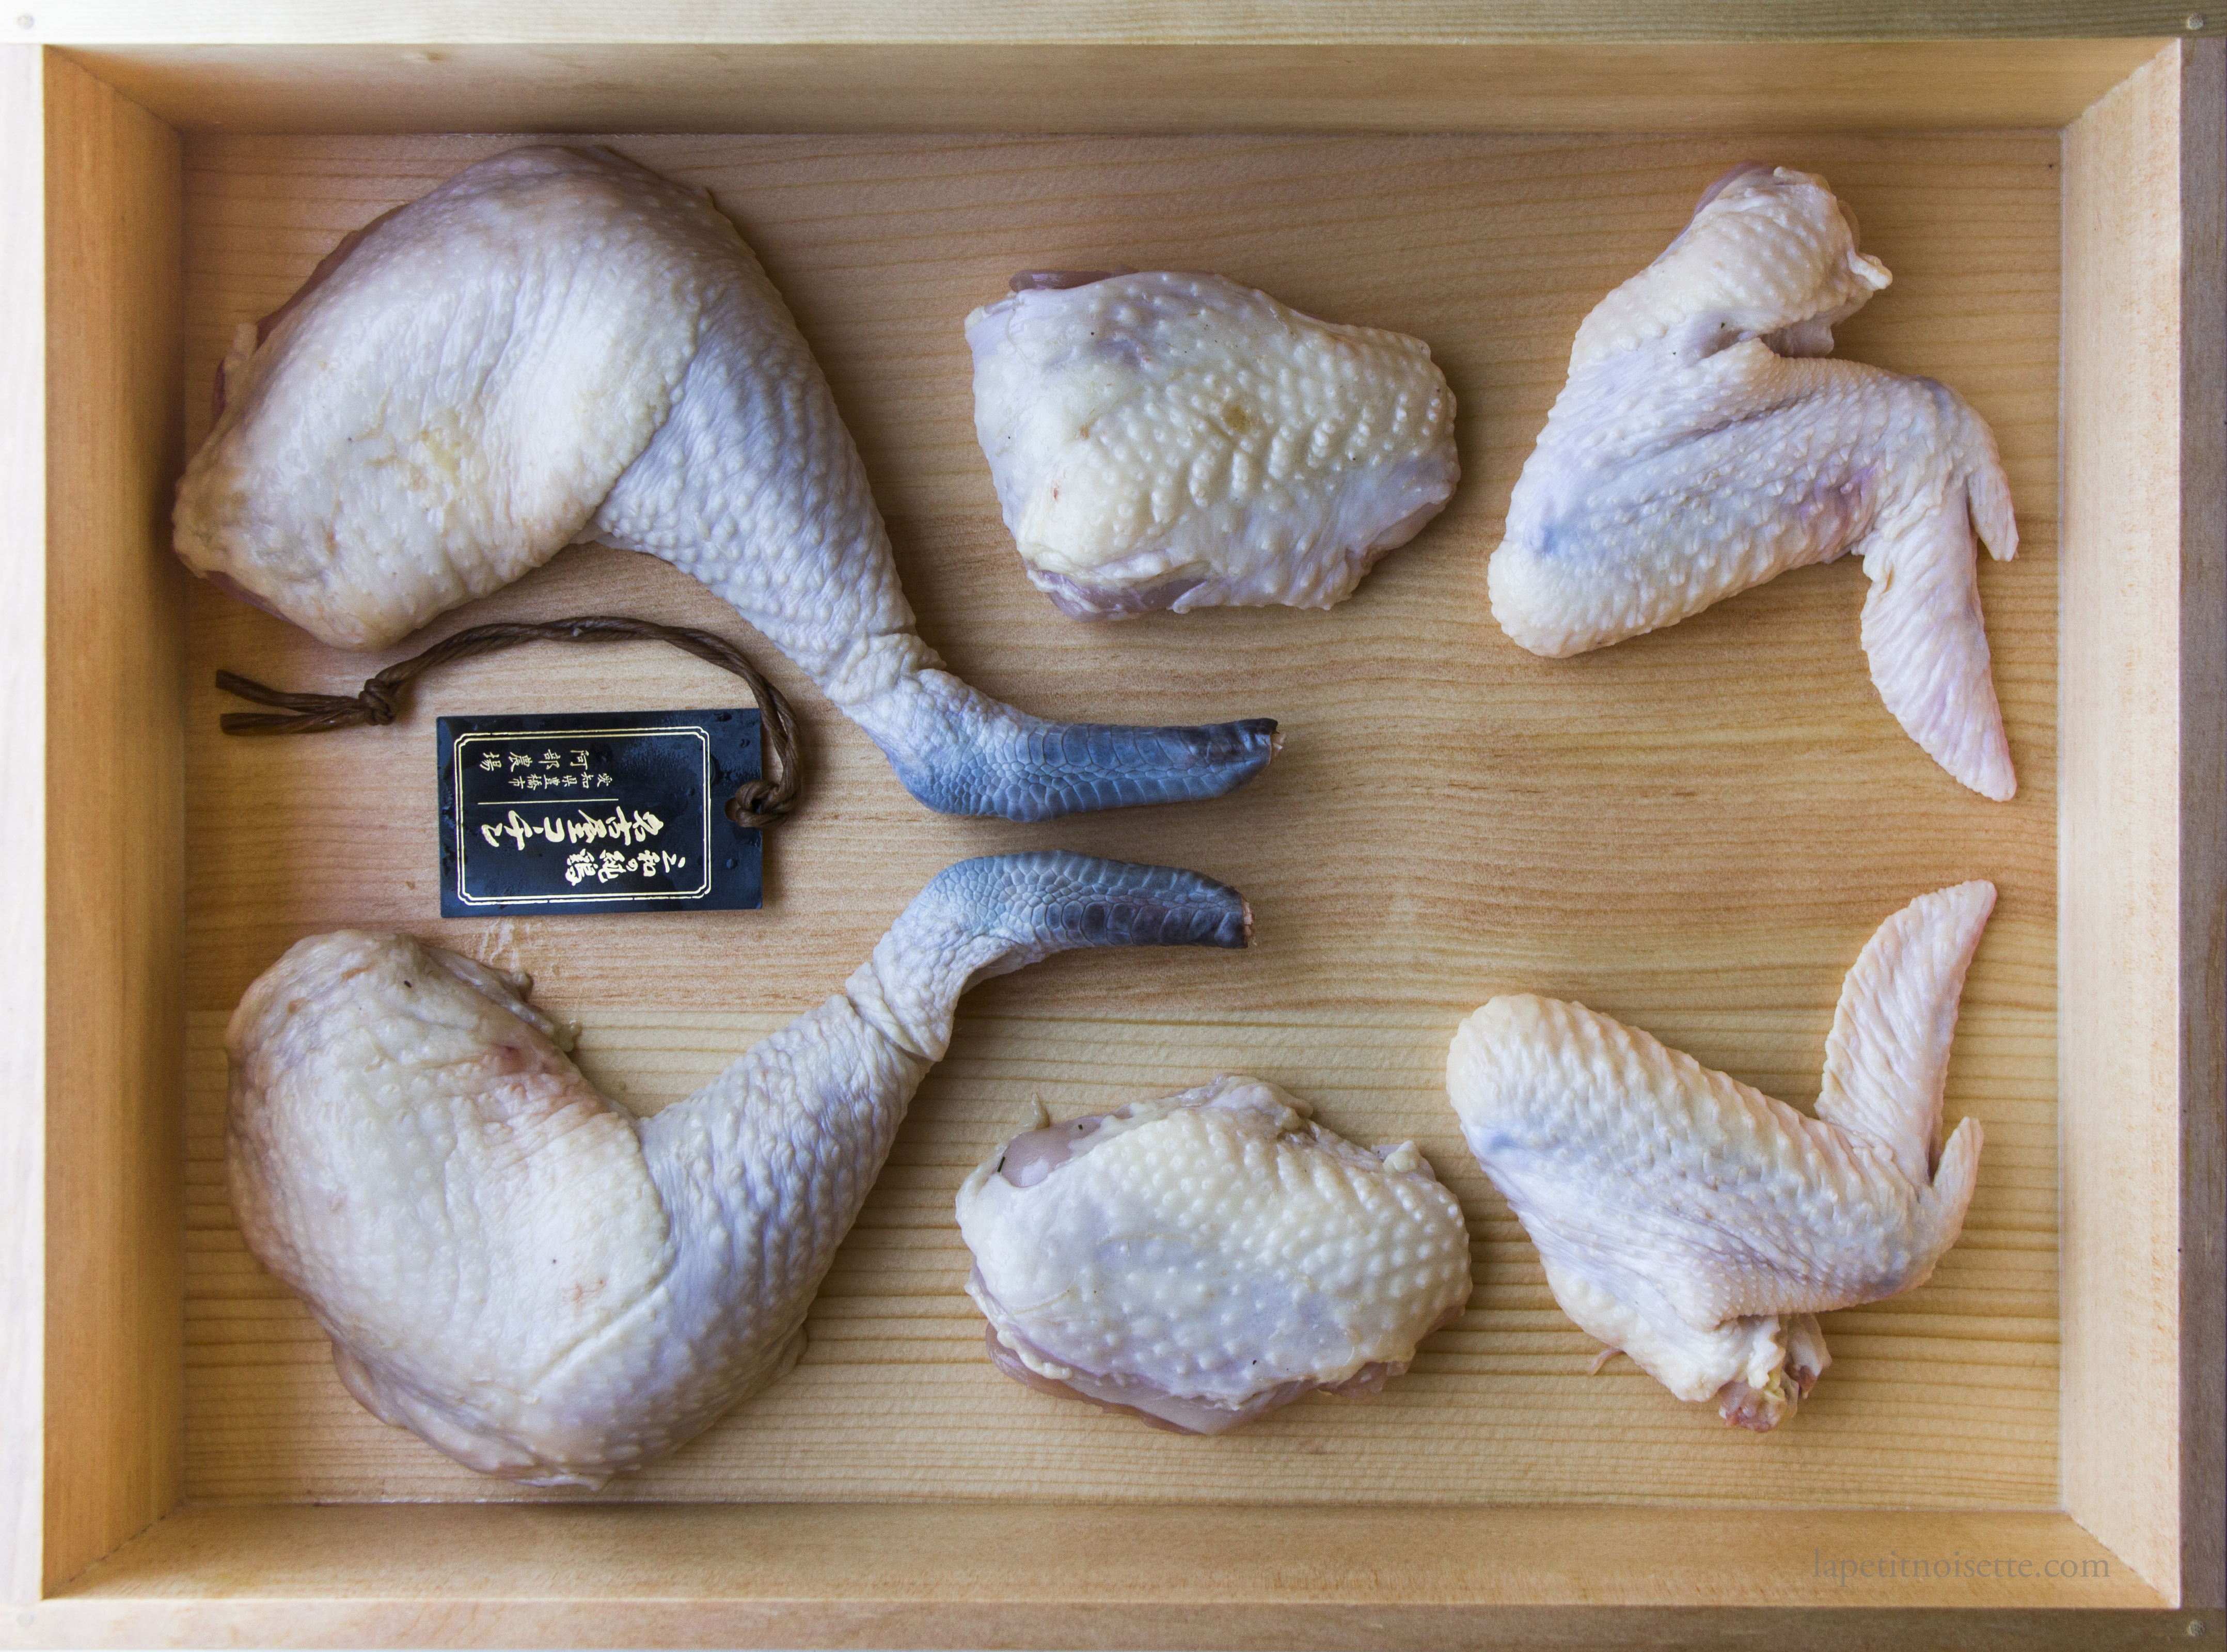
The Nagoya Cochin I got was from Abe Farm (阿部農場) in Toei, a town located in the Kitashitara District, Aichi Prefecture (愛知県北設楽郡東栄町). The standard of hygiene and chicken welfare at this farm was extraordinarily high, with the farmer insisting that the chicken houses be layered with sawdust made from domestic cedar and mulberry trees. When butchering the chicken, two things that were immediate apparent was the proportions of the chicken as well as its general overall visual feel.
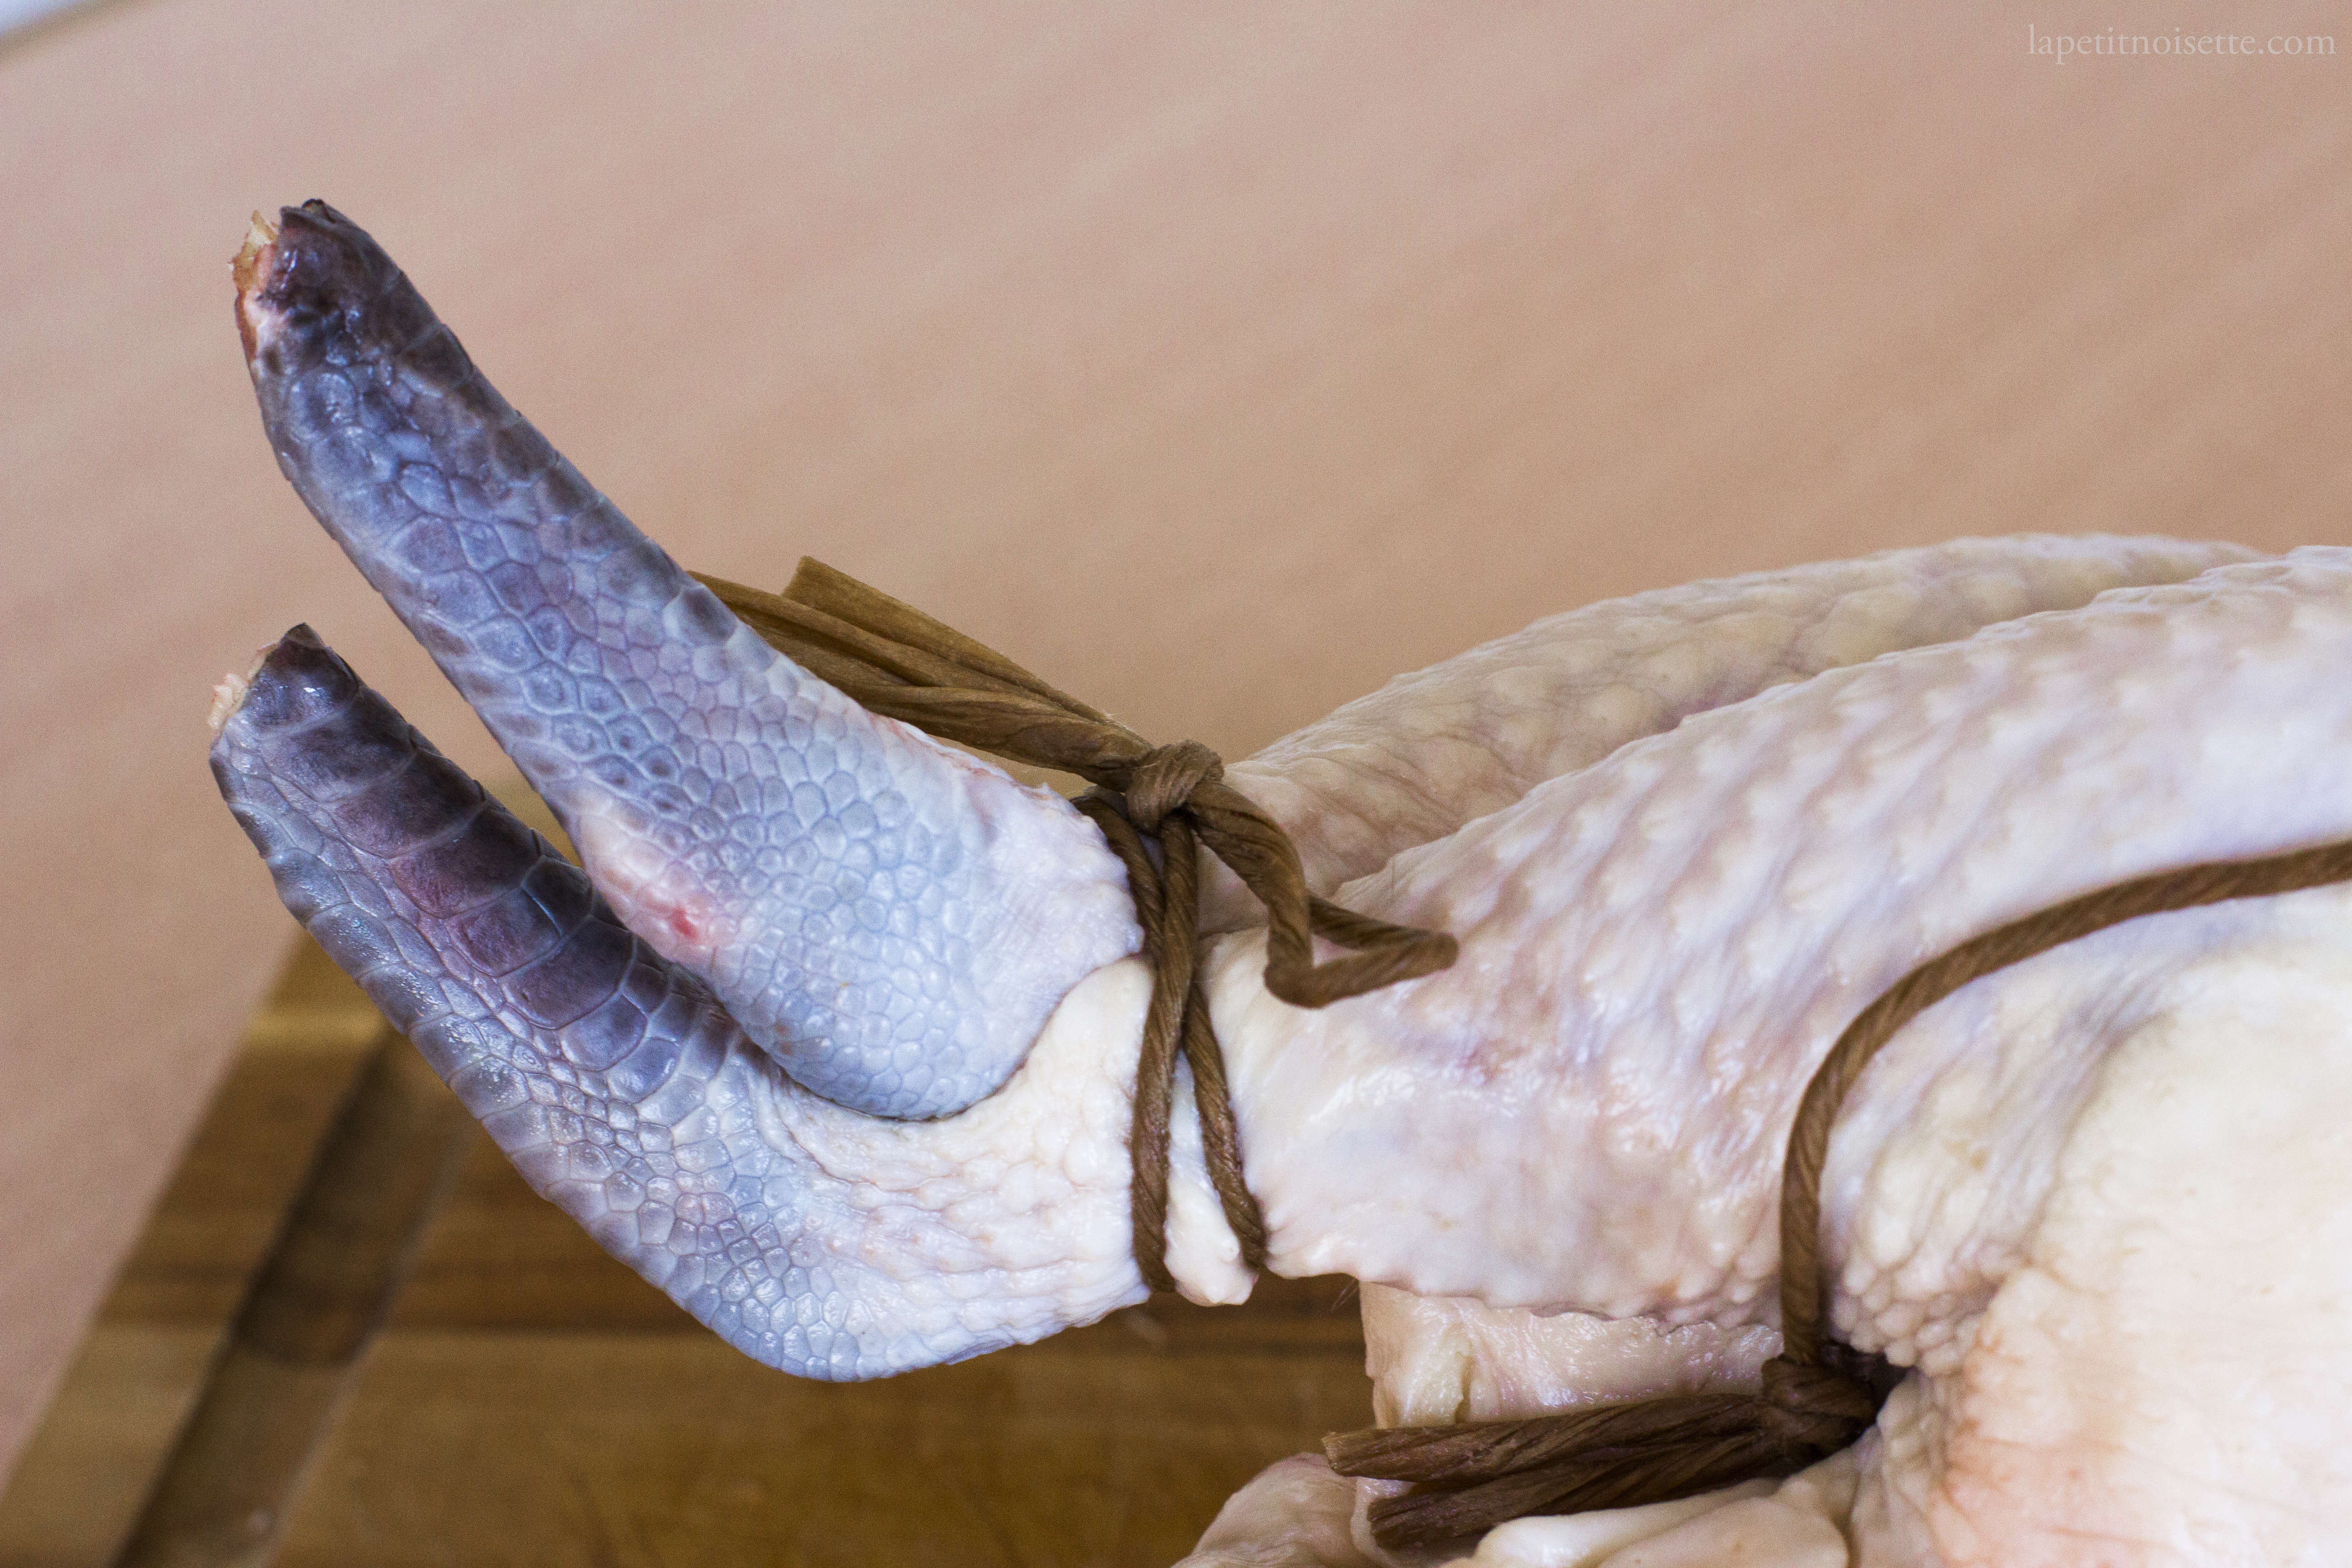
Unlike most commercial chickens which have been bread to maximise to volume of breast meat produced, the breast from this chicken was at least 4 time smaller than any other chicken I’ve seen of the same size. In terms of appearance, the chicken meat was firmer than usual, without the usual slightly slimy feel to it. It also had bright blue skin on its feet that was almost shiny, with no indication of hock burn at all. Most commercial chickens raised indoors are sold with their feet cut off as their hygiene standards are so low that the waste produce by the chickens accumulate, causing an acidic rash on the feet of the chicken known as hock burn.
Nagoya Cochin Oyakodon
Ingredients:
- 50g of chicken thighs
- 50g of chicken breast
- 3 eggs and 2 egg yolks
- 1 Large white onion
- 15ml sake
- 15ml mirin
- 20ml light soy sauce
- 4g sugar
- 30ml of dashi
To Serve:
- Nori Seaweed
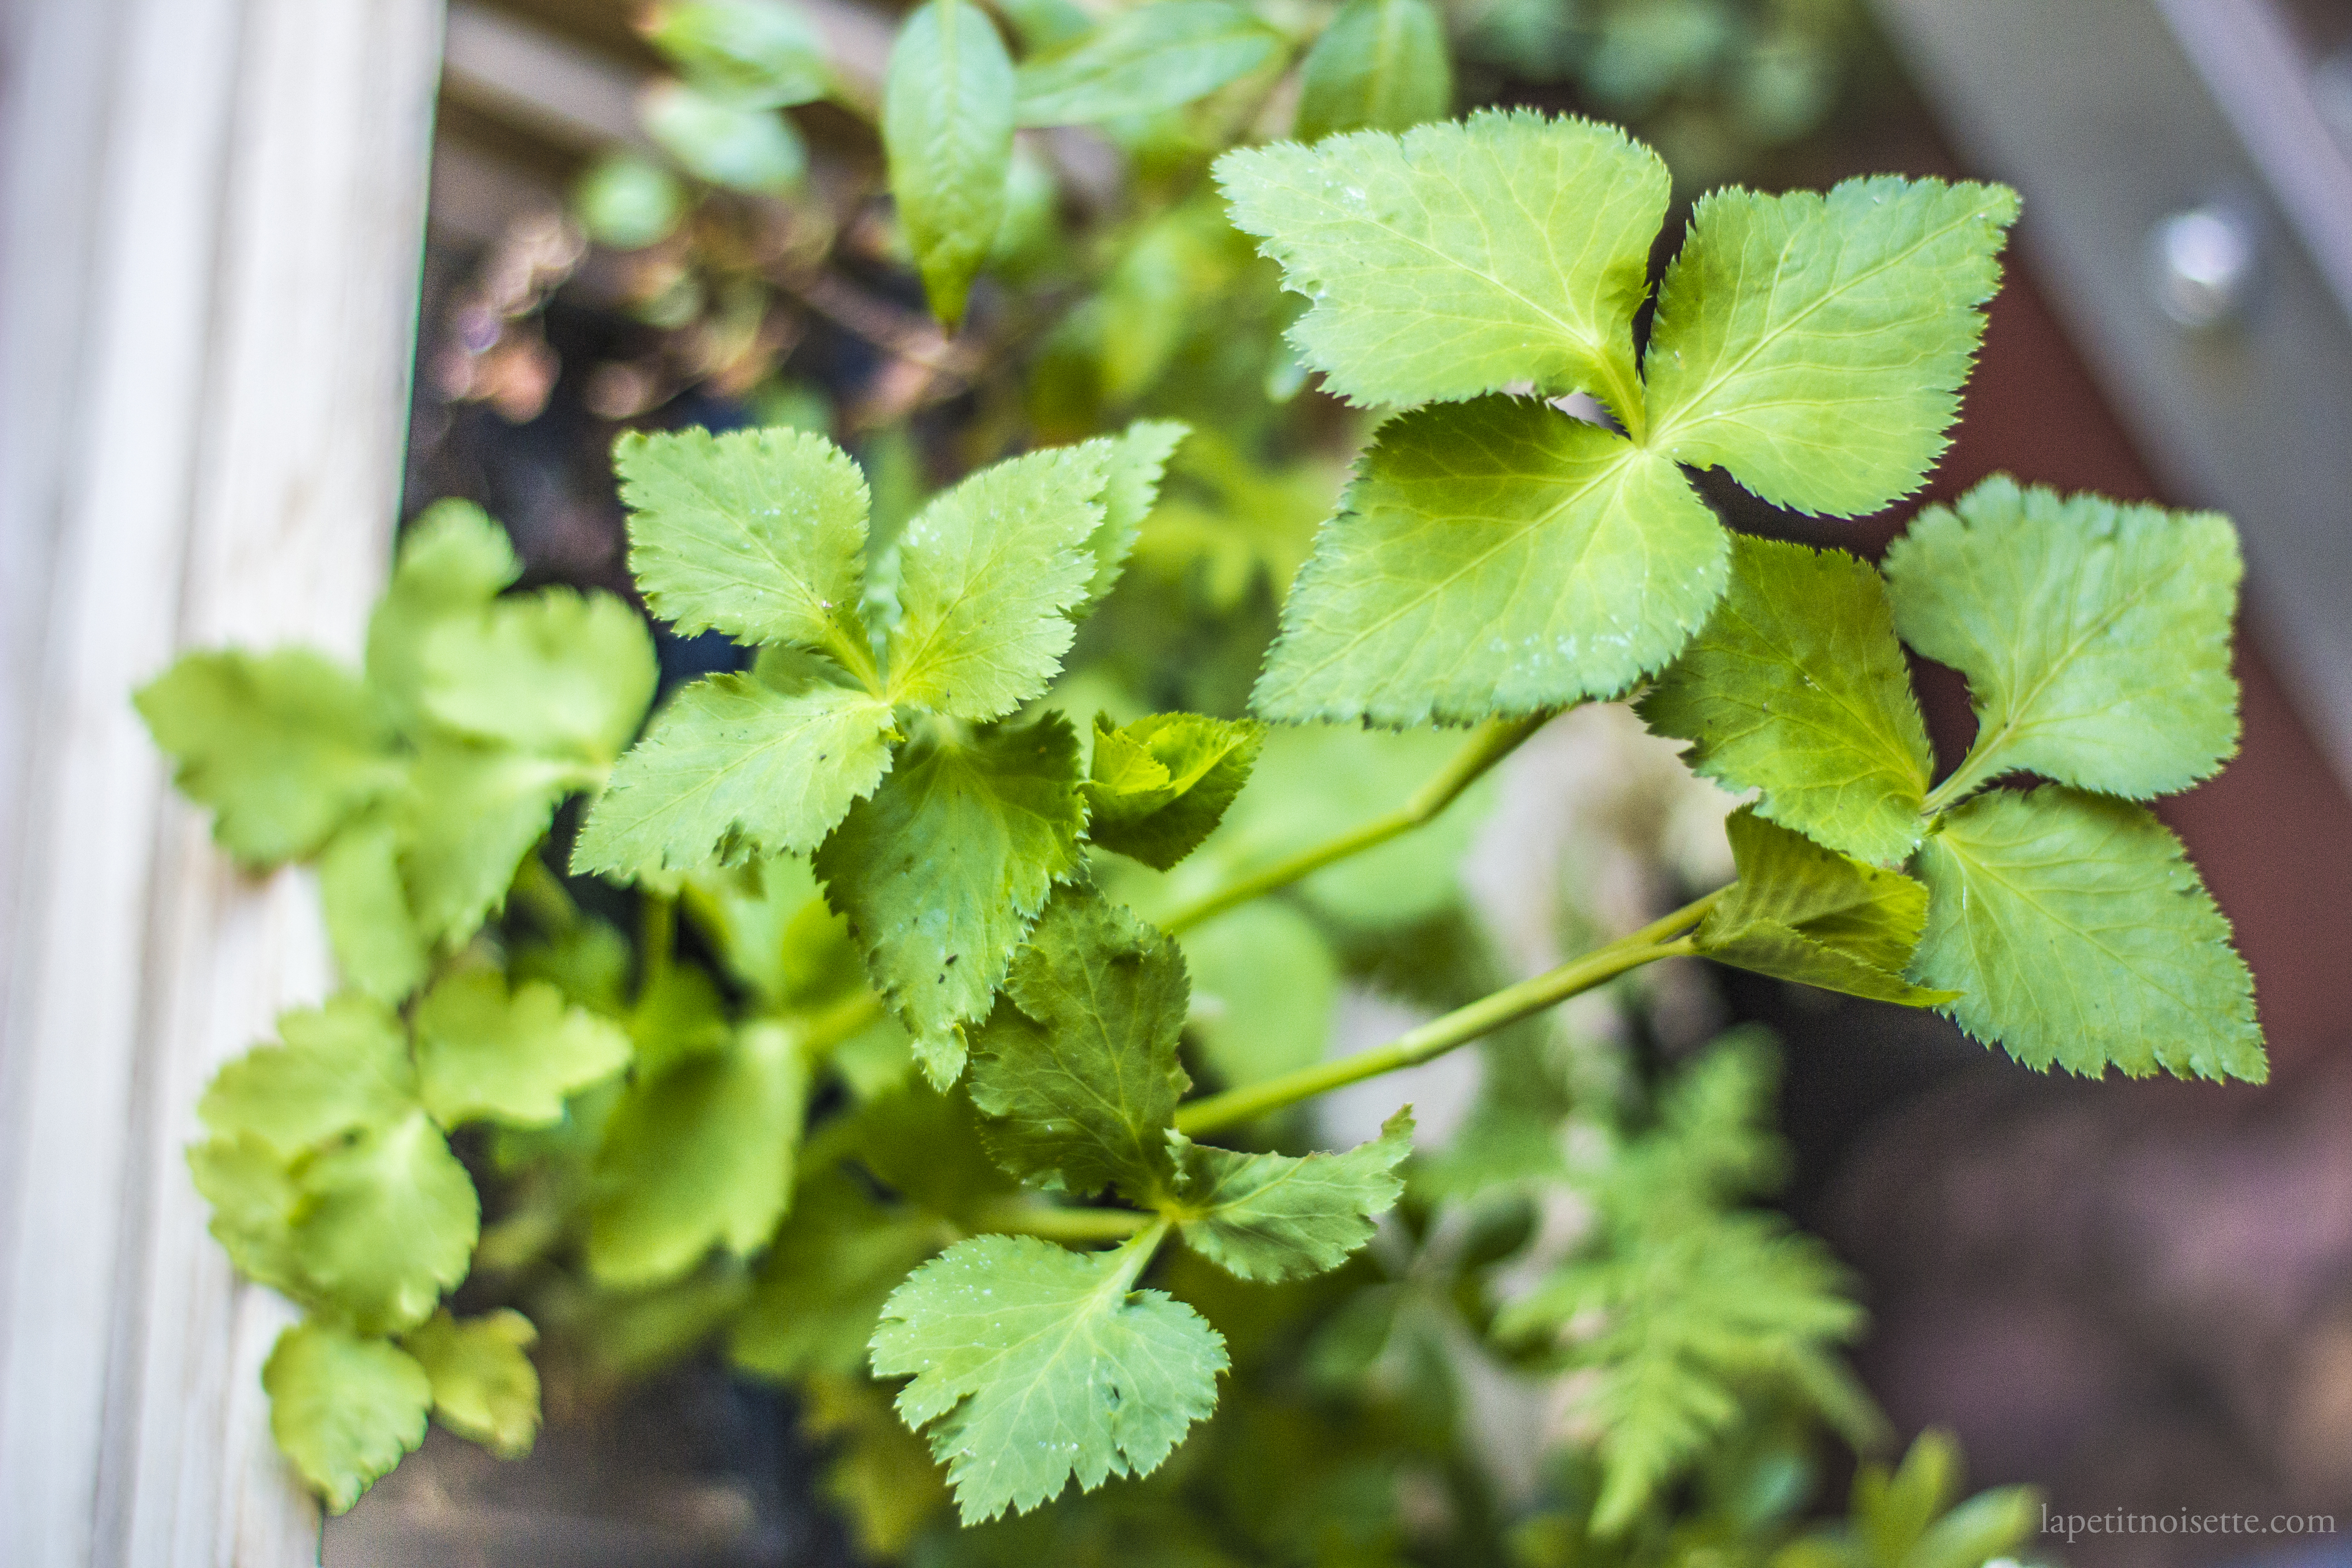
- Mitsuba Parsley/Green Onions
- Mix the sake, mirin, soy sauce, sugar and Dashi together and stir until the sugar has dissolve.
- Slice the onions into thin slices but not diced.
- Cut the chicken into thin bite sized pieces, the thinner pieces cook faster.
- Add the sauce mixture to the chicken in a pan and cook over medium heat.
- After cooking for a minute or so, add in the onions and cover with a lid.
- Flip the chicken around when it begins to turn white.
- Beat the eggs and egg yolks together quickly, but do not over mix, it should not be a uniform colour. Lightly beating it creates a soft and creamy texture.
- When the chicken is almost cooked, add in the Mitsuba parsley and slowly drizzle on the egg mixture.
- Cover again and cook until the eggs are cooked to the consistency of your taste. This dish is usually served with semi-cooked eggs.
- Serve over a hot bowl of rice with slices of nori seaweed.
Tamahide Oyakodon
Ingredients:
- 50g of chicken thighs
- 50g of chicken breast
- 3 eggs and 2 egg yolks
- A pot of water/Dashi stock/chicken stock
Sukiyaki Broth:
- 30ml dashi
- 10ml soy sauce
- 5ml mirin
- 4g sugar
- 15ml sake
- Cut the chicken into small bite sized pieces.
- Poach the chicken thighs and breast in a simmering pot of Dashi/chicken stock/water for 2 to 3 minutes to lightly cook it.
- To make the sukiyaki broth, mix all the broth ingredients together and bring to a boil. Cook off the alcohol and flambé the mixture.
- Beat the eggs and egg yolks quickly. Do not over beat. The egg should not be uniform in colour.
- In a frying pan, add in the sukiyaki broth, chicken and eggs and cook until the eggs are fluffy but still runny.
- Serve over a hot bowl of rice.
Notes:
- The chicken can be poached in dashi or chicken stock to enhance it’s flavour compared to poaching it in water but this of course is much more of a hassle.
- It is possible to poach the chicken in advance as prep and store it in the fridge.
- The making of the sukiyaki broth can also be prepped in advance and stored in the fridge.
- The above two steps can be done in advance the same way it is done in a restaurant, this is so that during service, when an order for Oyakodon comes in, all you need to go is heat the broth, reheat the chicken and cook the eggs before serving.
- The eggs should not be a uniform colour. Lightly beating it creates a soft and creamy texture.
- If you want to put in the effort, try sources 2 different varieties of chicken meat for this dish, just like the original restaurant does.
[…] post follows my previous post on the traditional Oyakodon and is a variation on it using tamahimo eggs (たまひも), kinkan (キンカン) or chochin […]