The word koji (Kouji/麹) in Japanese is a general term of a grain that has been inoculated with a species of fungus known as Aspergillus oryzae. In a way, the complex and savoury flavours that koji provides is what makes the food at Noma different as it no longer needed to make animal stocks the conventional way, achieving the umami notes in their dishes using various fermented products, namely koji. At Noma, we sometimes made up to 100 kg of barley koji a week and maybe a tenth of that in rice koji as a gluten free alternative. The information here is what I remembered it as when I was working there combined with what I learned living in Japan. I was working at Noma around the time that they published the book- The Noma Guide to Fermentation. Having had worked there, I can say for certain that the methods and recipes used in that book are exactly what we used in the restaurant and therefore if you’re looking for more information I highly recommend you buy that book.
Koji in Japan was actually not originally cultivated on rice but on alternate grains as rice was typically sent to lords and the aristocrats as a form of tax. This meant that farmers had to make do with whatever other grains were available. As the production of rice in Japan steadily increased to become a common everyday staple, koji cultivation on rice started to overtake that of other grains, with non-rice cultivated koji being very hard to find in Japan today. Today, koji is used in the production of many everyday Japanese kitchen ingredients including soy sauce, miso and sake.
In the same way that most fungi grow, the spores of a fungus grow root like structures into the substrate they land on called hyphae. These hyphae grow further and further into the substrate, forming a complex network known as a mycelium. Like plant roots, nutrients are absorbed through these hyphae. Unlike soil however, the substrate on which the hyphae grow in do not have readily available nutrients in an absorbable form. Koji gets around this problem by secreting enzymes from their hyphae before absorbing the digested nutrients back through the hyphae. Think of it as digesting your food first before eating it. The enzymes secreted by the koji include amylases (for digesting starch), proteases (for digesting proteins) and lipases (for digesting fats), which breakdown the nutrients into their constituent building blocks.
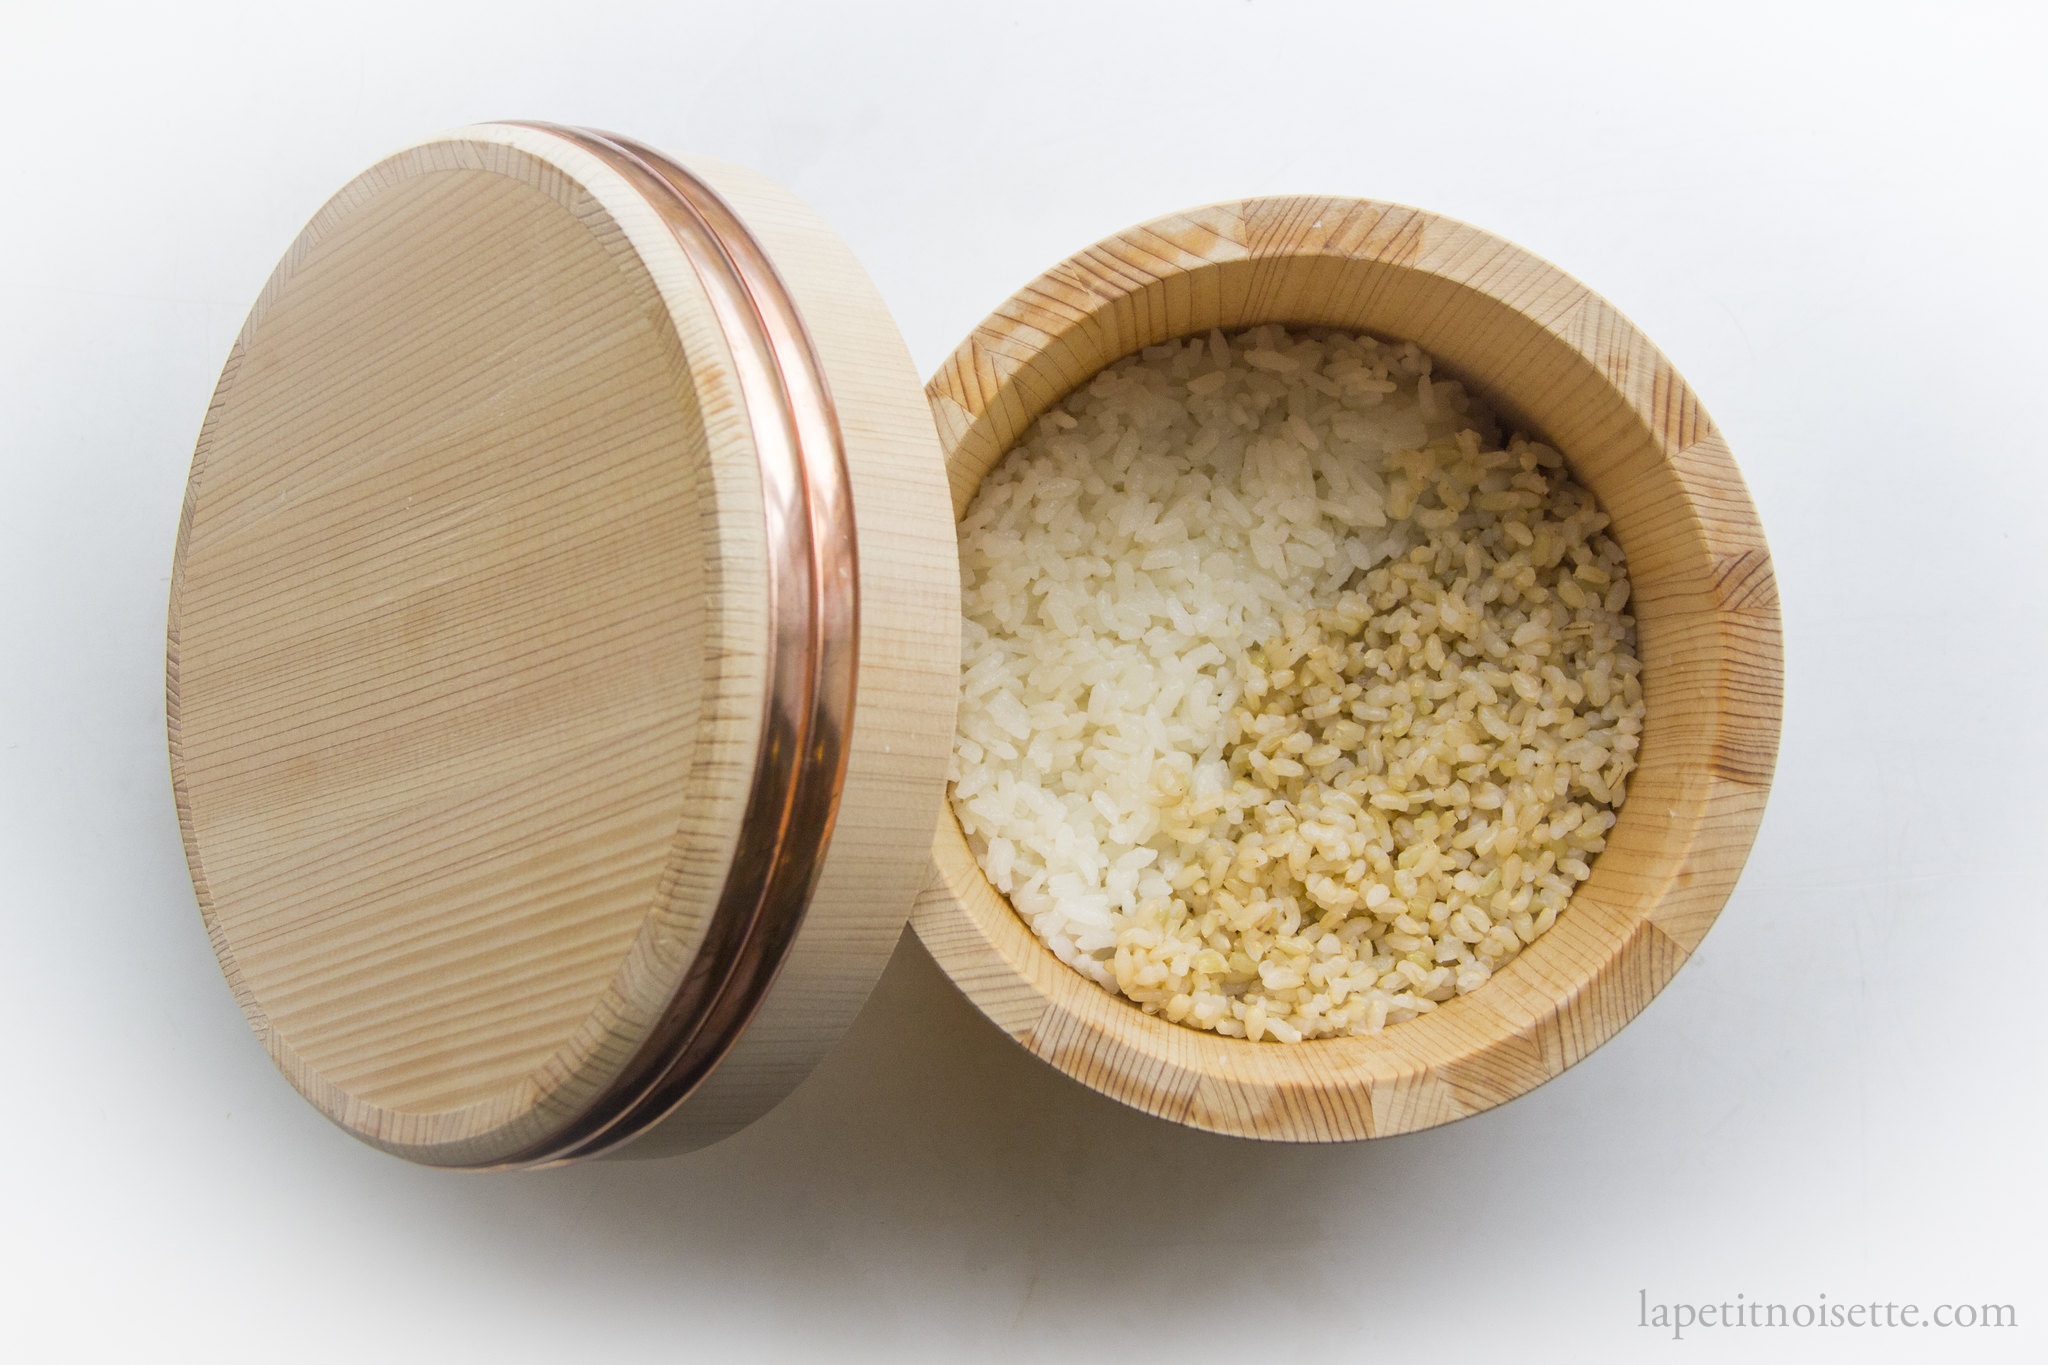
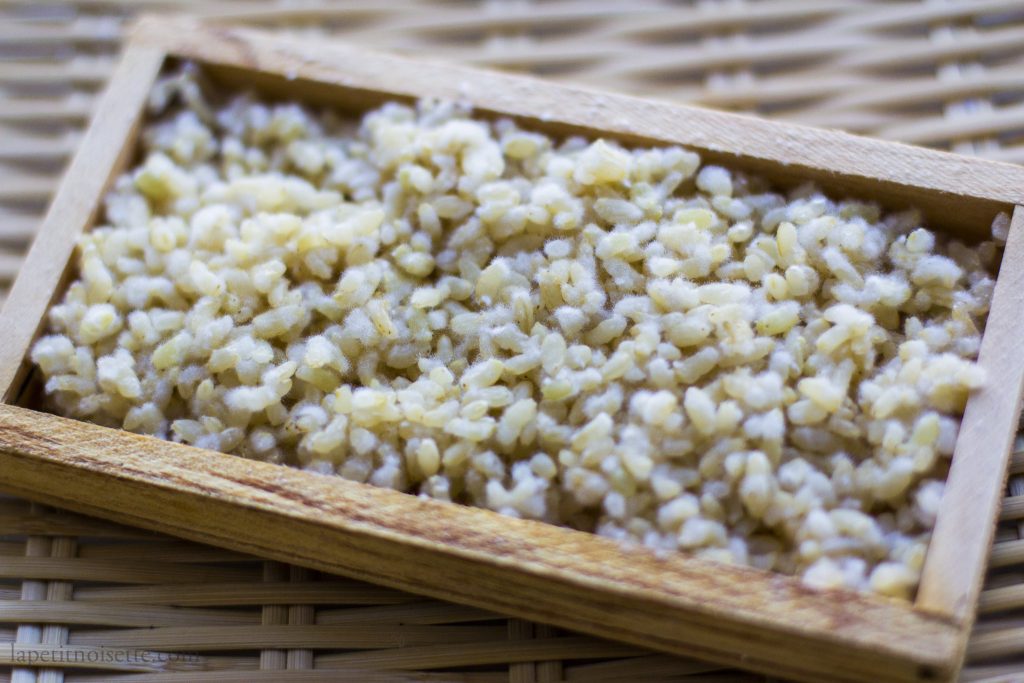
Grains used to grow koji on are almost always polished to some degree as the koji hyphae would not be able to penetrate the husk of the grain. It is still possible to grow koji on non-polished substances of course, but it can be a lot trickier to do. Koji is sometimes grown on brown rice as well, which itself still has the bran and germ attached but the husk/hull removed. The requirements for polishing grains varies depending on the intended use of the koji of course. Koji used to make sake has a stronger focus on sweetness and thus is normally highly polish. Koji for cooking however, typically emphasised the savoury taste over sweetness, which would mean less polishing. This is because the savoury umami taste comes from the breakdown of proteins, which are mainly present in the bran of the grain, which can be easily polished off. For this same reason, the barley on which we grow koji on at Noma is pearled barley, which is whole grain barley that has had its hull and removed and bran layer polished off.
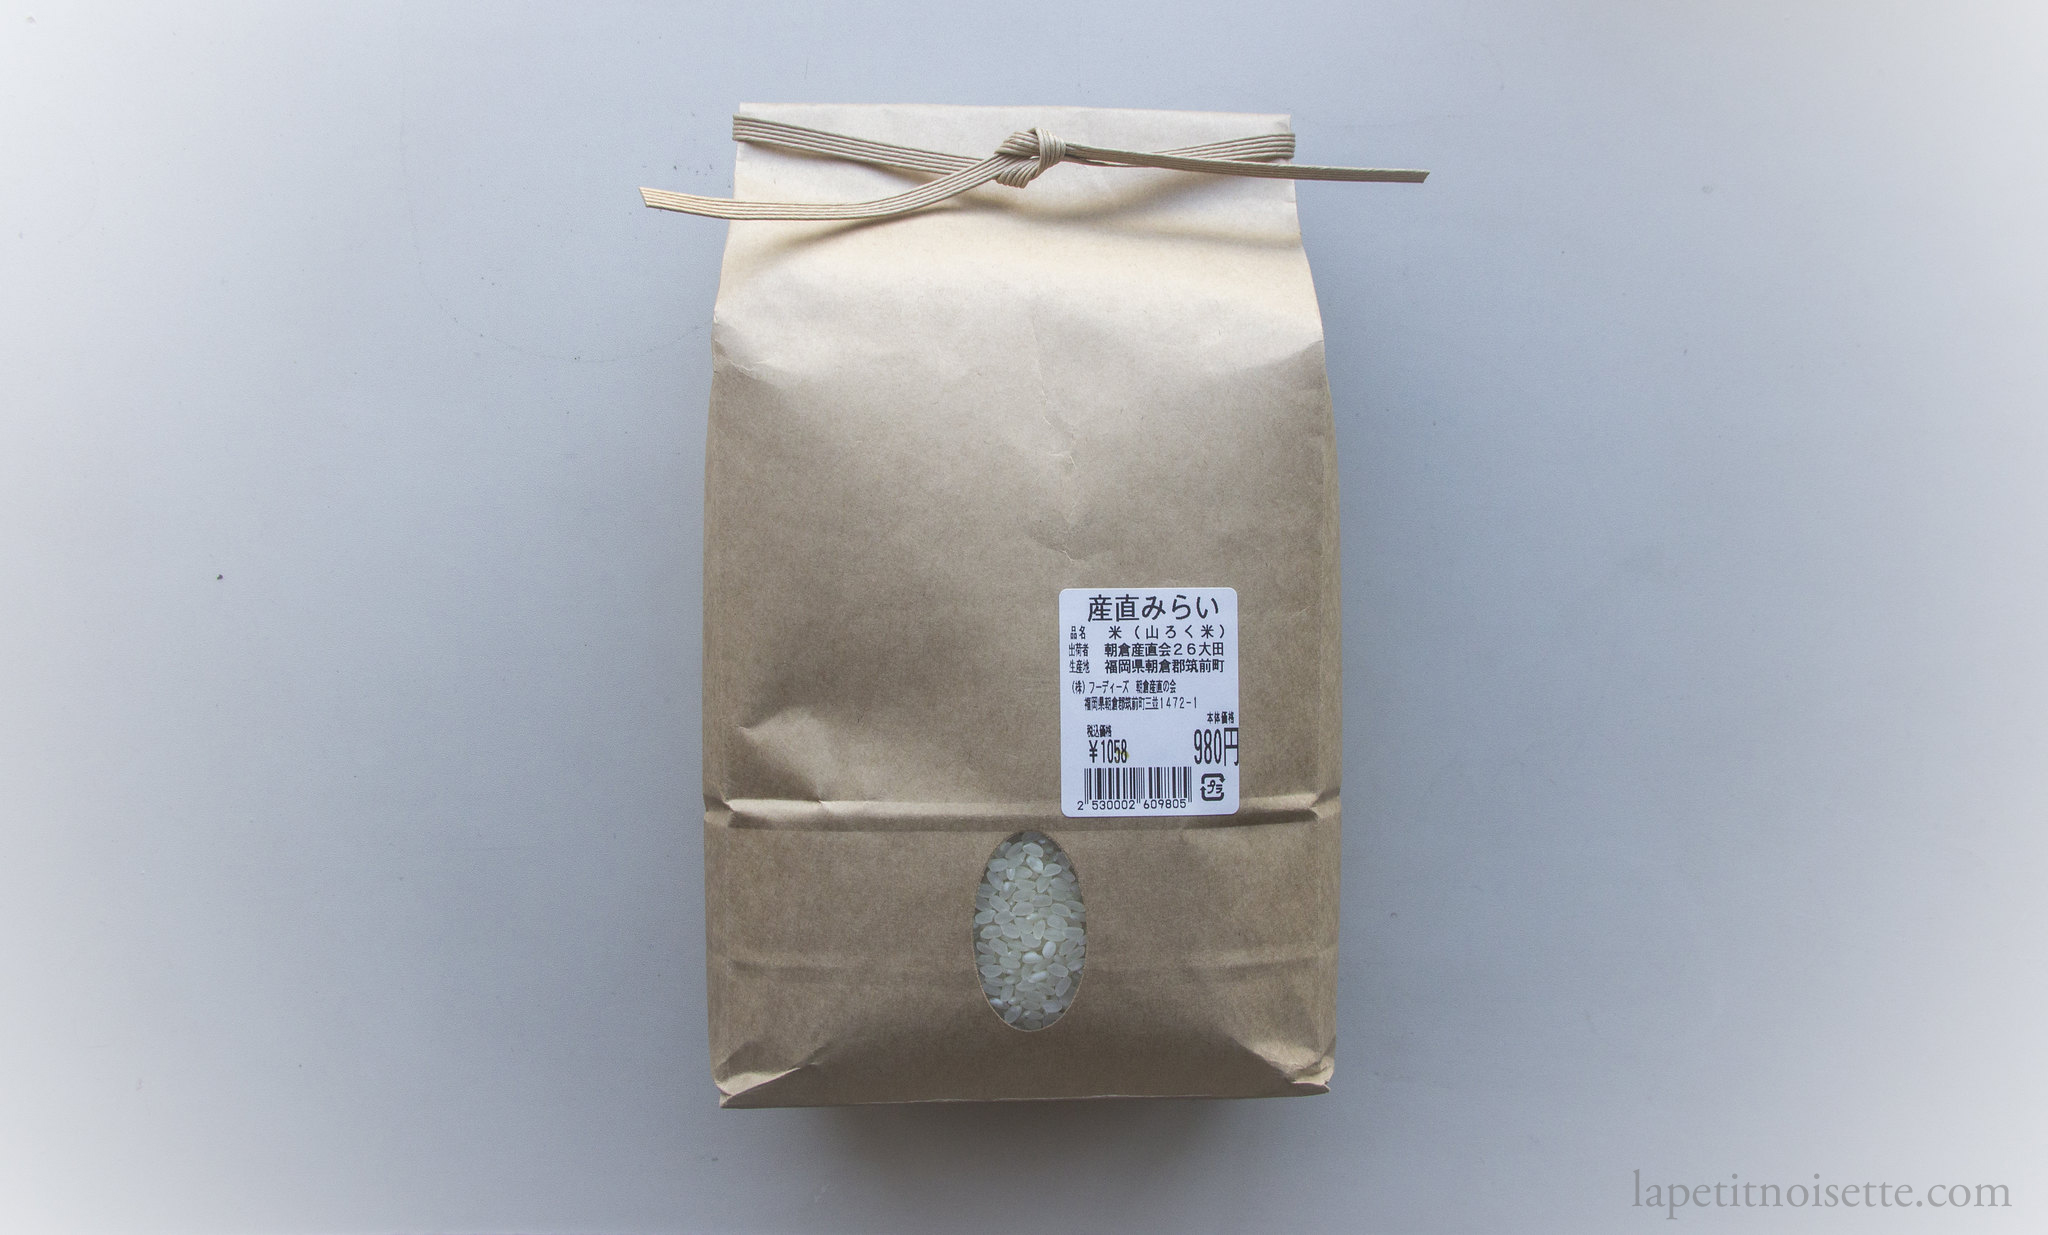
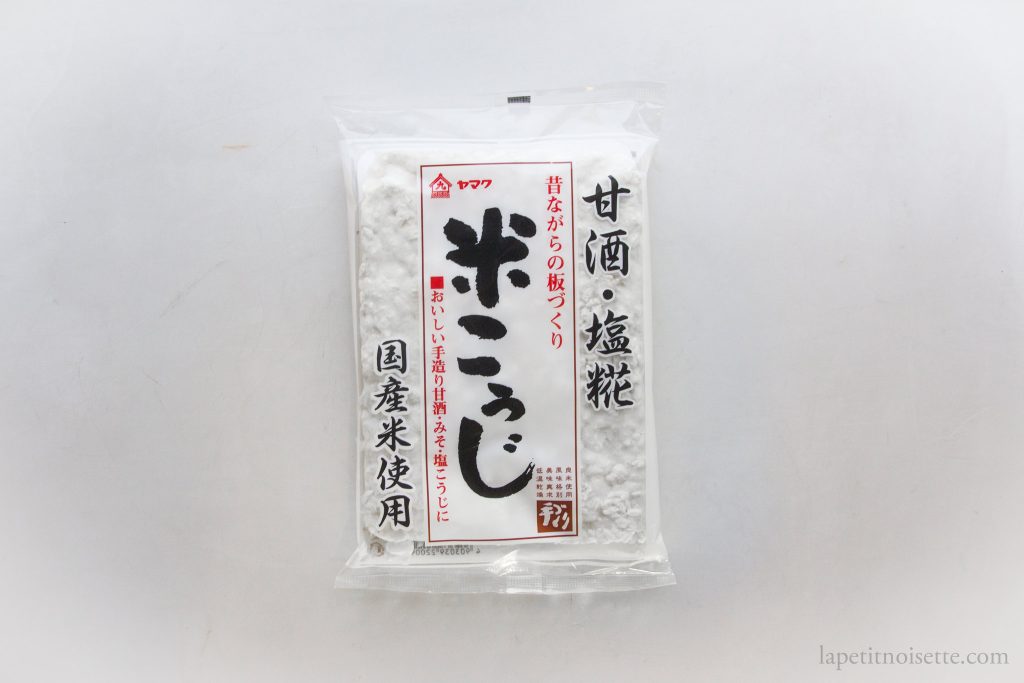
In order to start cultivating koji, you either need to start with some live koji which you allow to sporulate, or buy koji spores. Koji spores or Koji tane (種麹/麹菌) are sold in Japan in two forms. One is as rice that has already been inoculated with koji which is typically brought by people wanting to make Amazake at home, and spores in powdered form (which is much harder to find). I know this isn’t really helpful but the easiest way to find koji spores yourself is to search it up on the internet. Storage wise, koji spores stored in an airtight container can be frozen for a couple of years. Rice inoculated with koji is also available in two forms, rice that has already been dried after inoculation (common and refrigeration not needed) and inoculated cooked rice (rare and requires refrigeration). To propagate koji from these rice, the easiest method is to blend or grind the rice and sieve the powdered koji rice onto fresh rice. 1g of koji spores should be enough to inoculate 1kg of rice.
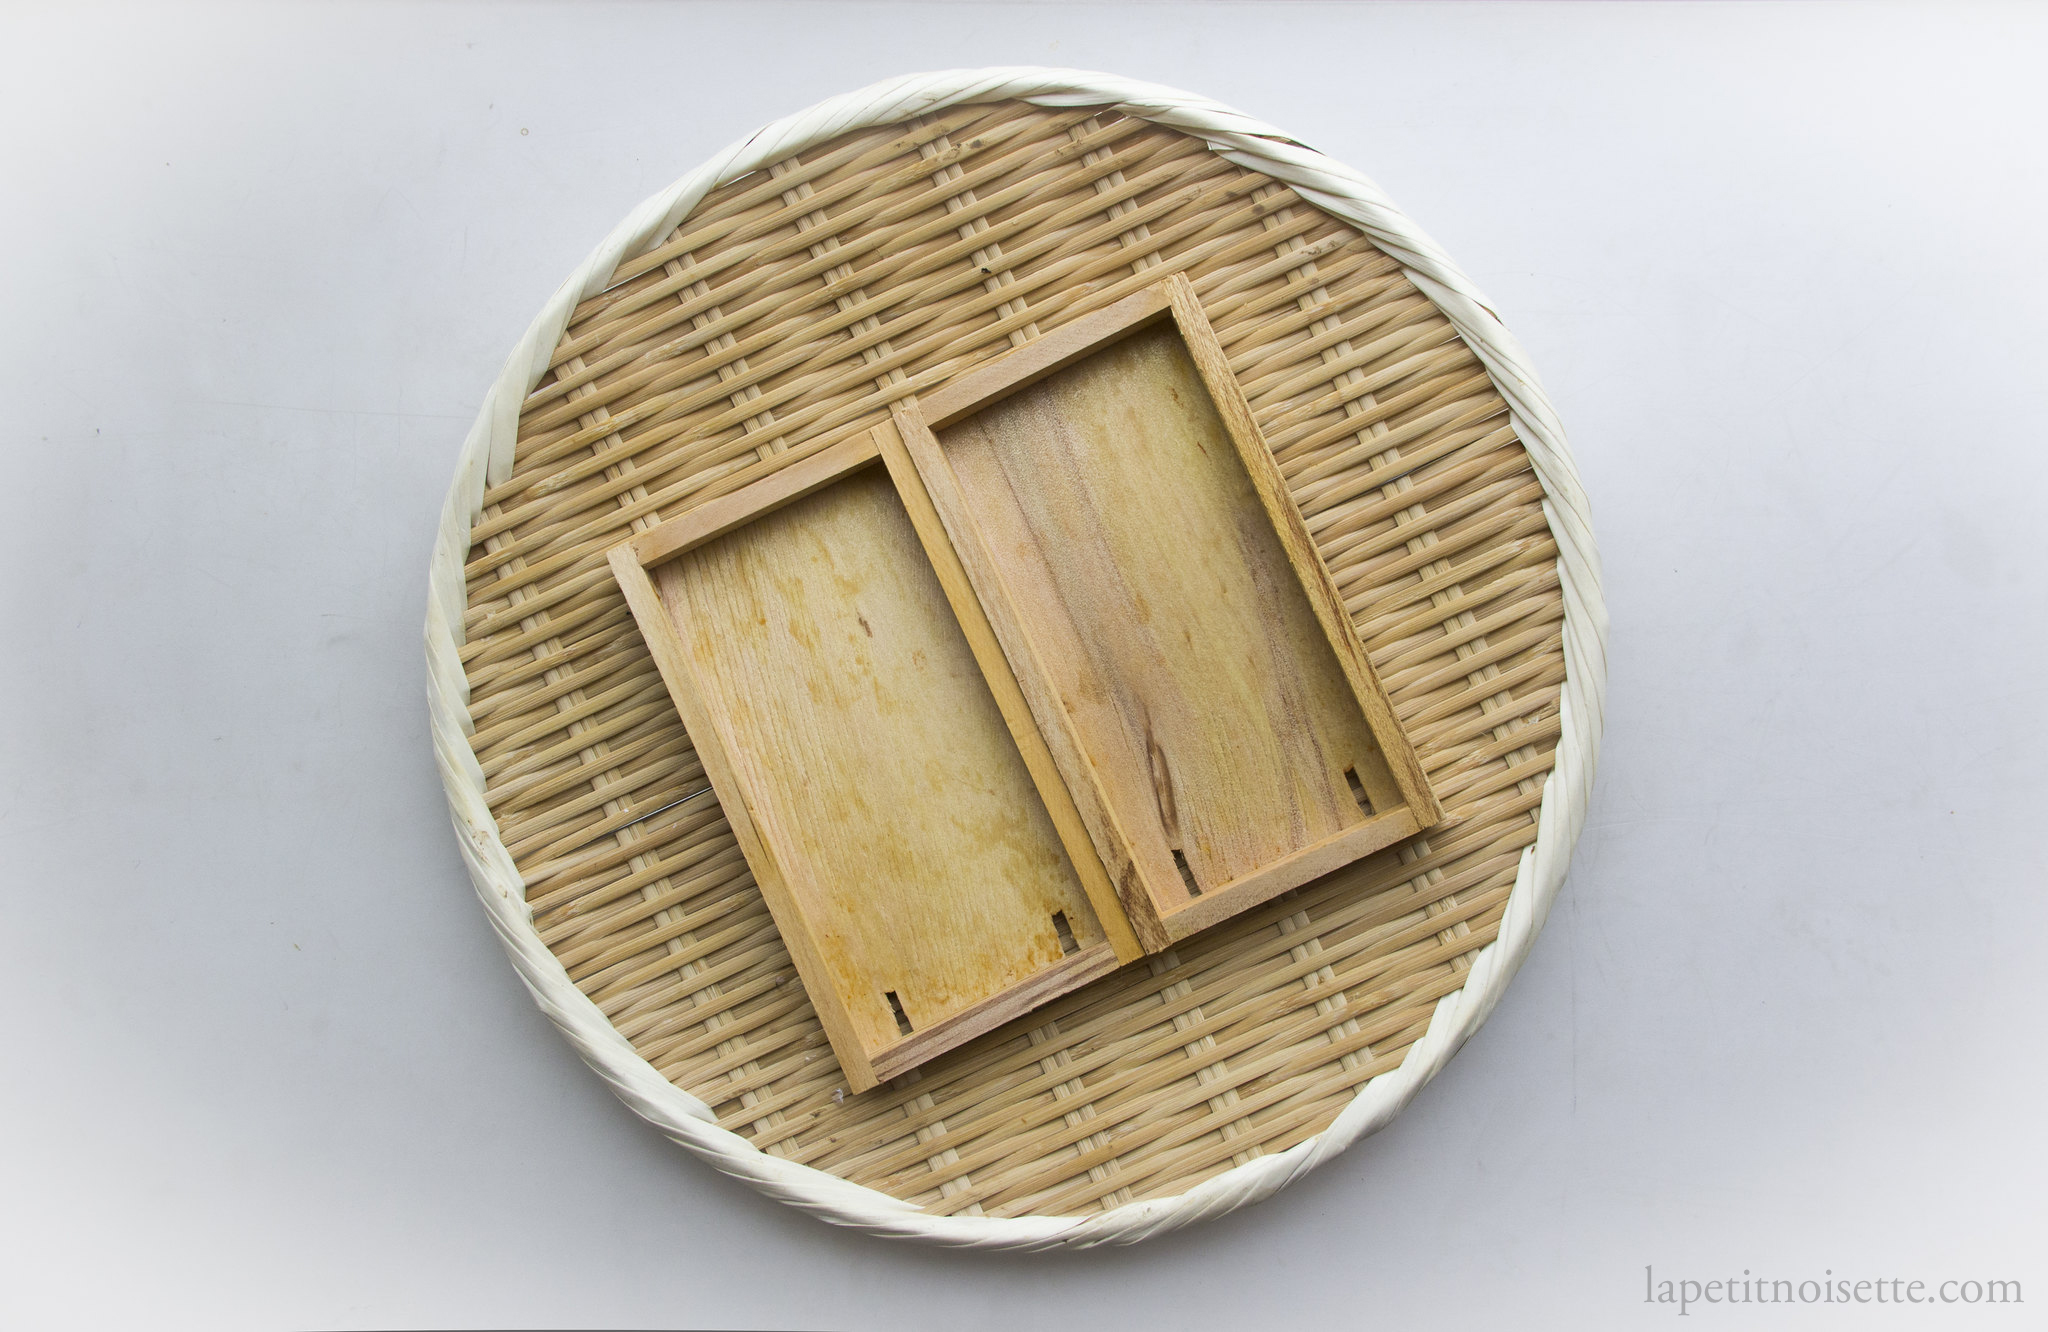
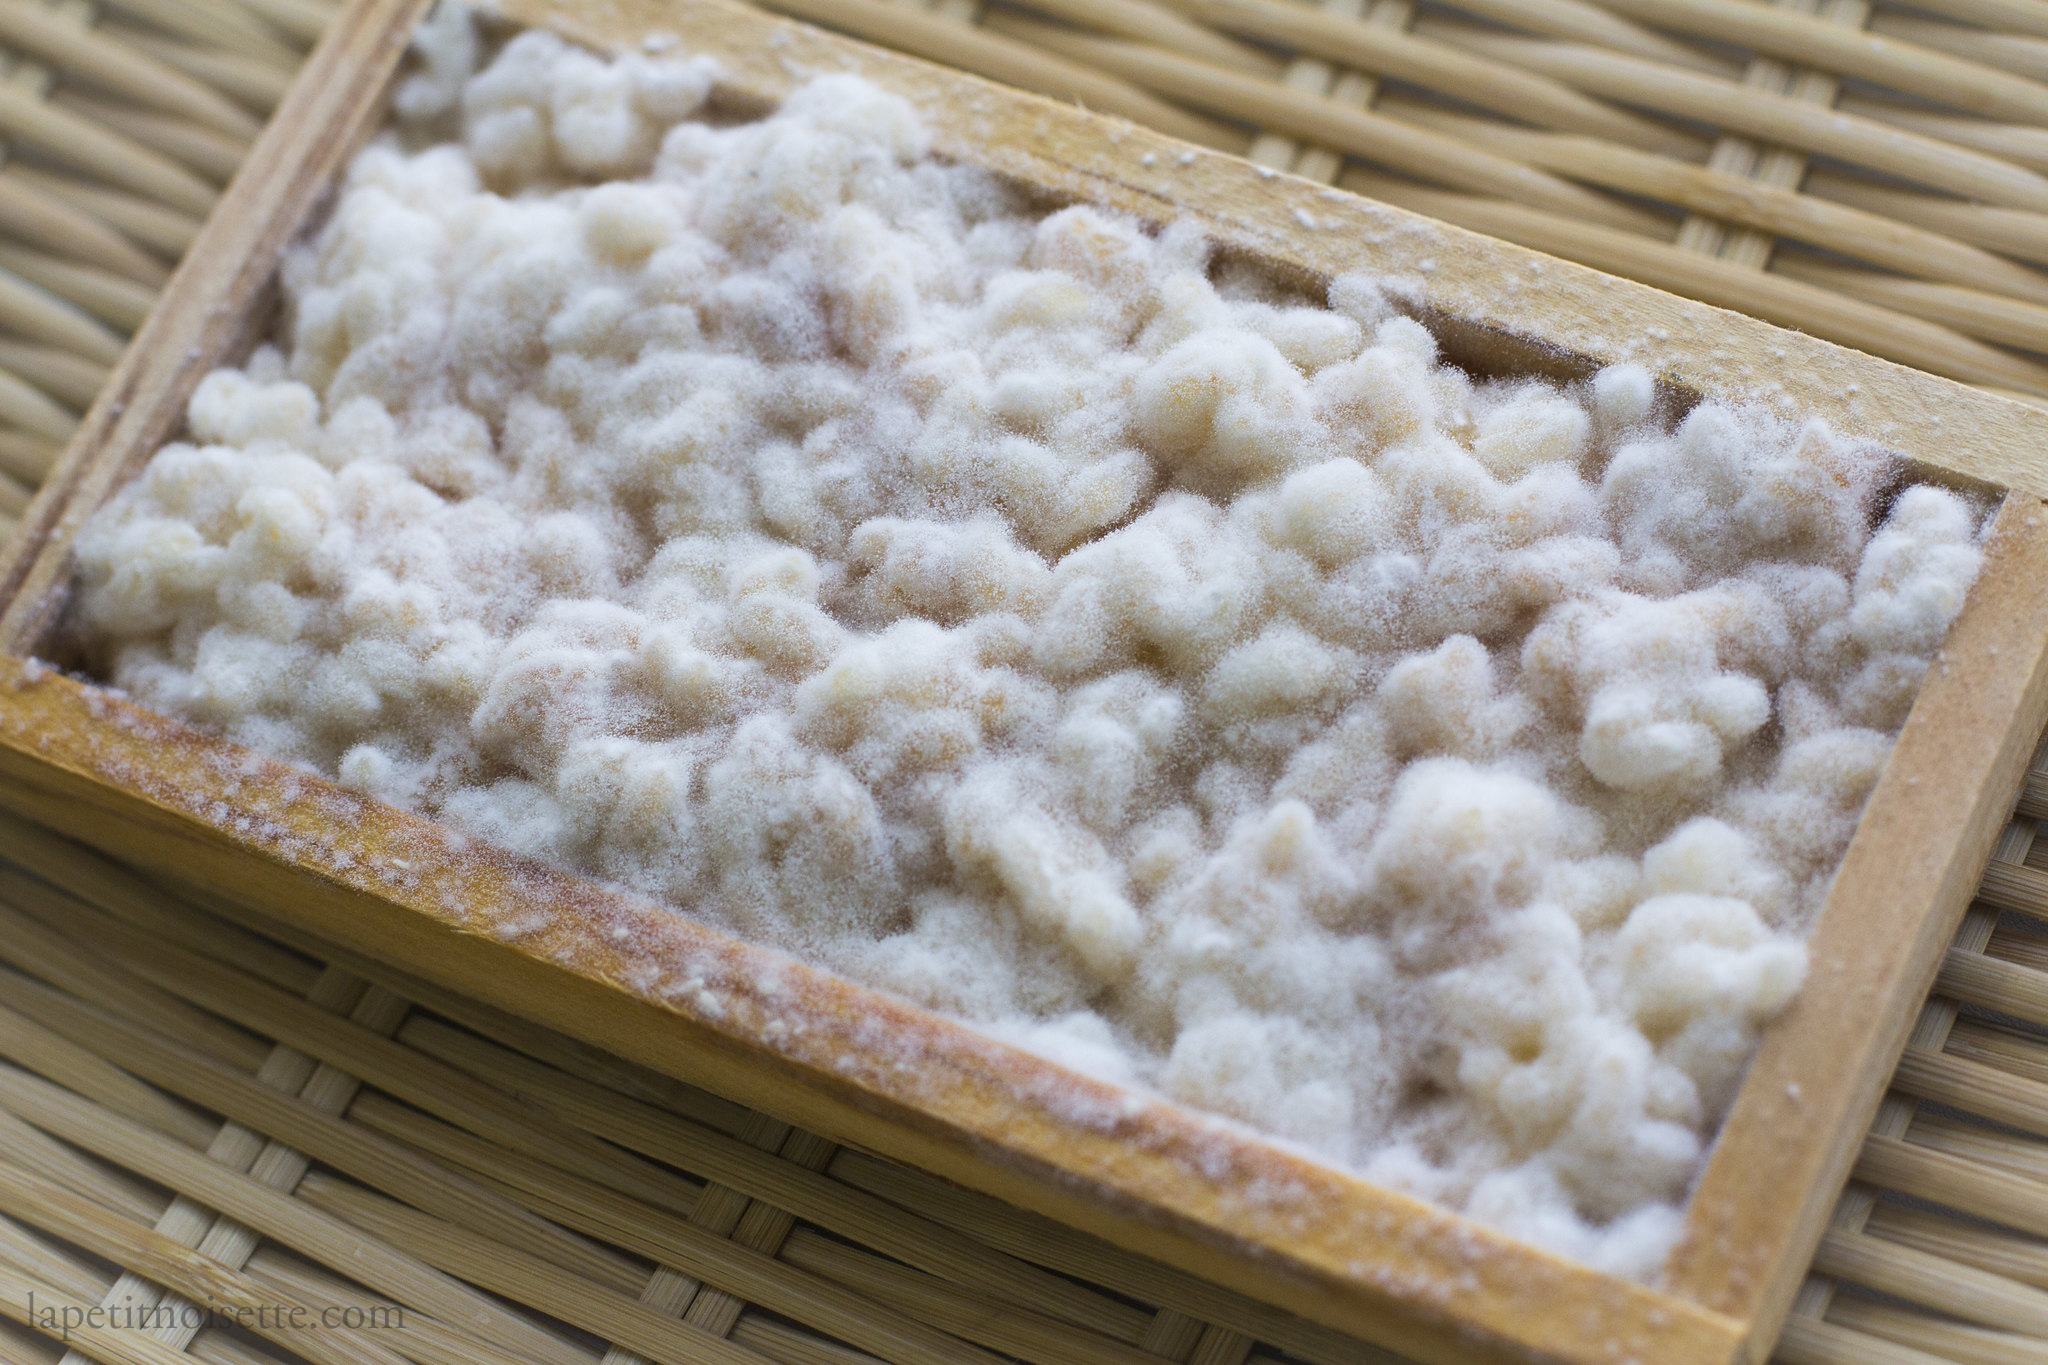
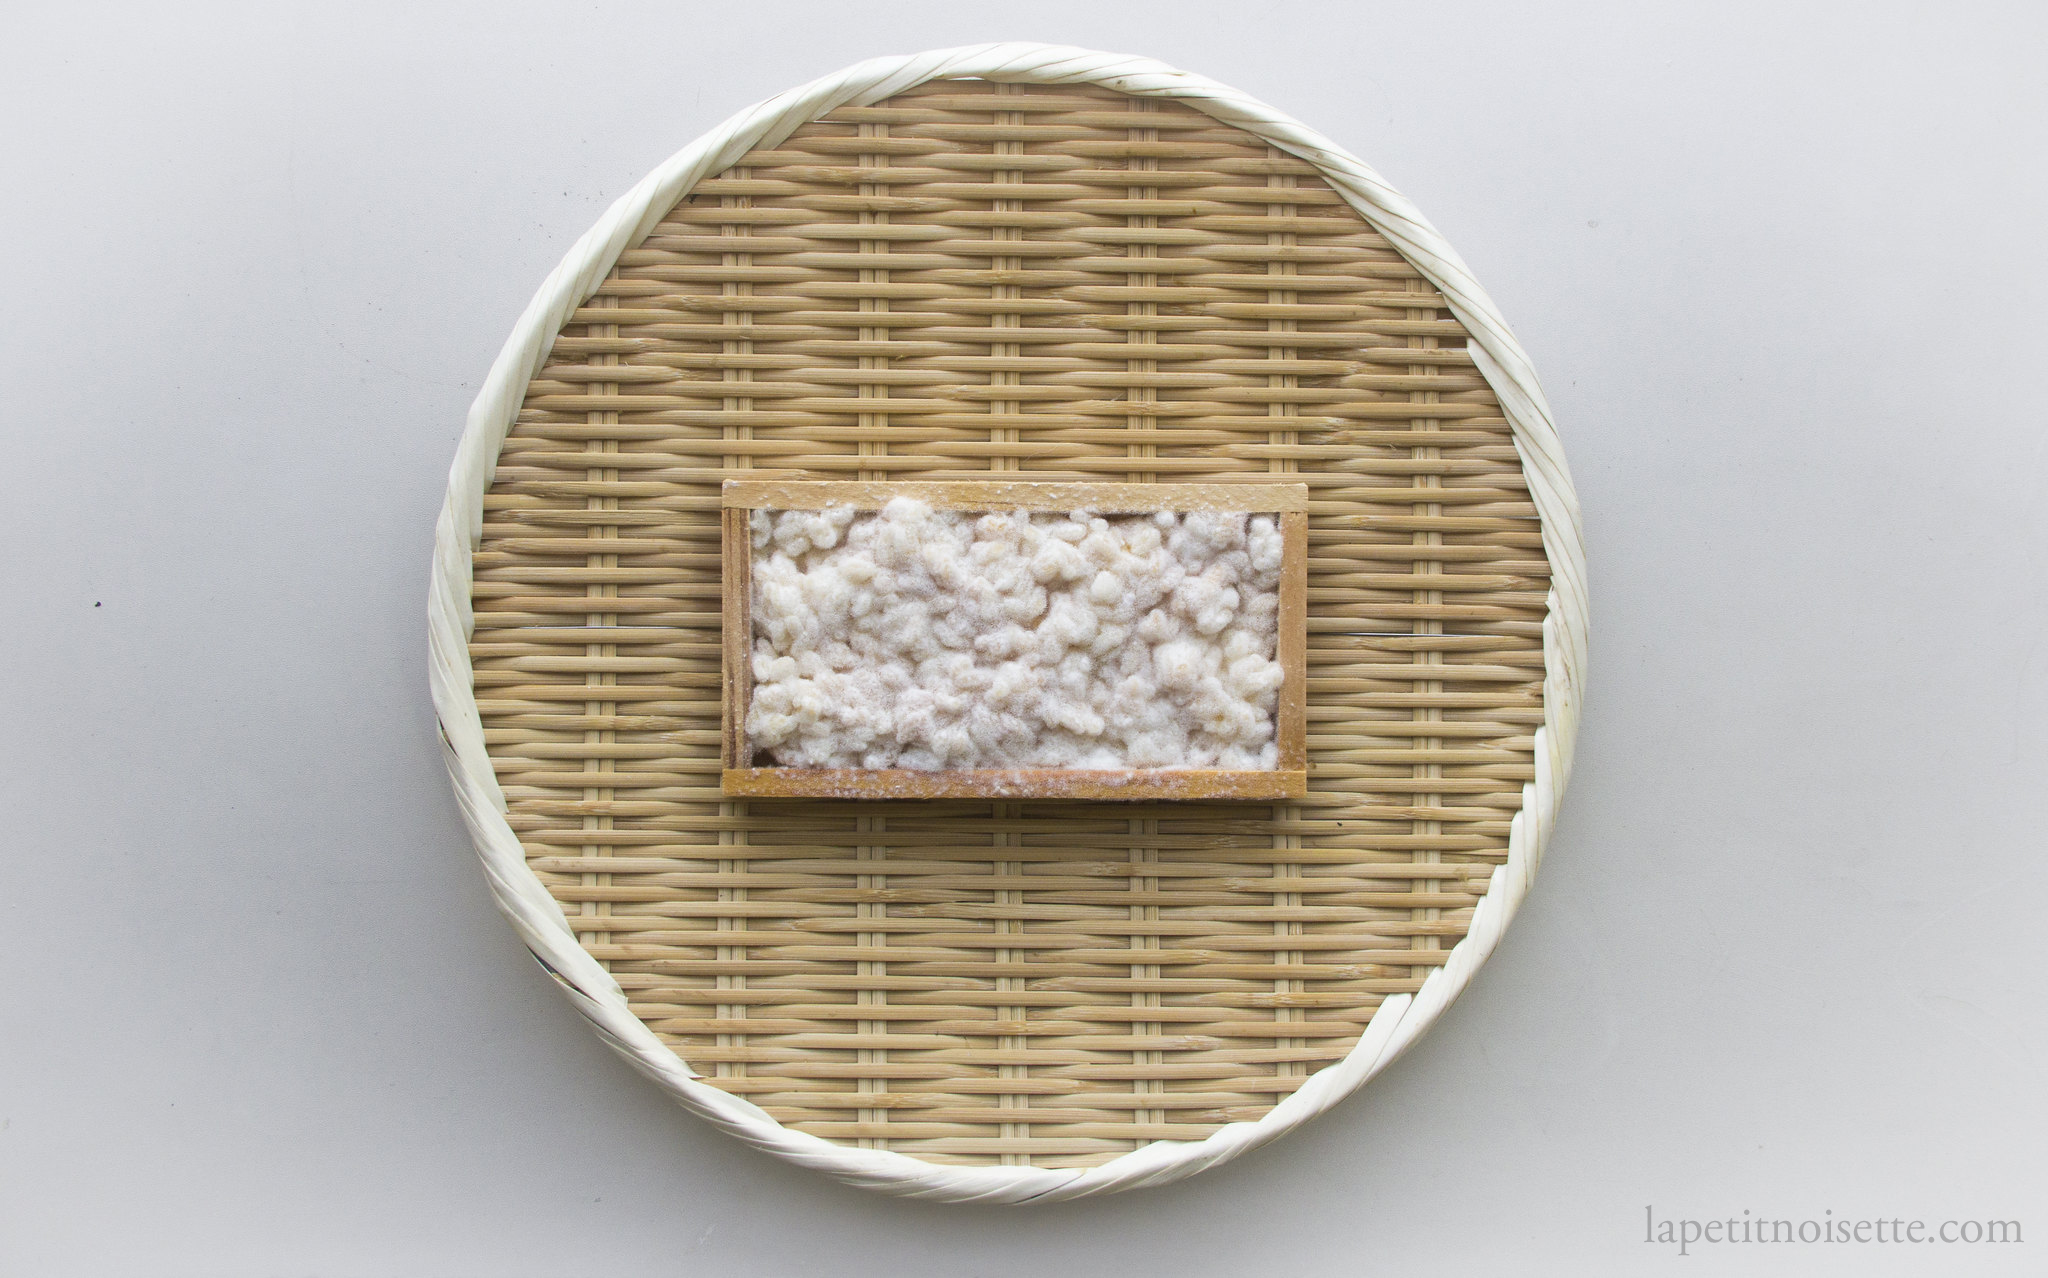
In Japan, koji is typically cultivated in cedar trays which are never washed and constantly reused. This means that over time, Aspergillus oryzae actually starts to live in these trays. This also occurs in the traditional wooden barrels used to make miso and soy sauce. Any tray or container that has ample air circulation also works. In this article I’m using the shallow cedar trays that were used to store sea urchins before that. Perforated trays work best as they allow air circulation underneath as well.
The three factors vital to control in order to grow koji successfully is oxygen, humidity and temperature. Their optimal states are:
- Plentiful oxygen flow
- 70% to 75% relative humidity
- 30°C (above 45°C the koji is unable to survive)
At these specific conditions, the koji will be fully matured after 48 hours. It is possible to start to smell the fruity aroma of the koji after 24 hours of growth, with its taste fully maturing after 48 hours, transitioning to a more savoury taste. In my personal experience however, if the temperature is lower or the other conditions are not optimal, it can take up to 4 days for the koji to fully mature. In that respect, the fact that it was possible to consistently grow koji on a 2 day cycle at Noma almost every day of the year in no small feat. If grown in too humid an environment, it can start to develop off flavours that is not unlike that of damp cardboard. Wet spots on the tray also might facilitate mold growth which would be dangerous.
Oxygen and airflow is important because the breakdown and absorption of nutrients is powered by aerobic respiration (which requires oxygen), which then also produces heat. Airflow allows this heat to dissipate while providing oxygen for the koji. The internal temperature of the koji can very easily reach the lethal temperature of 45°C if there is insignificant air circulation. The lack of air circulation may also cause a buildup of carbon dioxide pockets which may promote mold growth.
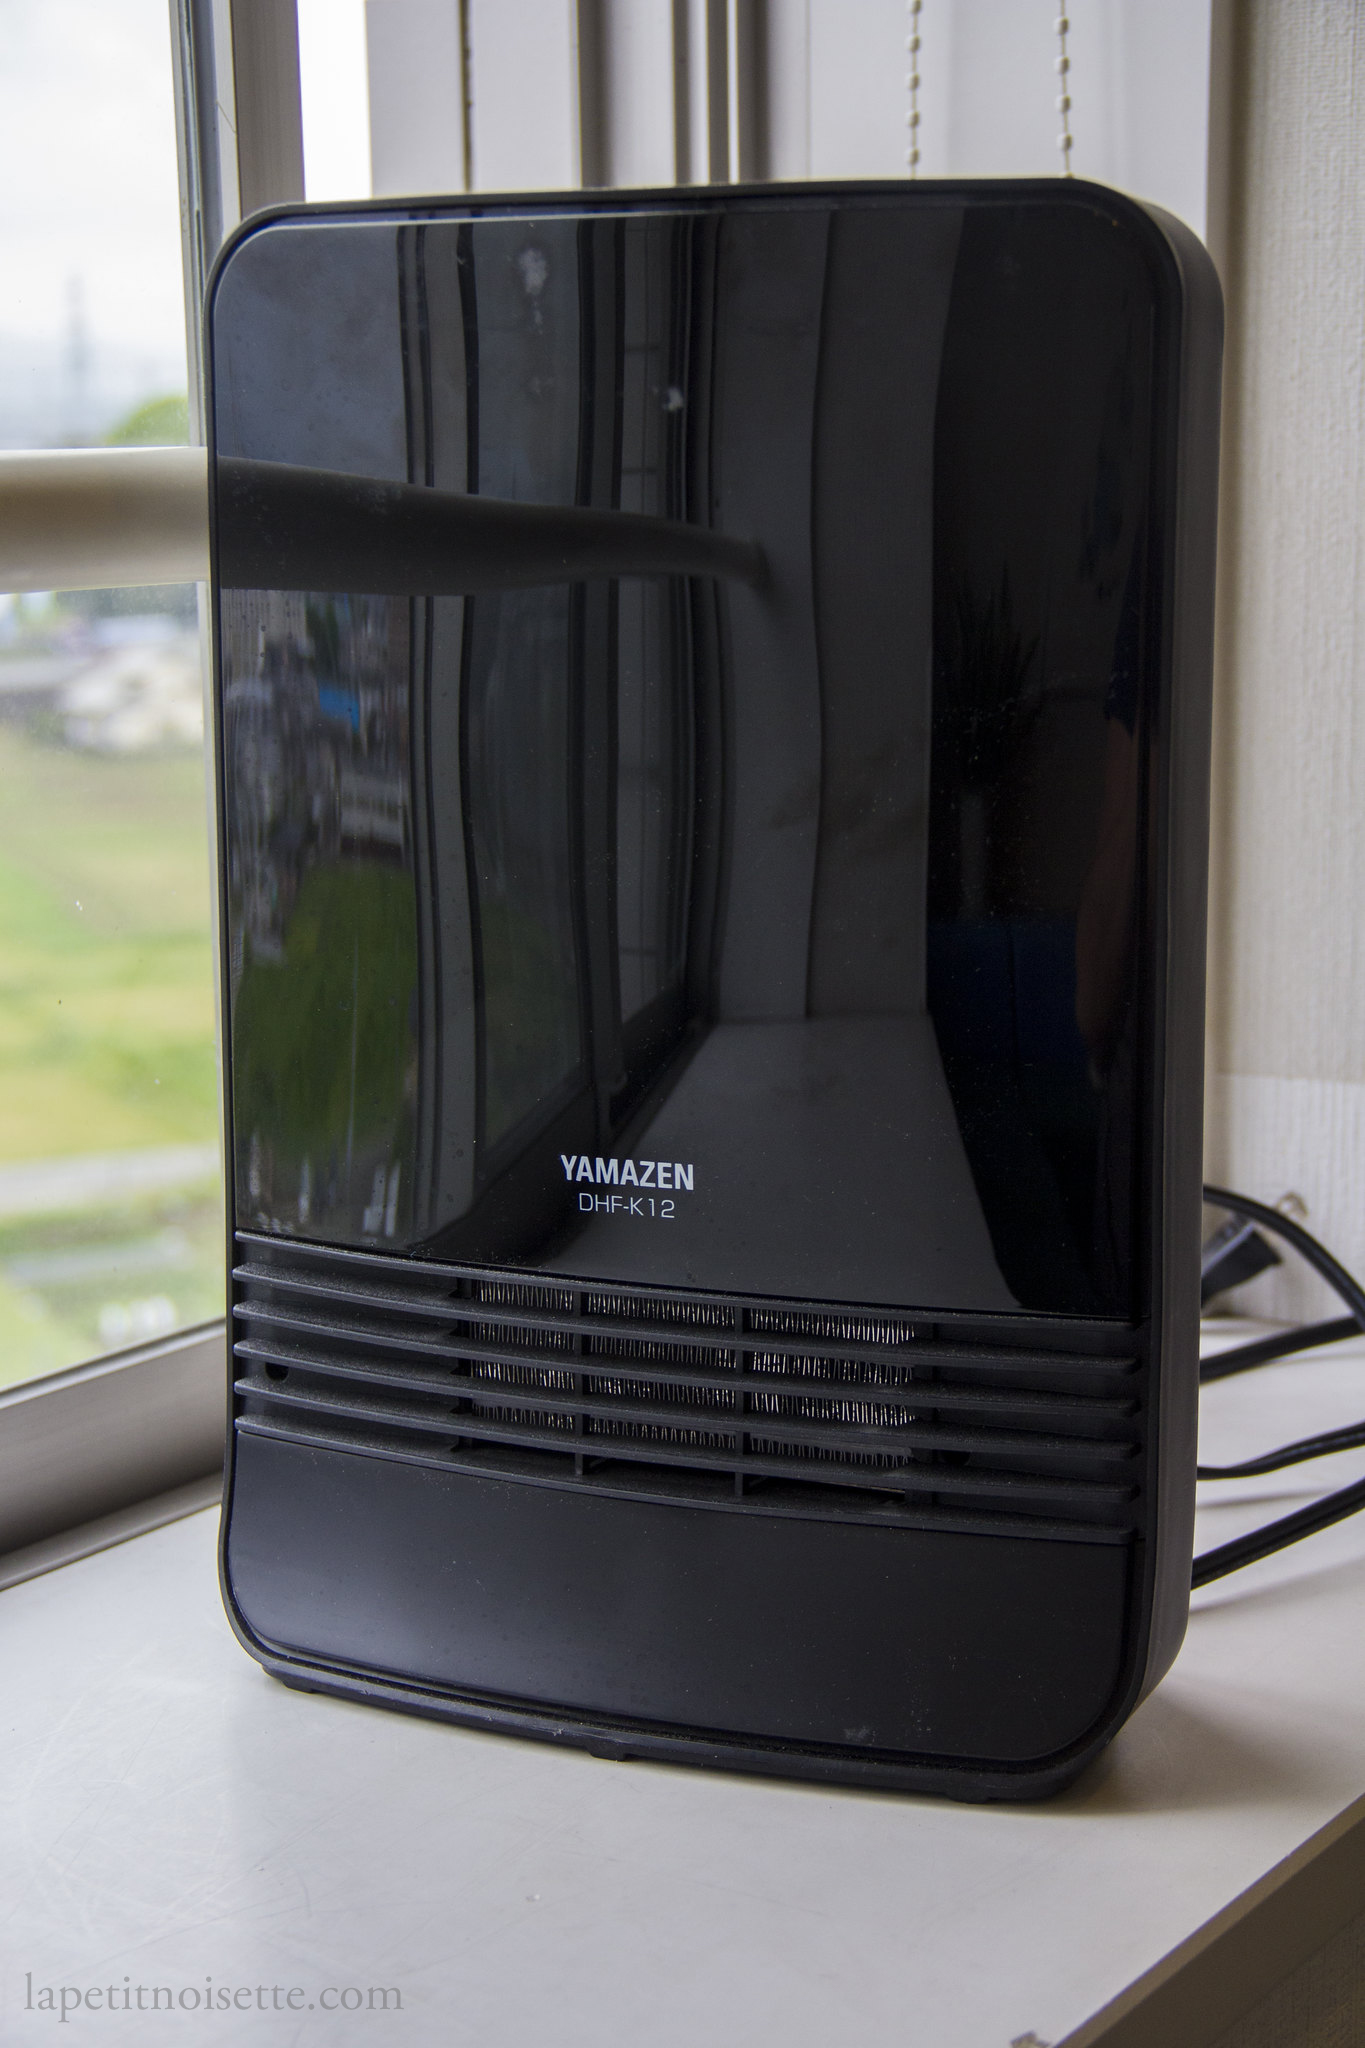
A relative humidity of 70% to 85% in Japan from June to August is not uncommon but otherwise, an artificially humid environment needs to be created. The best way to measure the humidity of a room would be a humidity meter but that’s actually not necessary at home. A humidity of around 75% is characterised by a small amount of condensation that doesn’t form into a pool. A damn towel should also remain at the same dampness when the humidity is just right (doesn’t dry out or increase in wetness). In order to maintain this humidity, it helps to have a confined space with a body of water which maintains the humidity through evaporation. Something along the lines of a 63 litre storage or small unused fridge works best. At my kitchen, I gently covered my trays with a damn towel and placed the trays in a small room with a large tub of water. I then heated the room with a standard winter room heater.
How to grow Koji (麹):
At each step, I will describe the processed that I personally used at home, while adding the process that we used at the restaurant in the notes. I grow koji on both white rice and brown rice here. As described above, the process for growing brown rice took an additional day as the koji grew much slowly compared to white rice.
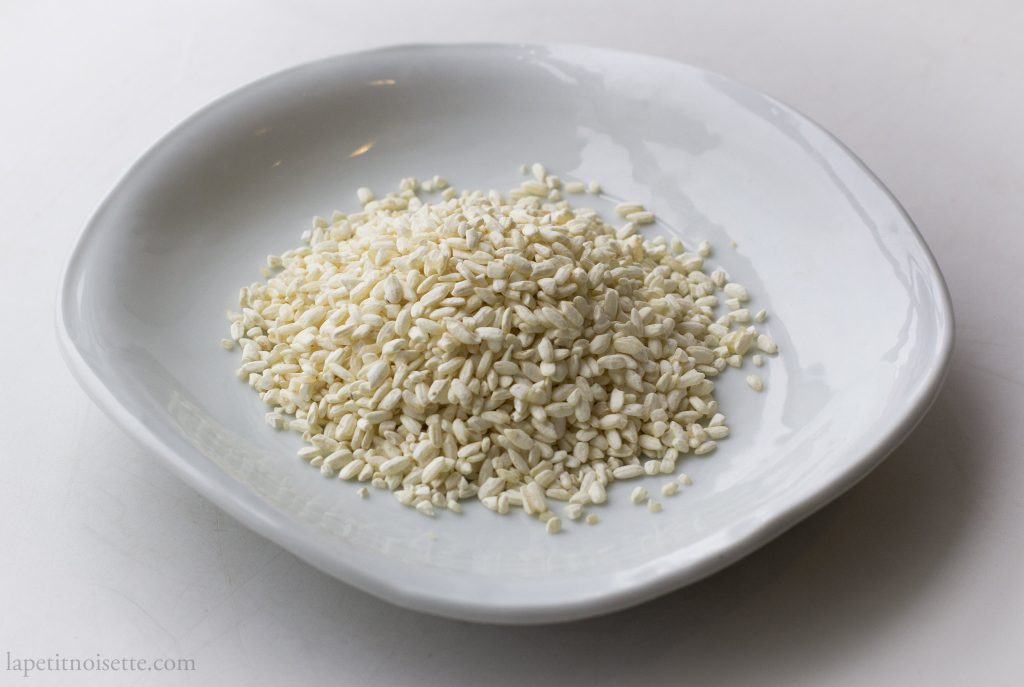
- Wash the rice in water three to four times until the water runs quite clear. This removes any excess start on the grains which will cause the koji to grow too fast, causing them to have produced an insufficient amount of enzymes needed to produce a pleasing taste.
- Cook the rice in a rice cooker as you typically would but adding slightly less water. I am lucky enough to have a rice cooker with a softness to hardness scale ranging from 1 to 5, with 3 being ‘normal rice’. In this case, I just used the number 4 setting (slightly less cooked).
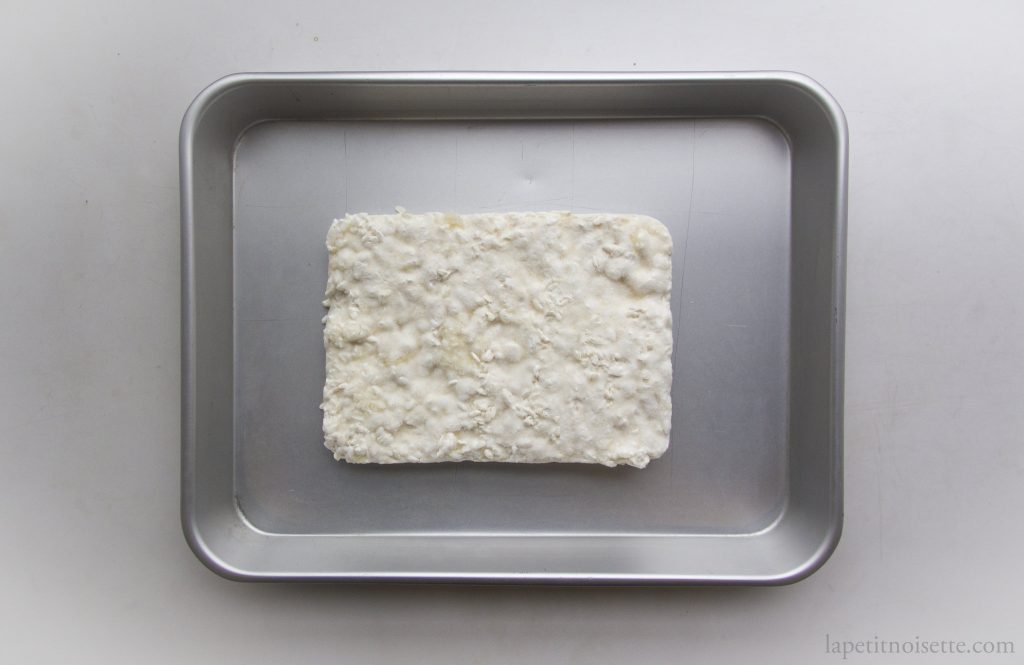
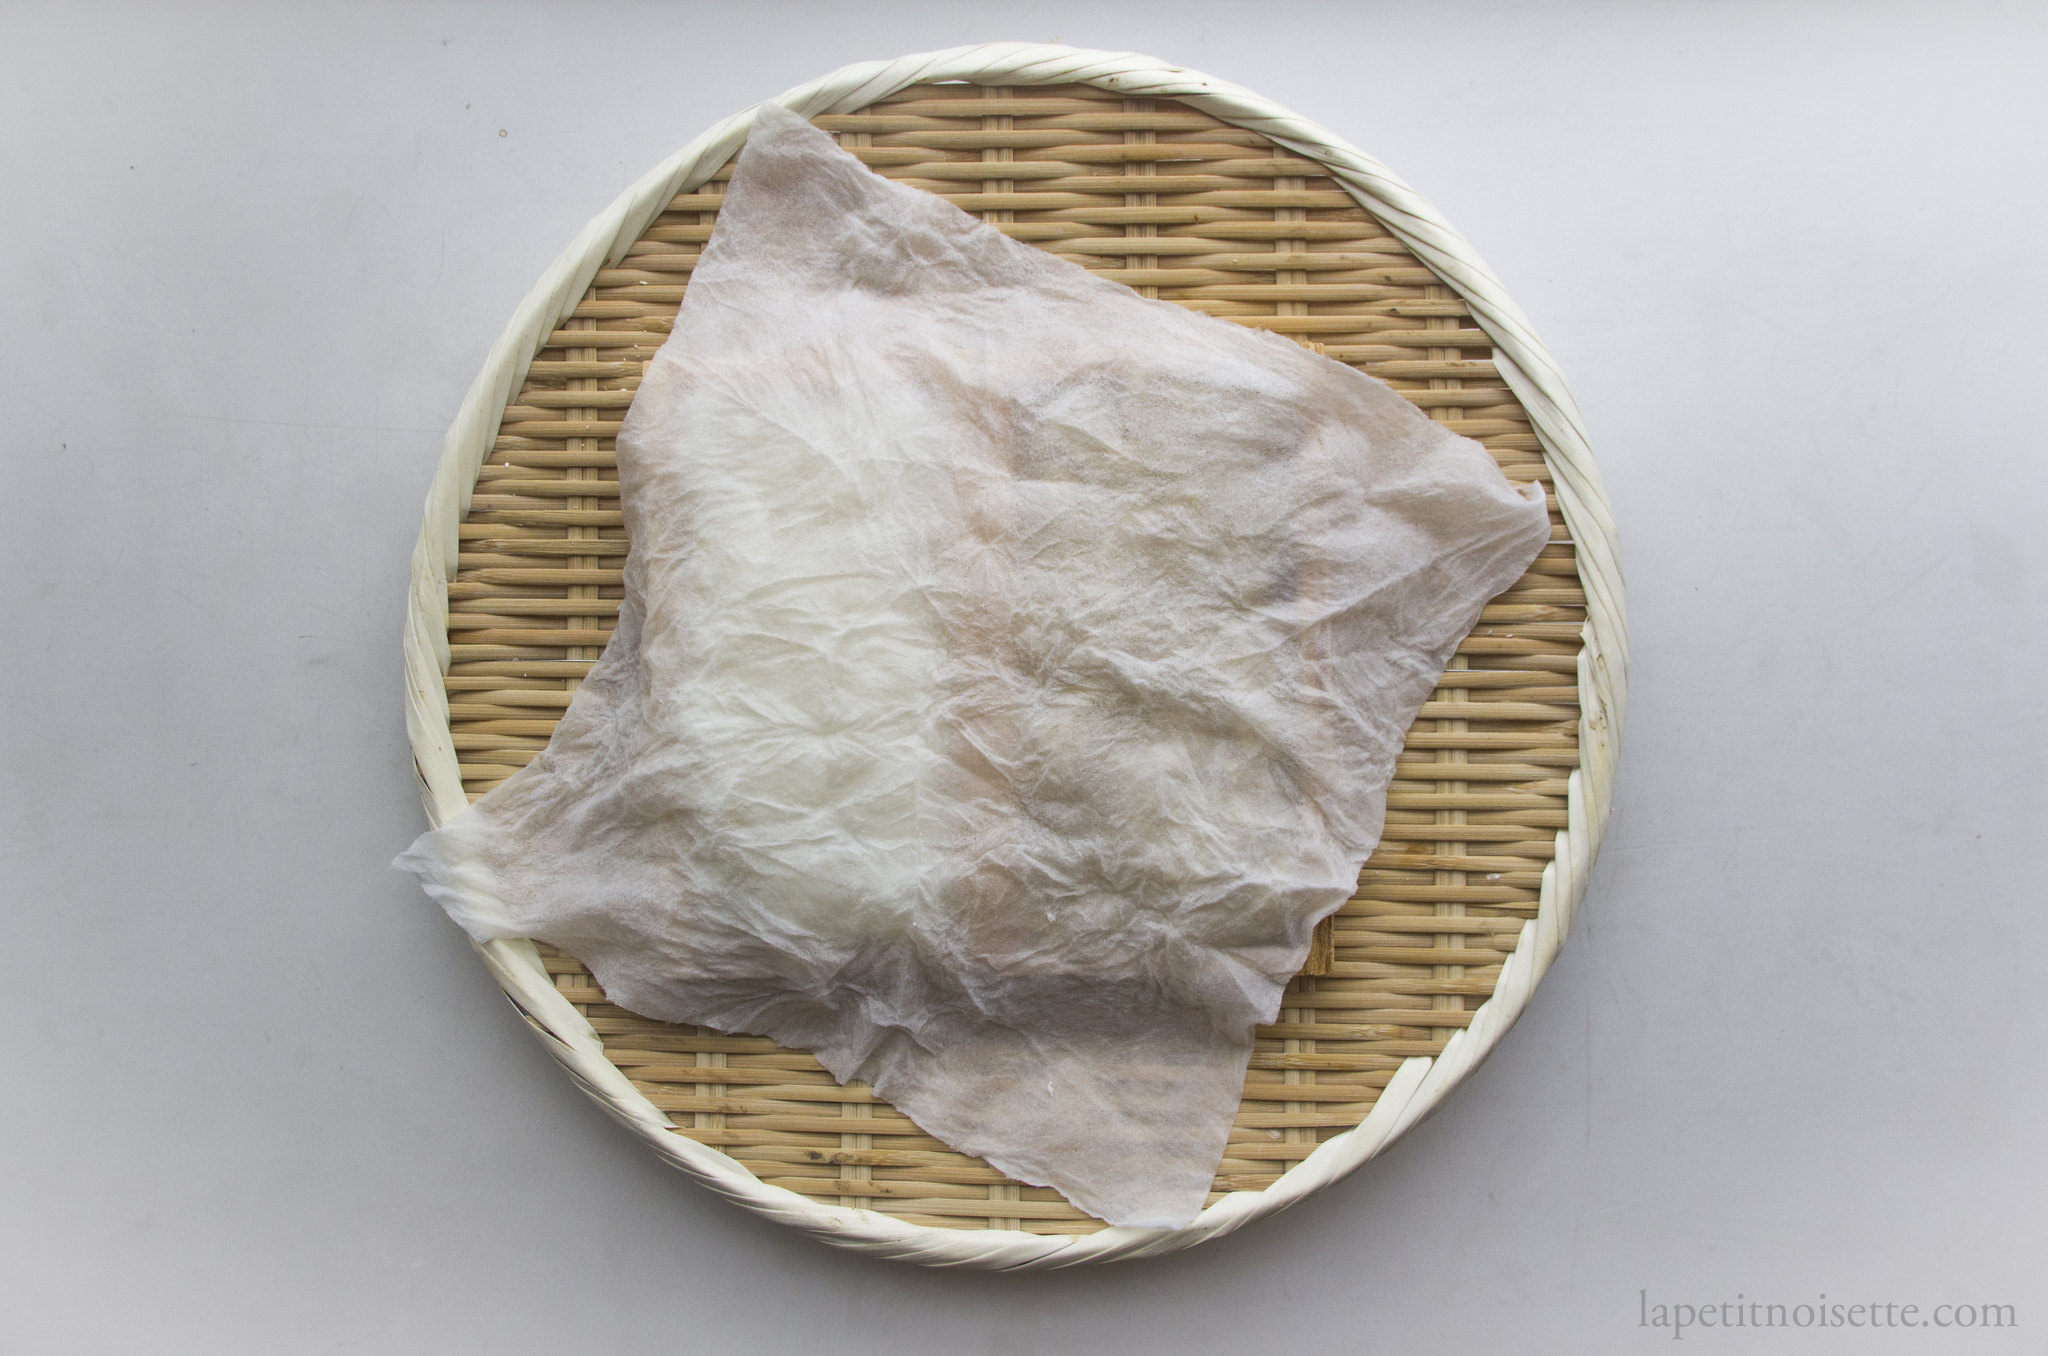
- Line your cleaned trays with damp towels. If using a wooden tray you do not need to line the trays with towels but a just about damp tray helps.
- Once the rice is cooked, spread out rice in a tray and allow to cool to body temperature. Adding the koji spores to hot rice would instantly kill the spores. When spreading out the rice, be sure to separate the grains gently to allow ample air circulation without crushing/mushing the rice. Cover the rice with a damn towel to prevent the rice from drying out. Alternatively you can allow the rice to cool in an ohitsu rice container (お櫃), which is a cypress container that allows you to store rice without it drying out.

- If using spores, make a small cut on the packet and gentle tap out the spores over the grains. Only a small amount is needed. Mix the rice together to evenly spread out the spores before adding a second application of spores and mixing again. If using koji rice, blend the rice into small bits in a food processor or hand blender and pour into a tea strainer. Tap the tea strainer over the rice in the same way as you would the spore packet.

- Cover with a damp towel and place in your fermentation environment for the first 24 hours. If using a perforated try, do not cover the holes by letting it sit directly on a surface but prop it up instead.

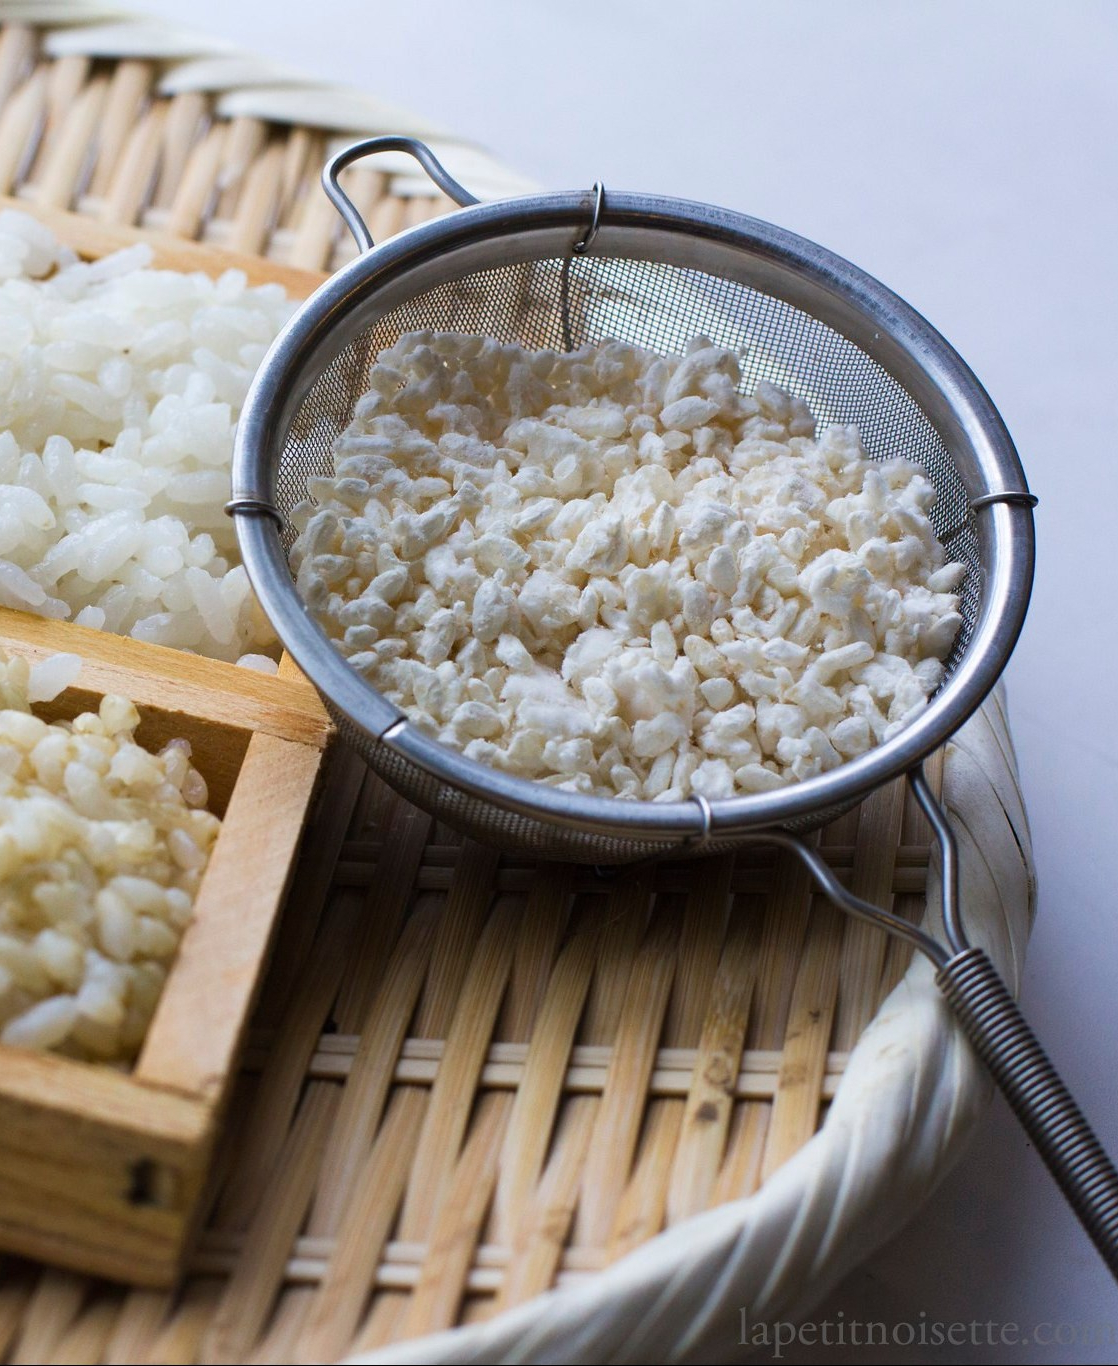
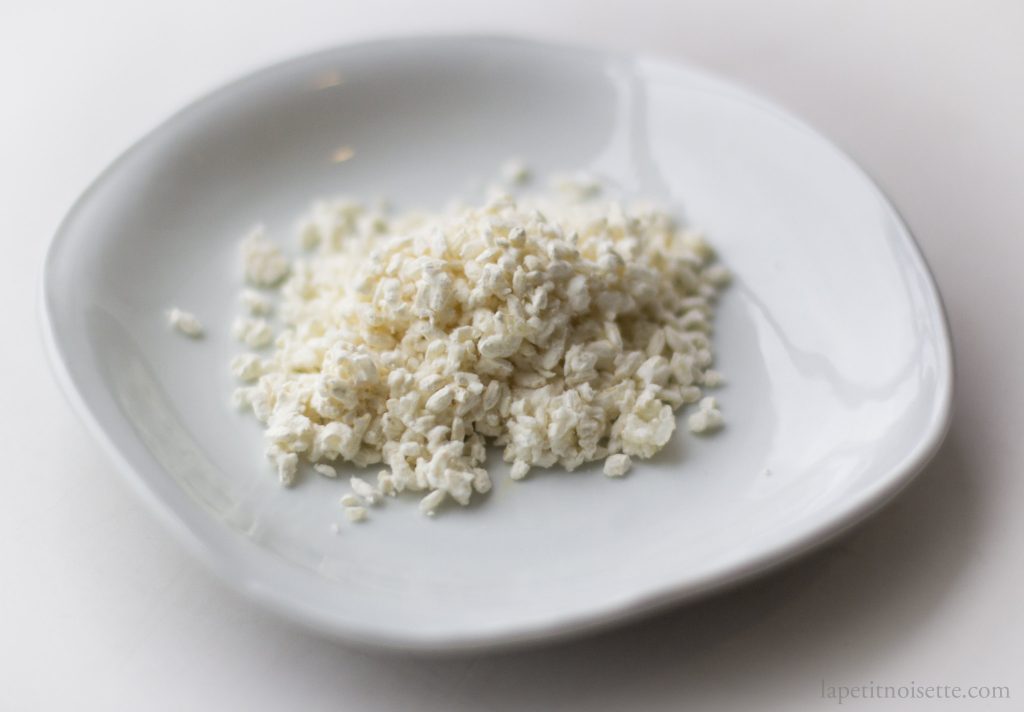
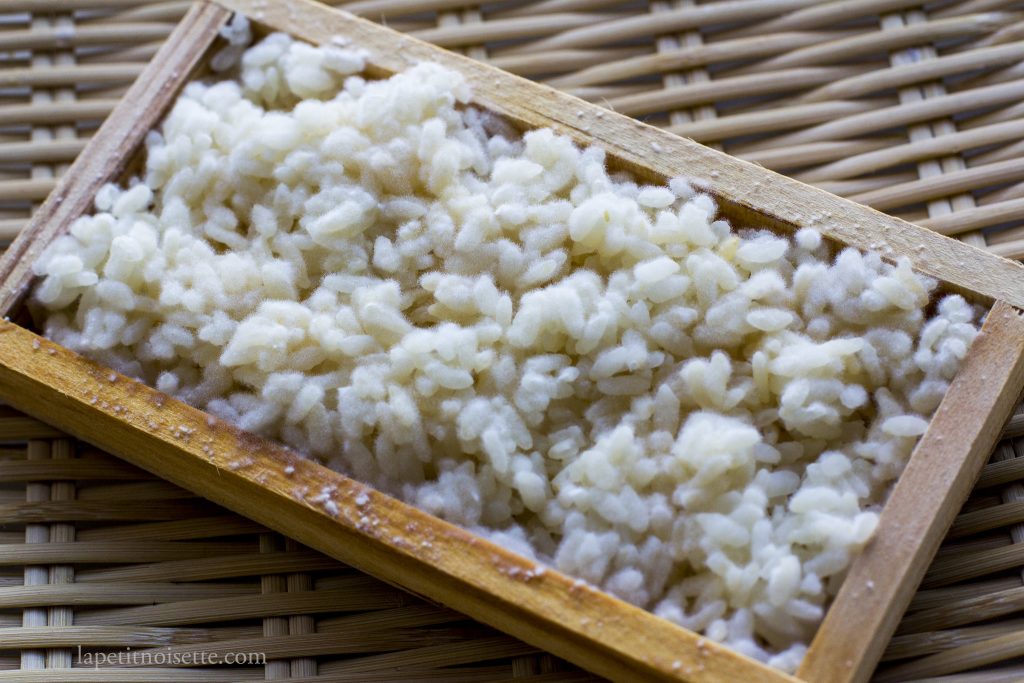
- After 24 hours, you should be able to see a small amount of white fluff growing on the rice- the first signs of growth! Take out the tray and gently separate and mix the grains back together to promote even growth and air circulation. Ferment for another 24 hours.


Notes:
- At Noma, we soaked the barley in the fridge overnight in order to fully hydrate the grains before steaming, making it easier for the koji to grow on the barley.
- Cooking grains in a cooker typically results in overly wet/mushy grains that were not optimal for koji growth and thus we always steamed our grains. If steaming your grains, steam until there is no more white in the centre, around 15 to 20 minutes. We used a Rational Brand combination oven in the kitchen.
- We used to separate the grains when they are still hot as they tended to clump together as they cooled. I used to wear a double layer of latex gloves before using my hands to do this.
- Using ground up koji rice has less spores than pure spores and some of the powder will just be rice. Therefore a larger dusting would be needed.
- After the first 24 hours, we furrowed the grains in the tray into three rows to allow for greater air circulation and heat removal. This is required when making a large amount of koji as heat generation can easily get out of control. I was only making a small amount that could easily be arranged in a thin layer at home and this step was therefore not necessary.
- We actually keep the koji refrigerated for a few days before freezing it as the enzymes continue to work on the rice even if refrigeration slows down the growth of the koji. This means that it’s taste will actually slowly increase up to a few days in the fridge.
On harvesting spores for the next generation
In the same way that it is possible to keep a sourdough culture going for many generations, it is possible collect spores from your previously cultivated bath of koji for future use. We tend to harvest koji after 48 hours because it is at this age/maturity at which it is the most flavourful. As you let koji continue to grow, it’s flavours start to become stronger and more pungent. If you continue to let your koji grow however, it will soon start to sporulate. If you want to harvest spores, start of by taking 48 hour old koji rice and separating them into individual grains on a tray as best as you can. This maximises the surface area of grow of the koji which in turn maximises the amount of spores that you can harvest.
As with before, cover the container or tray with a lightly damp towel and return to your fermentation environment. Continue to grow for another day and a half (around 36 hours). After this period of time, your grains should be even fluffier than before and should shed powder if gently touched/agitated. This powder is the spores of the koji. To dry the grains covered in koji spores, remove the damp towel from the tray and remove the source of humidity. Allow to dry until hard before storing in the freezer (around 2 days).
Basic Safety Measures
The best safety measure against mold/bacteria growth and infection is just some basic common sense. We as humans have a remarkably good intuition when it comes to judging whether food is safe to eat or not. If the food doesn’t smell edible or smells slightly off then chuck it out. Properly grown koji should smell sweet and not pungent. Its colour should also be a nice vibrant white or sometimes slightly yellowish colour. Any black or blue colours means that something has gone wrong (and so you should throw it out). The tray you use to grow your koji should also be washed clean and the towels that you use to cover the koji should also be washed. At Noma, we had temperature probes that we inserted into the inside of the rice in order to monitor the temperature and we usually wiped the probe with alcohol to sterilize it before inserting it. A completely over the top sterilization of everything is unnecessary and just basic kitchen hygiene goes a long way.
[…] is a type of distilled liquor made in Japan fermented with the aid of Koji. This liquor can be made from sweet potato, barley or rice. After the final distillation, most […]
Wow! Thank you!
This is great information!
Thank you!!!
You’re welcome! 🙂
Arte, pura arte!
Thank you! 🙂
Hey thank you very much. This is great detailed information.
You’re welcome!