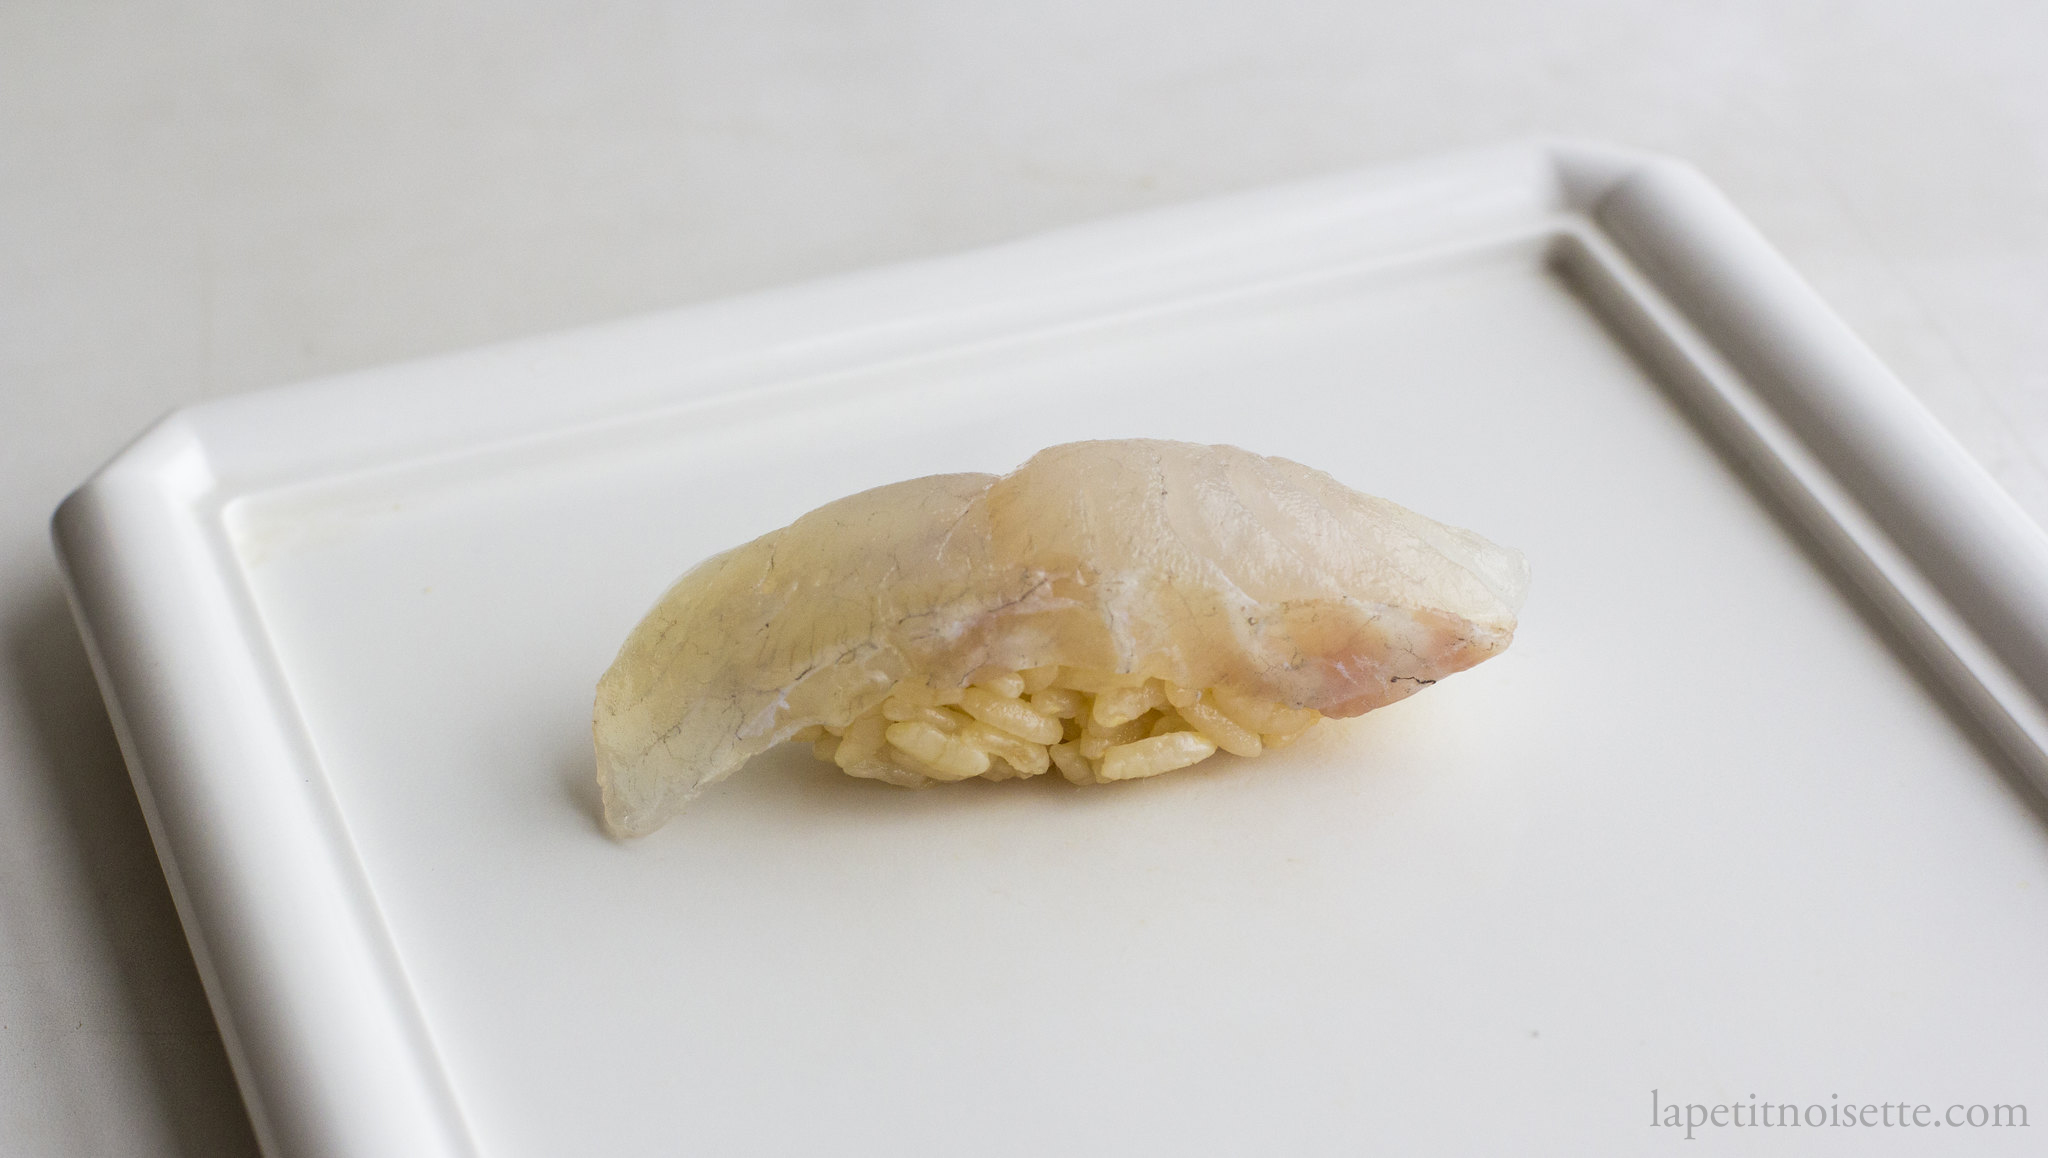
The Japanese Sea bass, or Suzuki (Lateolabrax japonicus), is one of the more unique fishes that make up traditional Edomae sushi. This is because the Suzuki spend their lives growing up in freshwater rivers and only return to the ocean to breed. Whilst classified as a white fleshed fish (Shiromi/白身), it has a strong and less delicate taste compared to other Shiromi. Instead, due to its mix of flesh water and salt water food diet, they can sometime’s taste a forward and bold flavour, which can become muddy in low quality Suzuki.
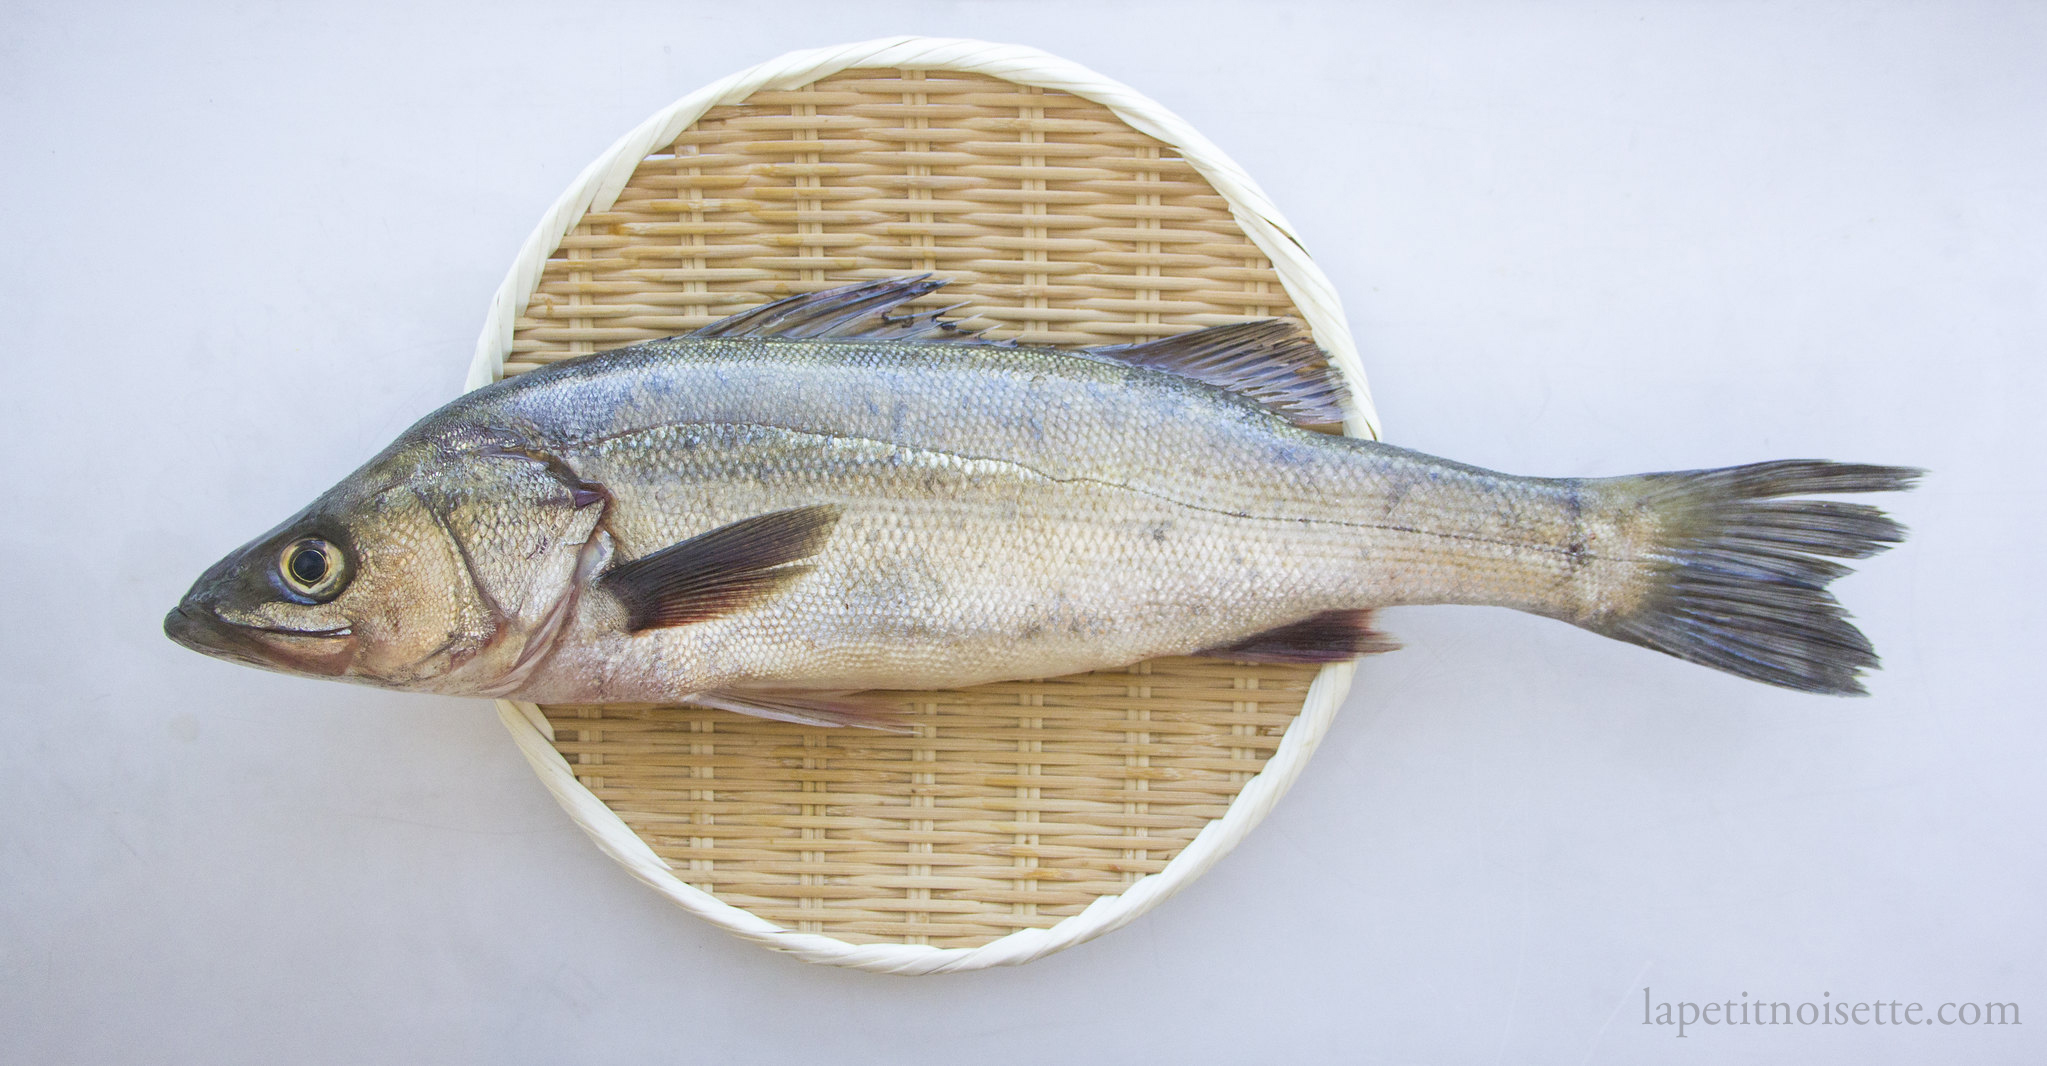
Just like Kohada and Hirame, Suzuki is a Shusseuro (出世魚), which indicates a fish that changes it’s name whilst it goes. Small baby Sea bass under 25cm is known as Seigo (セギお), before growing into a Fukko (ふっこ) around 40cm and finally being called a Suzuki when fully grown. Suzuki is in season during the summer, whilst Fukko is in season during the spring. This means that Suzuki and Fukko is typically served along Mako Garei, which is also in season during the summer. As these two fishes are both white-flesh fishes, it allows you to enjoy the contrasting difference between their tastes, where Mako Garei is delicate and light whilst Suzuki is bold and straightforward.
If the muddy taste of Suzuki is too strong, it is sometimes served with a little miso-vinegar mix on the top of the nigiri, mellowing out the strong taste.
Edomae-style preperation of Suzuki:
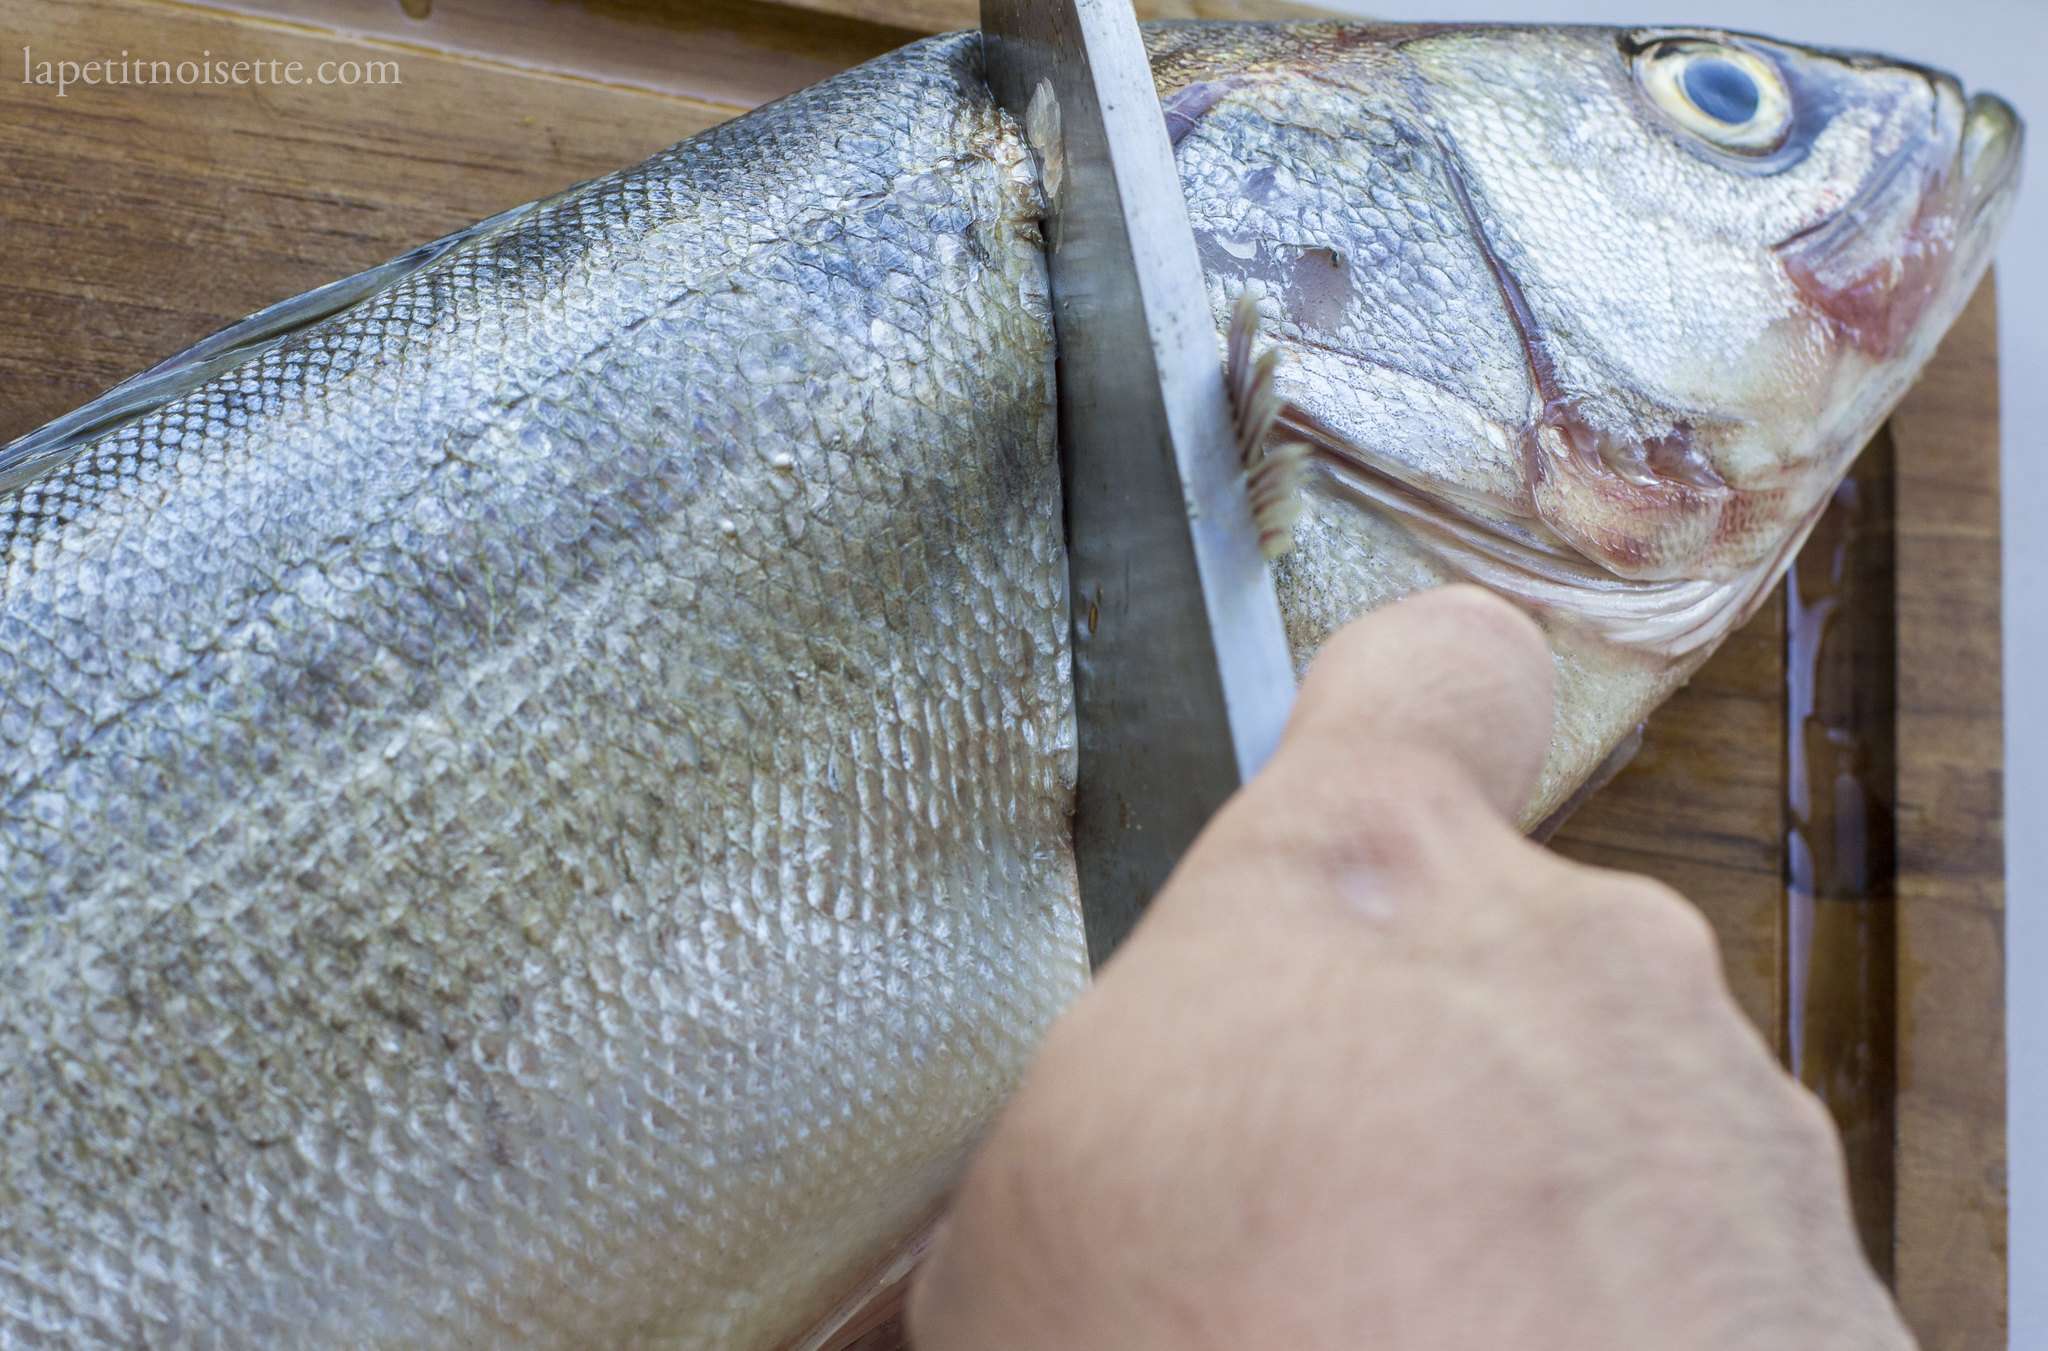
Remove the head of the fish and begin the filleting process. This is done by cutting the head on both sides behind the pectoral fin.
Make a cut down the belly of the fish starting from just below the head all the way to the anus. The cut runs through the pelvic fins, separating them into right and left pelvic fin. The flesh in between the pelvic fin is tough and will require some force. This is why the sharpness of the knife is important. Be careful not to cut yourself.
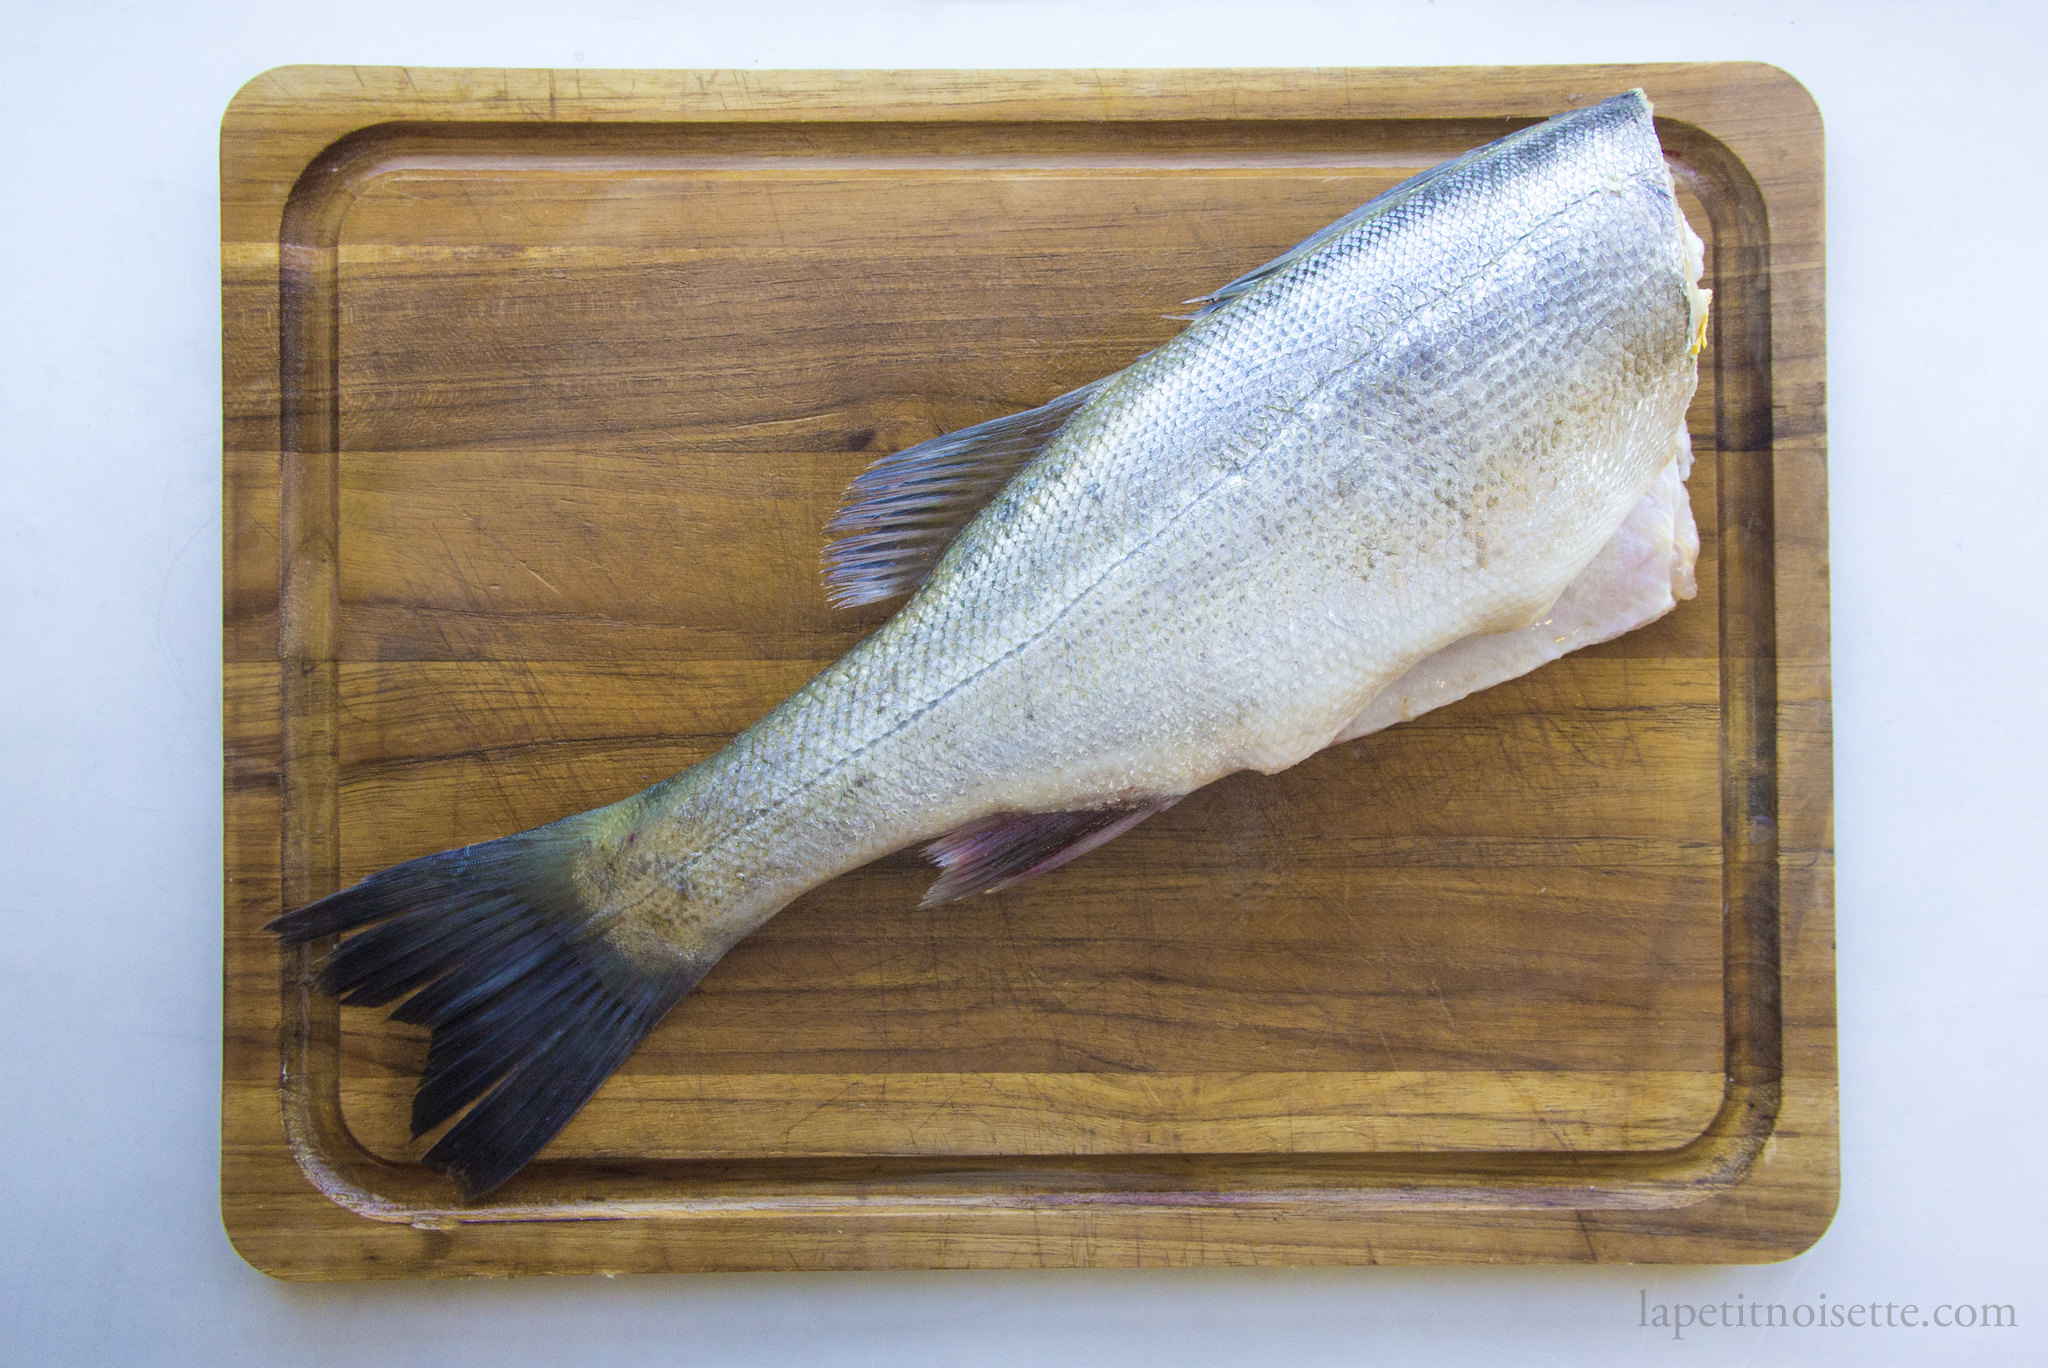
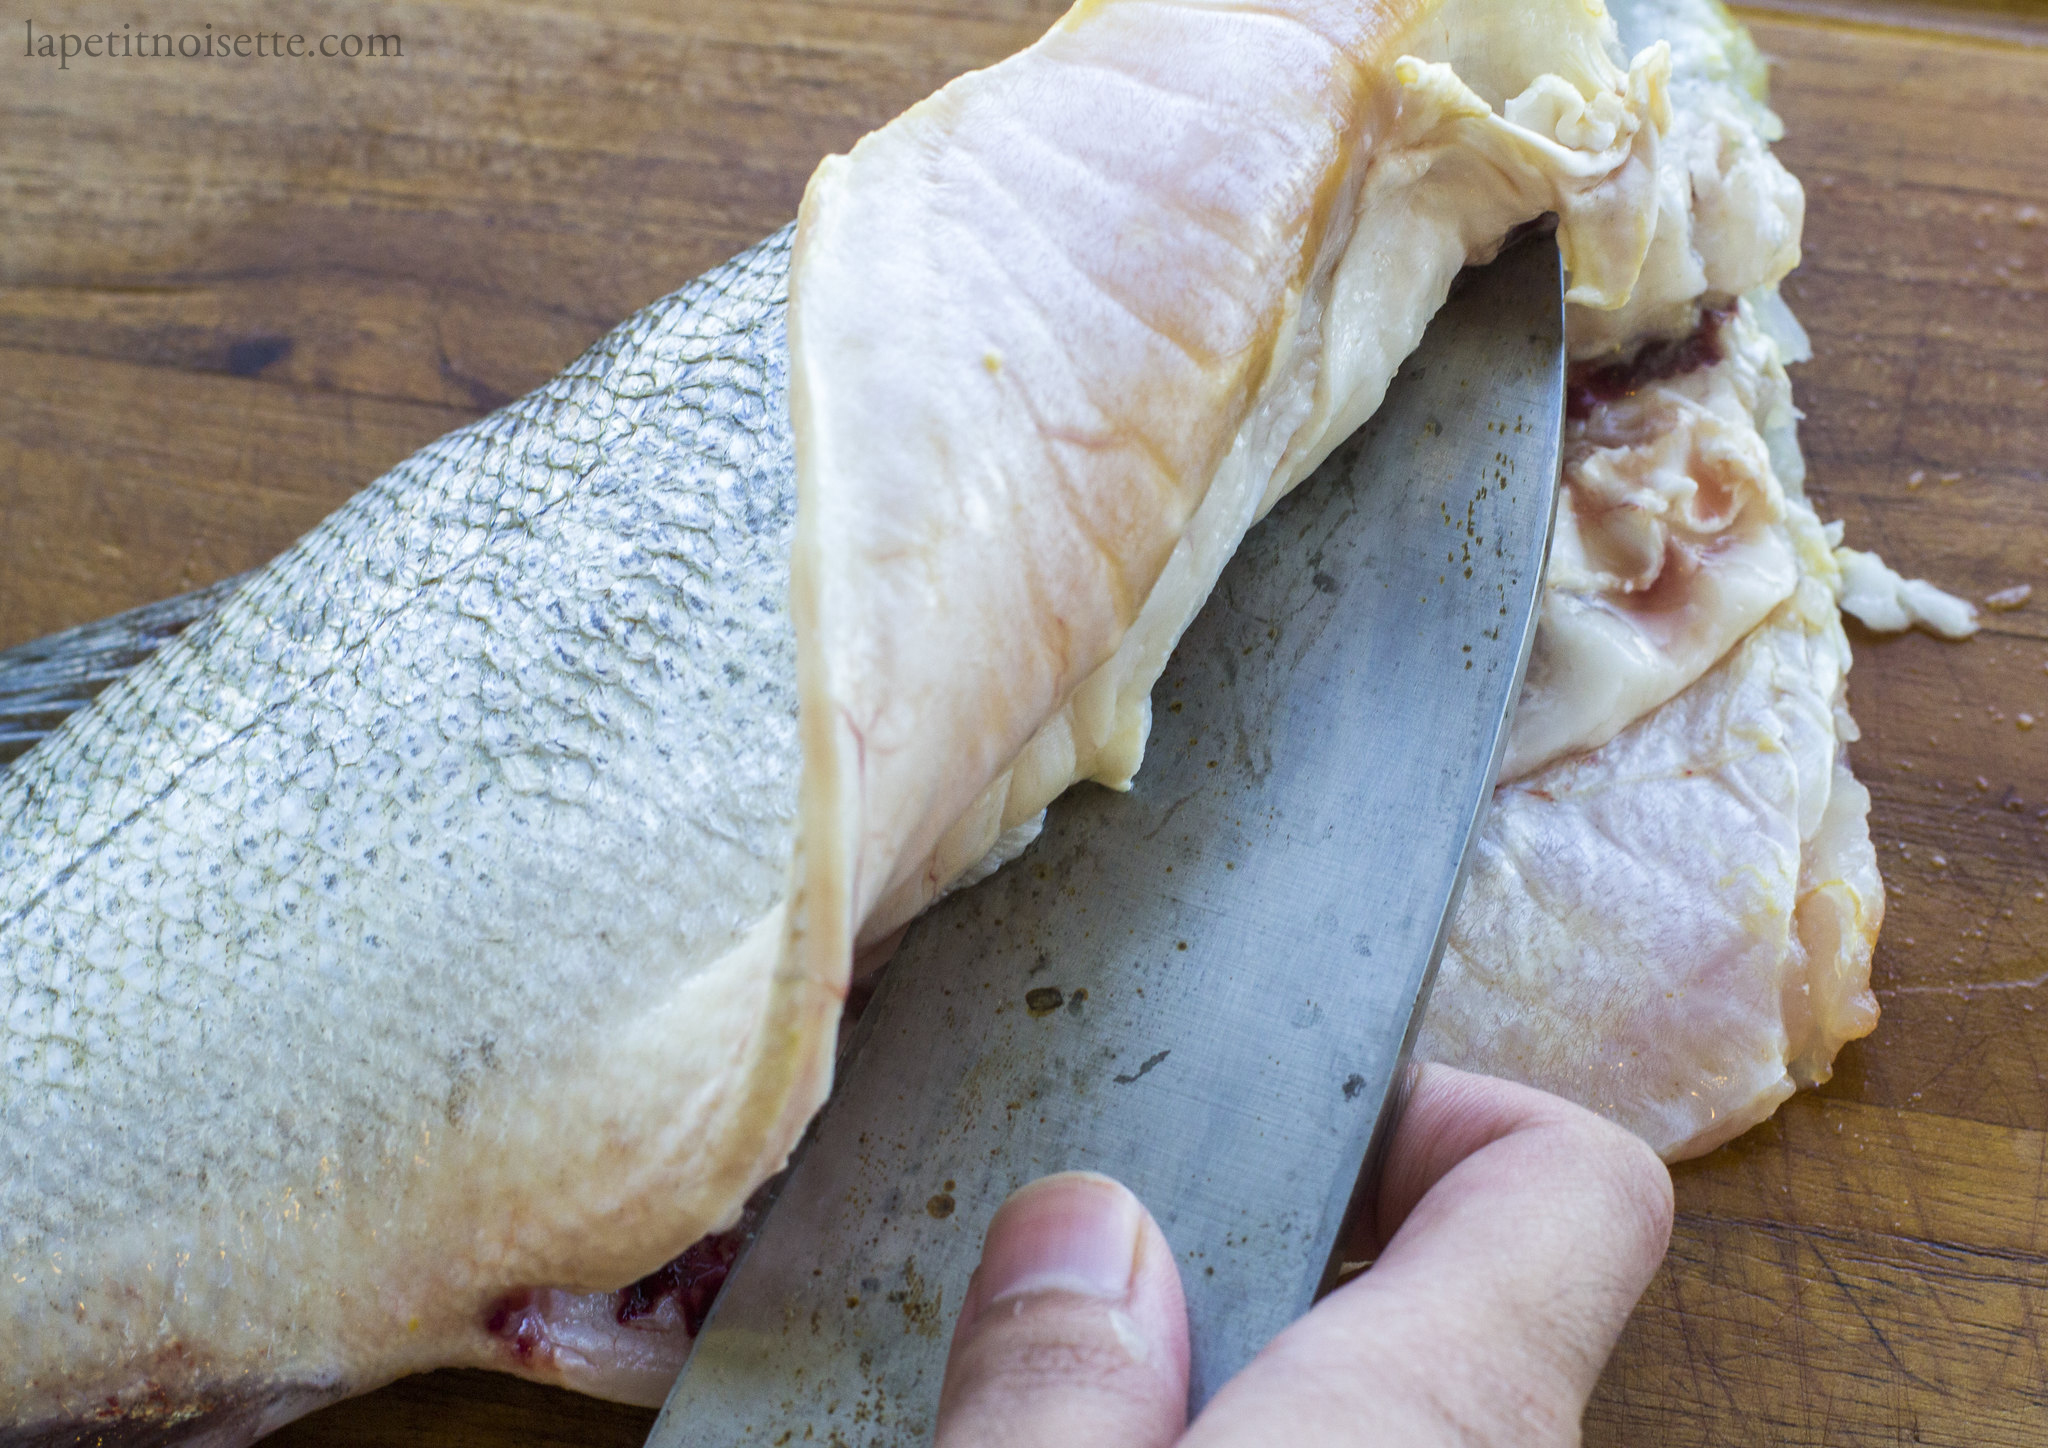
Open up the entire fish cavity and pull away the innards.
The fish’s air bladder is located at the centre of the cavity where the rib cage meets the backbone. The air bladder is connected to a blood line that needs to be removed. Cut open the bladder by running the knife through it all the way to the blood line underneath. Whilst under a light stream of cold water, wash the cavity and remove the blood from the blood line. Use an old toothbrush the remove and bit and pieces.
Start by opening the internal cavity of the fish, inserting the tip of the knife and breaking the rib bones, separating them from the backbone.
Next, the flesh starting from the end of the belly cavity all the way down to the tail, angling the blade towards the bone.
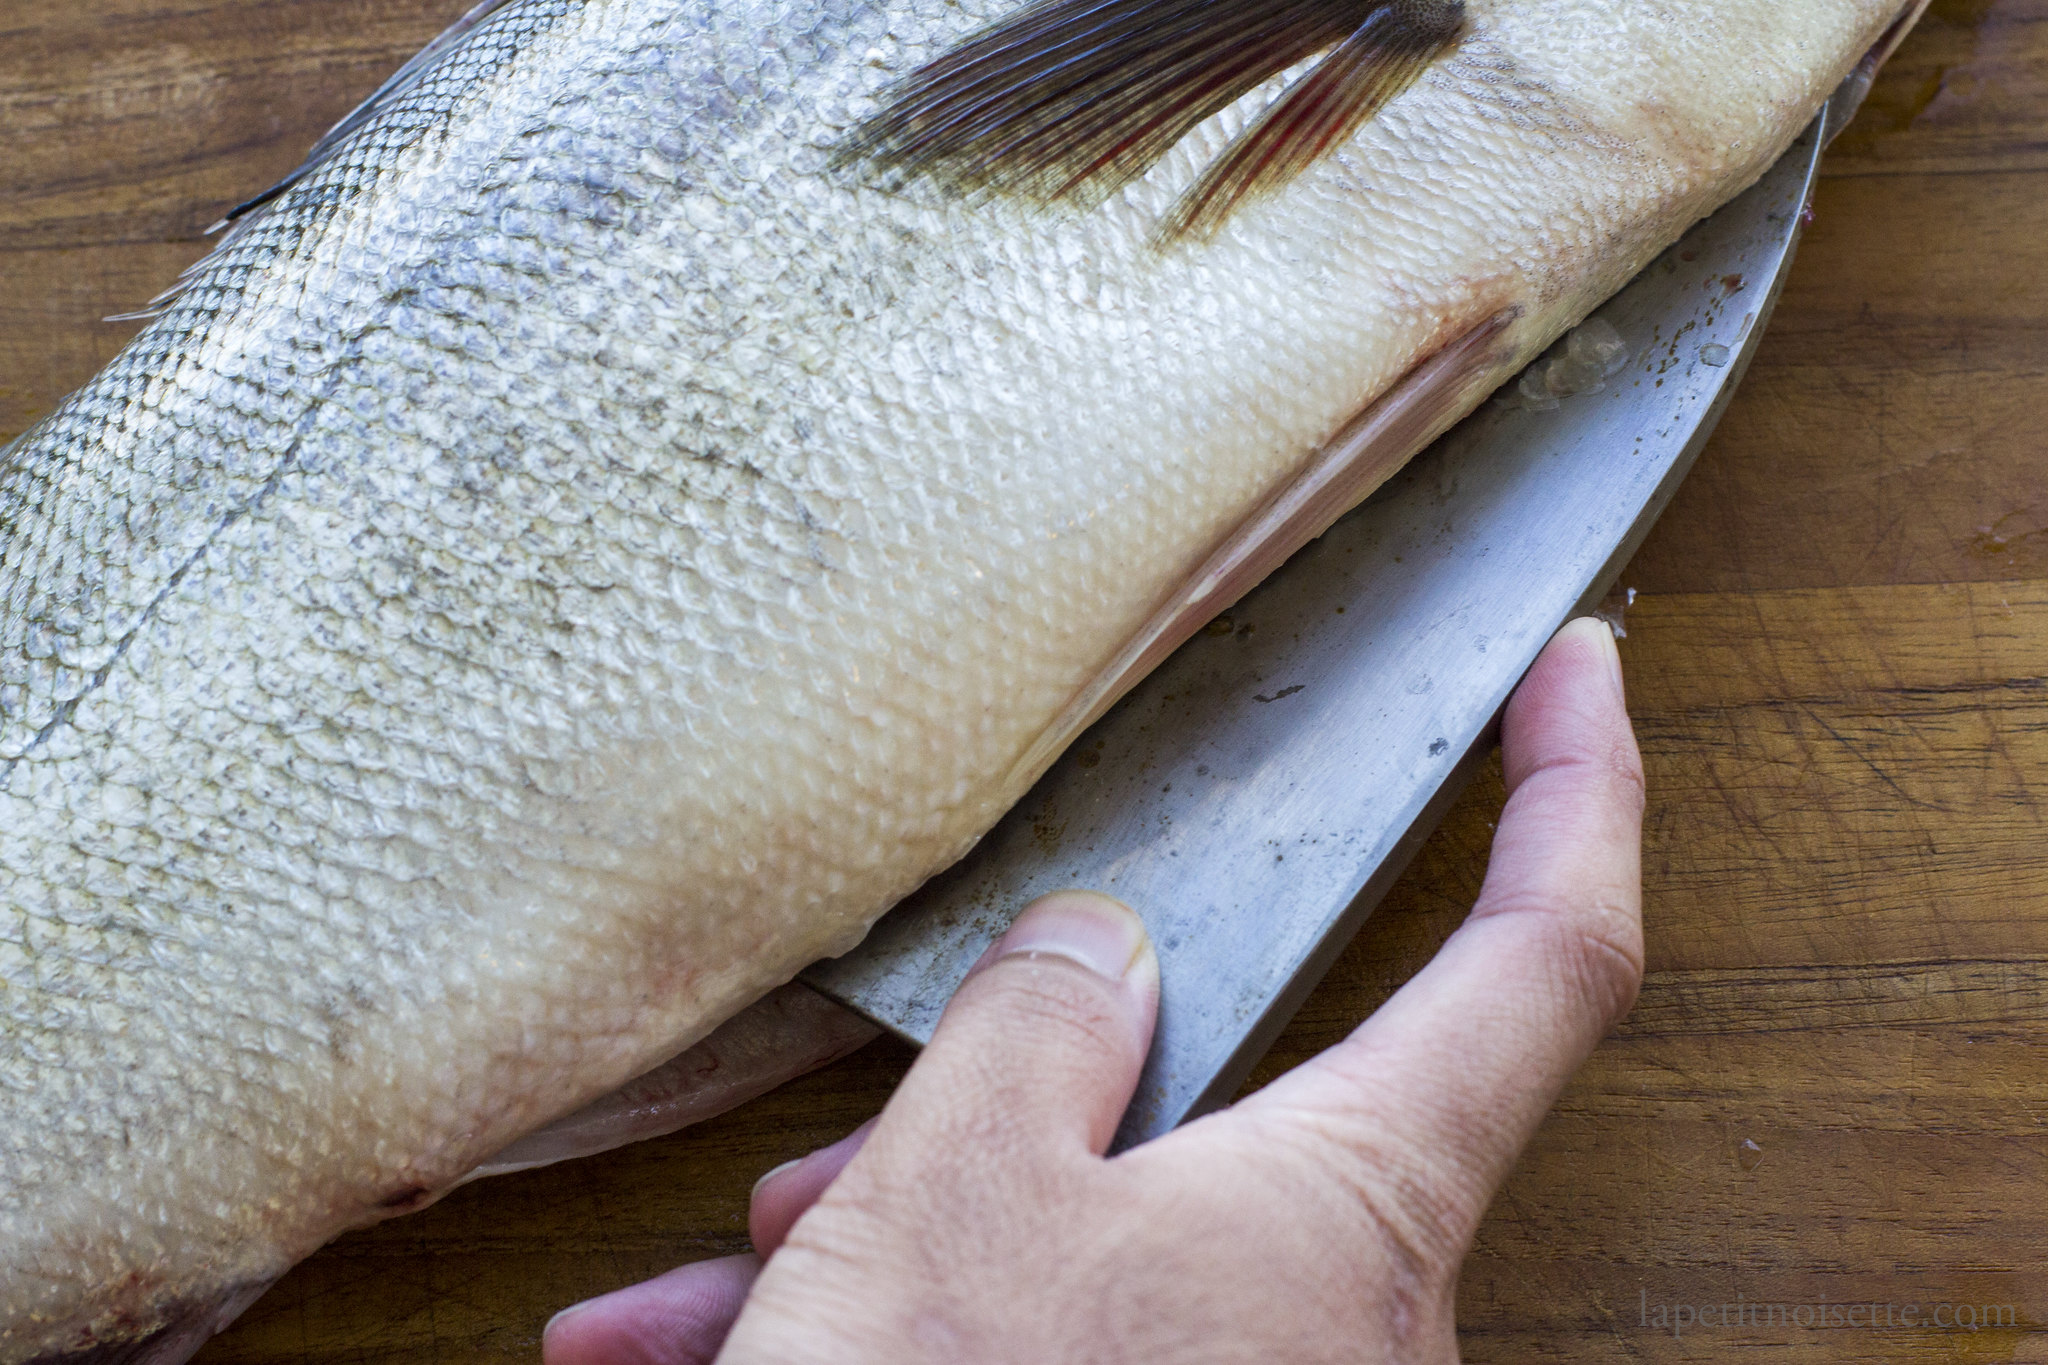
Turn the fish around and place the knife above the dorsal fin. Use your other hand to support the fish. In long cutting motions, separate the flesh from the spine of the fish, angling your blade downwards so that you can feel your blade running along the spine, minimising waste. if the long cutting motions prevents the flesh from being damaged too much from multiple cuts. Cut as close to the spine as possible to prevent flesh from being left on the bone.
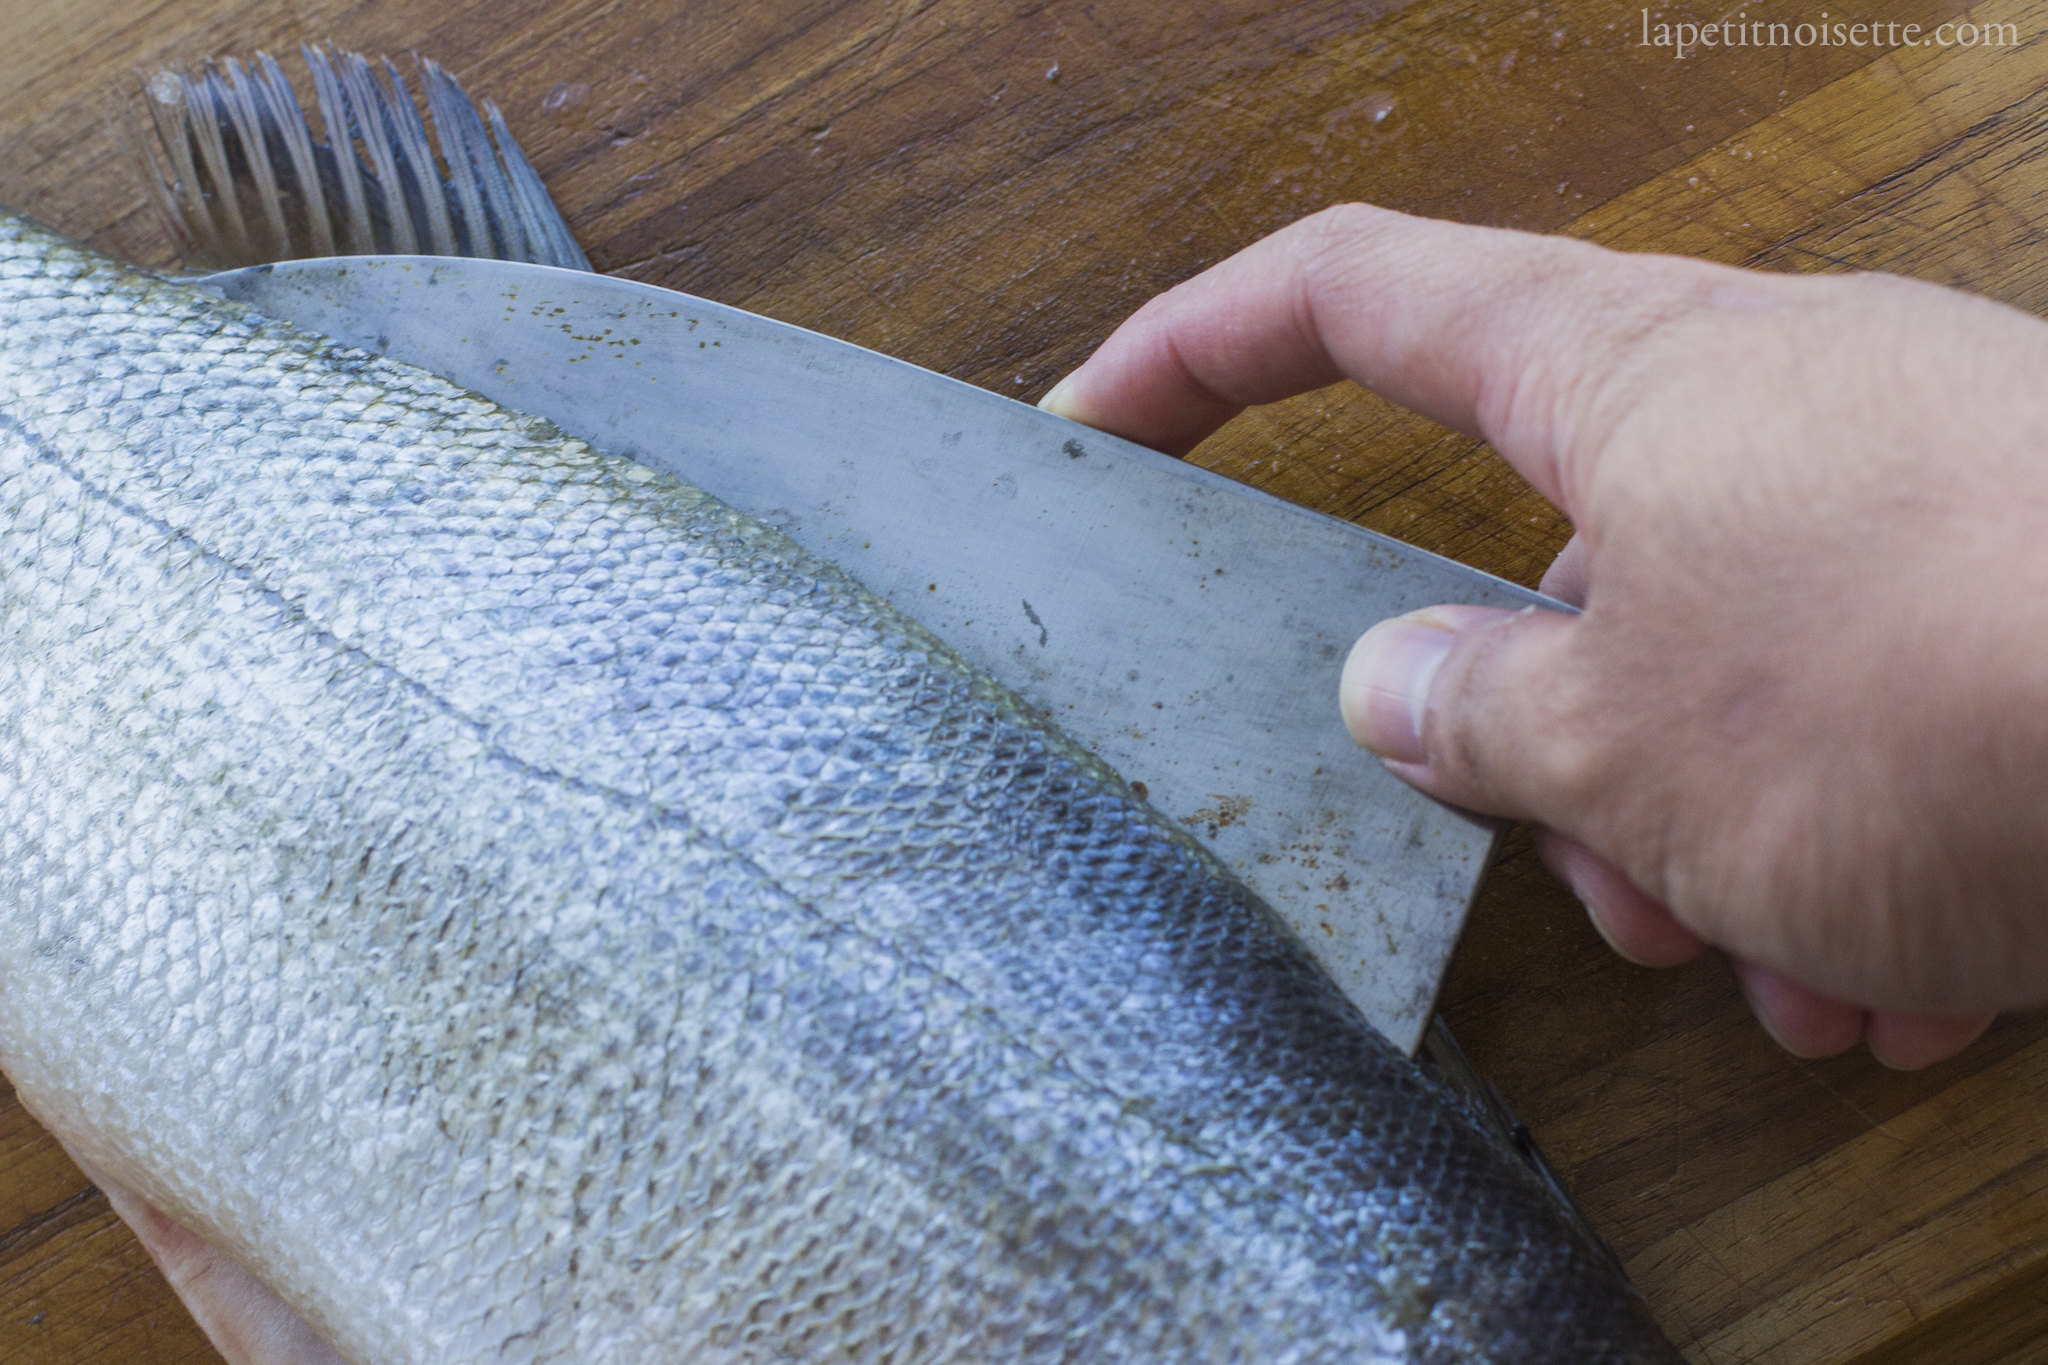
Continue the cutting motion until the entire fillet is separated from the fish. Making an incision at the tail of the fish and cut off the flesh attaching the fillet to the head.
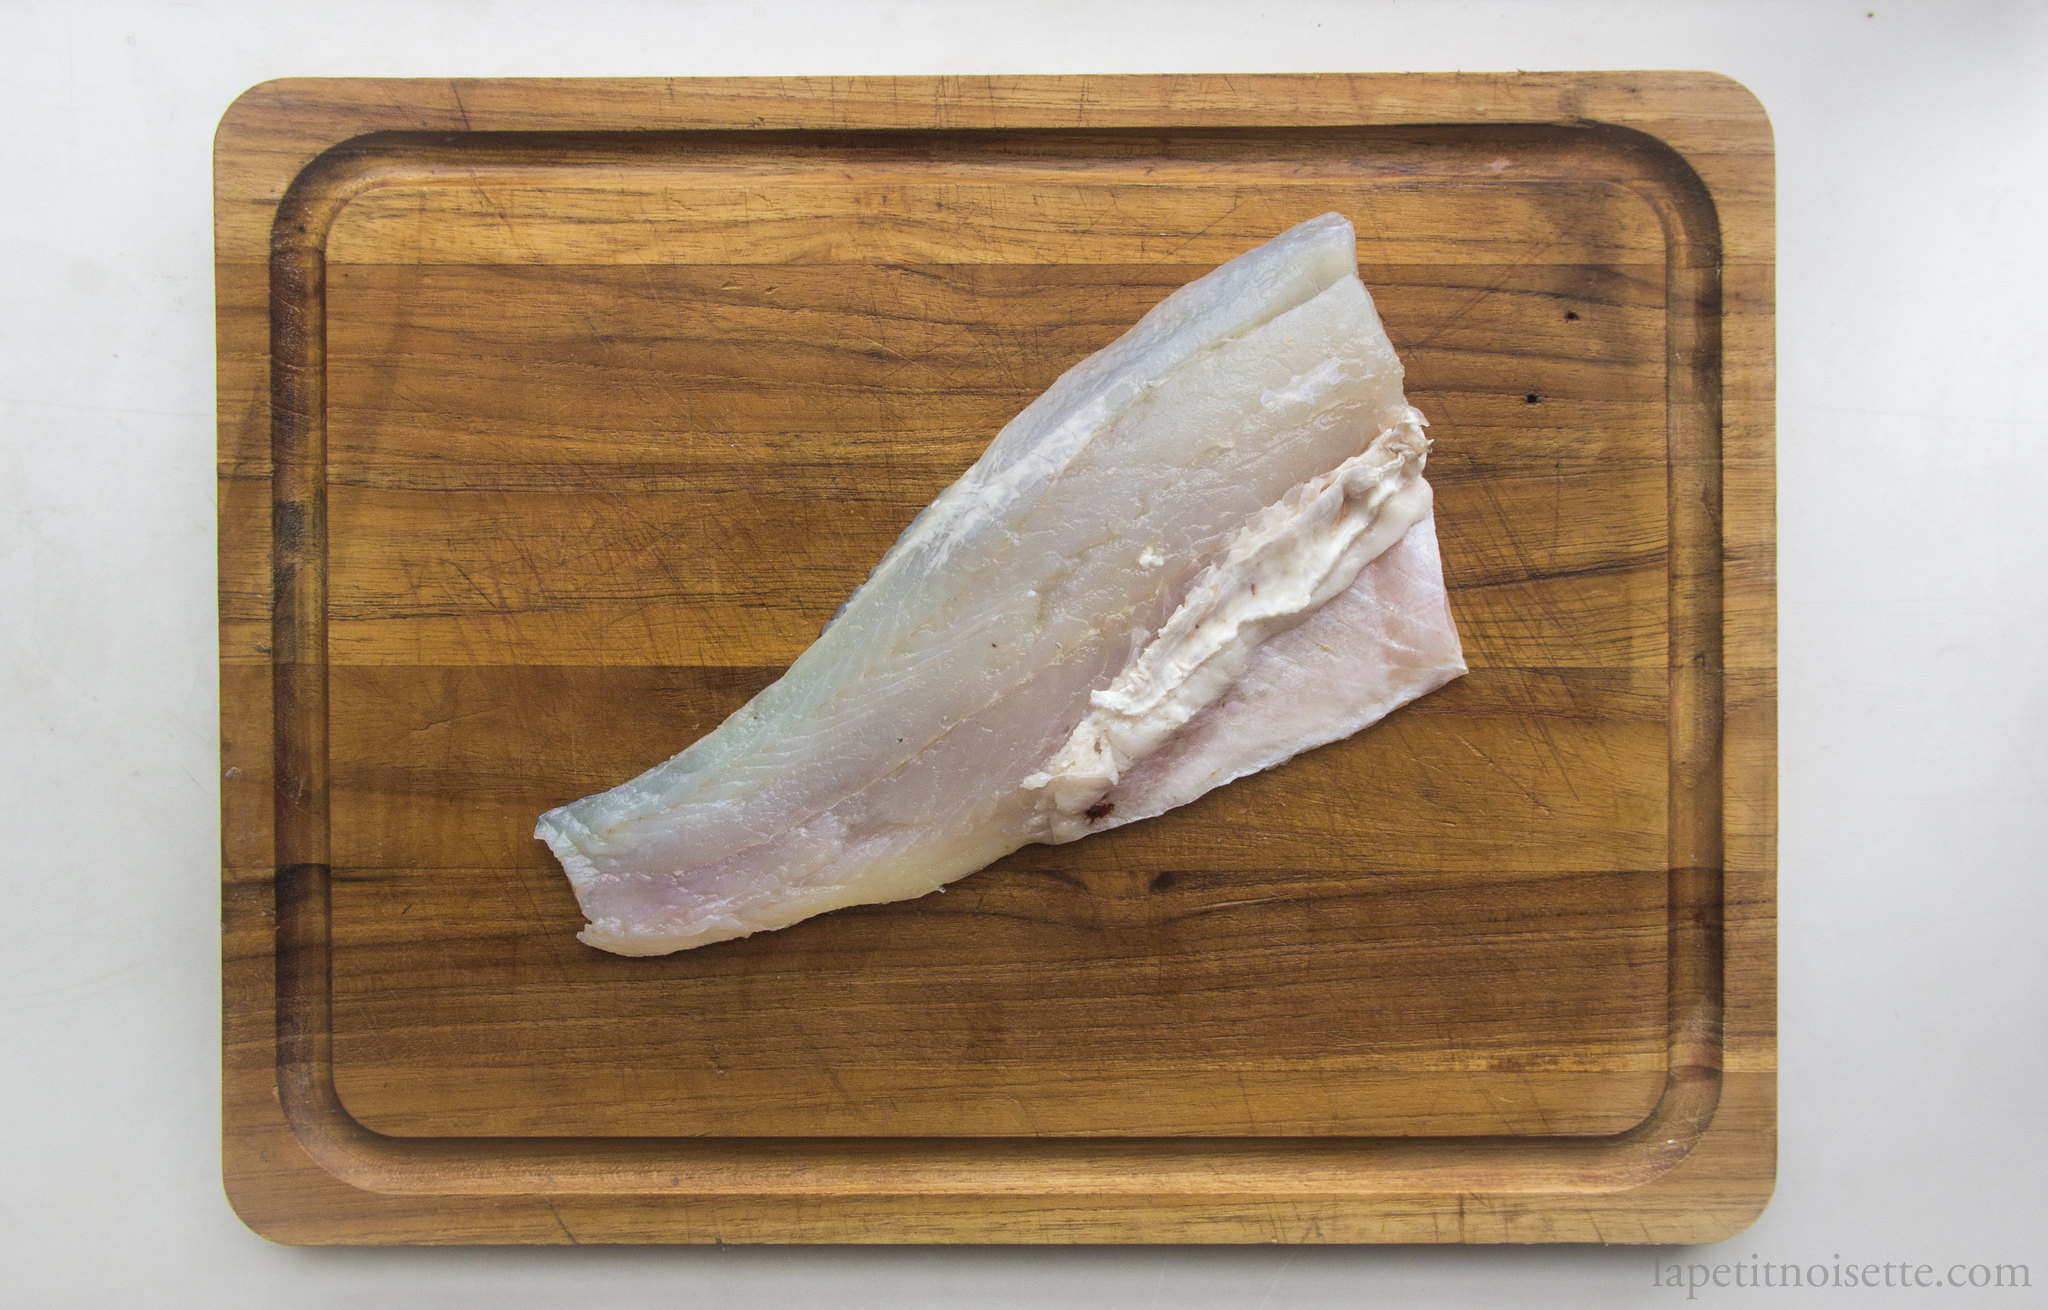
Flip your knife so that it is facing upwards and gently separate the rib bones from the flesh just where it meets the pin bones.
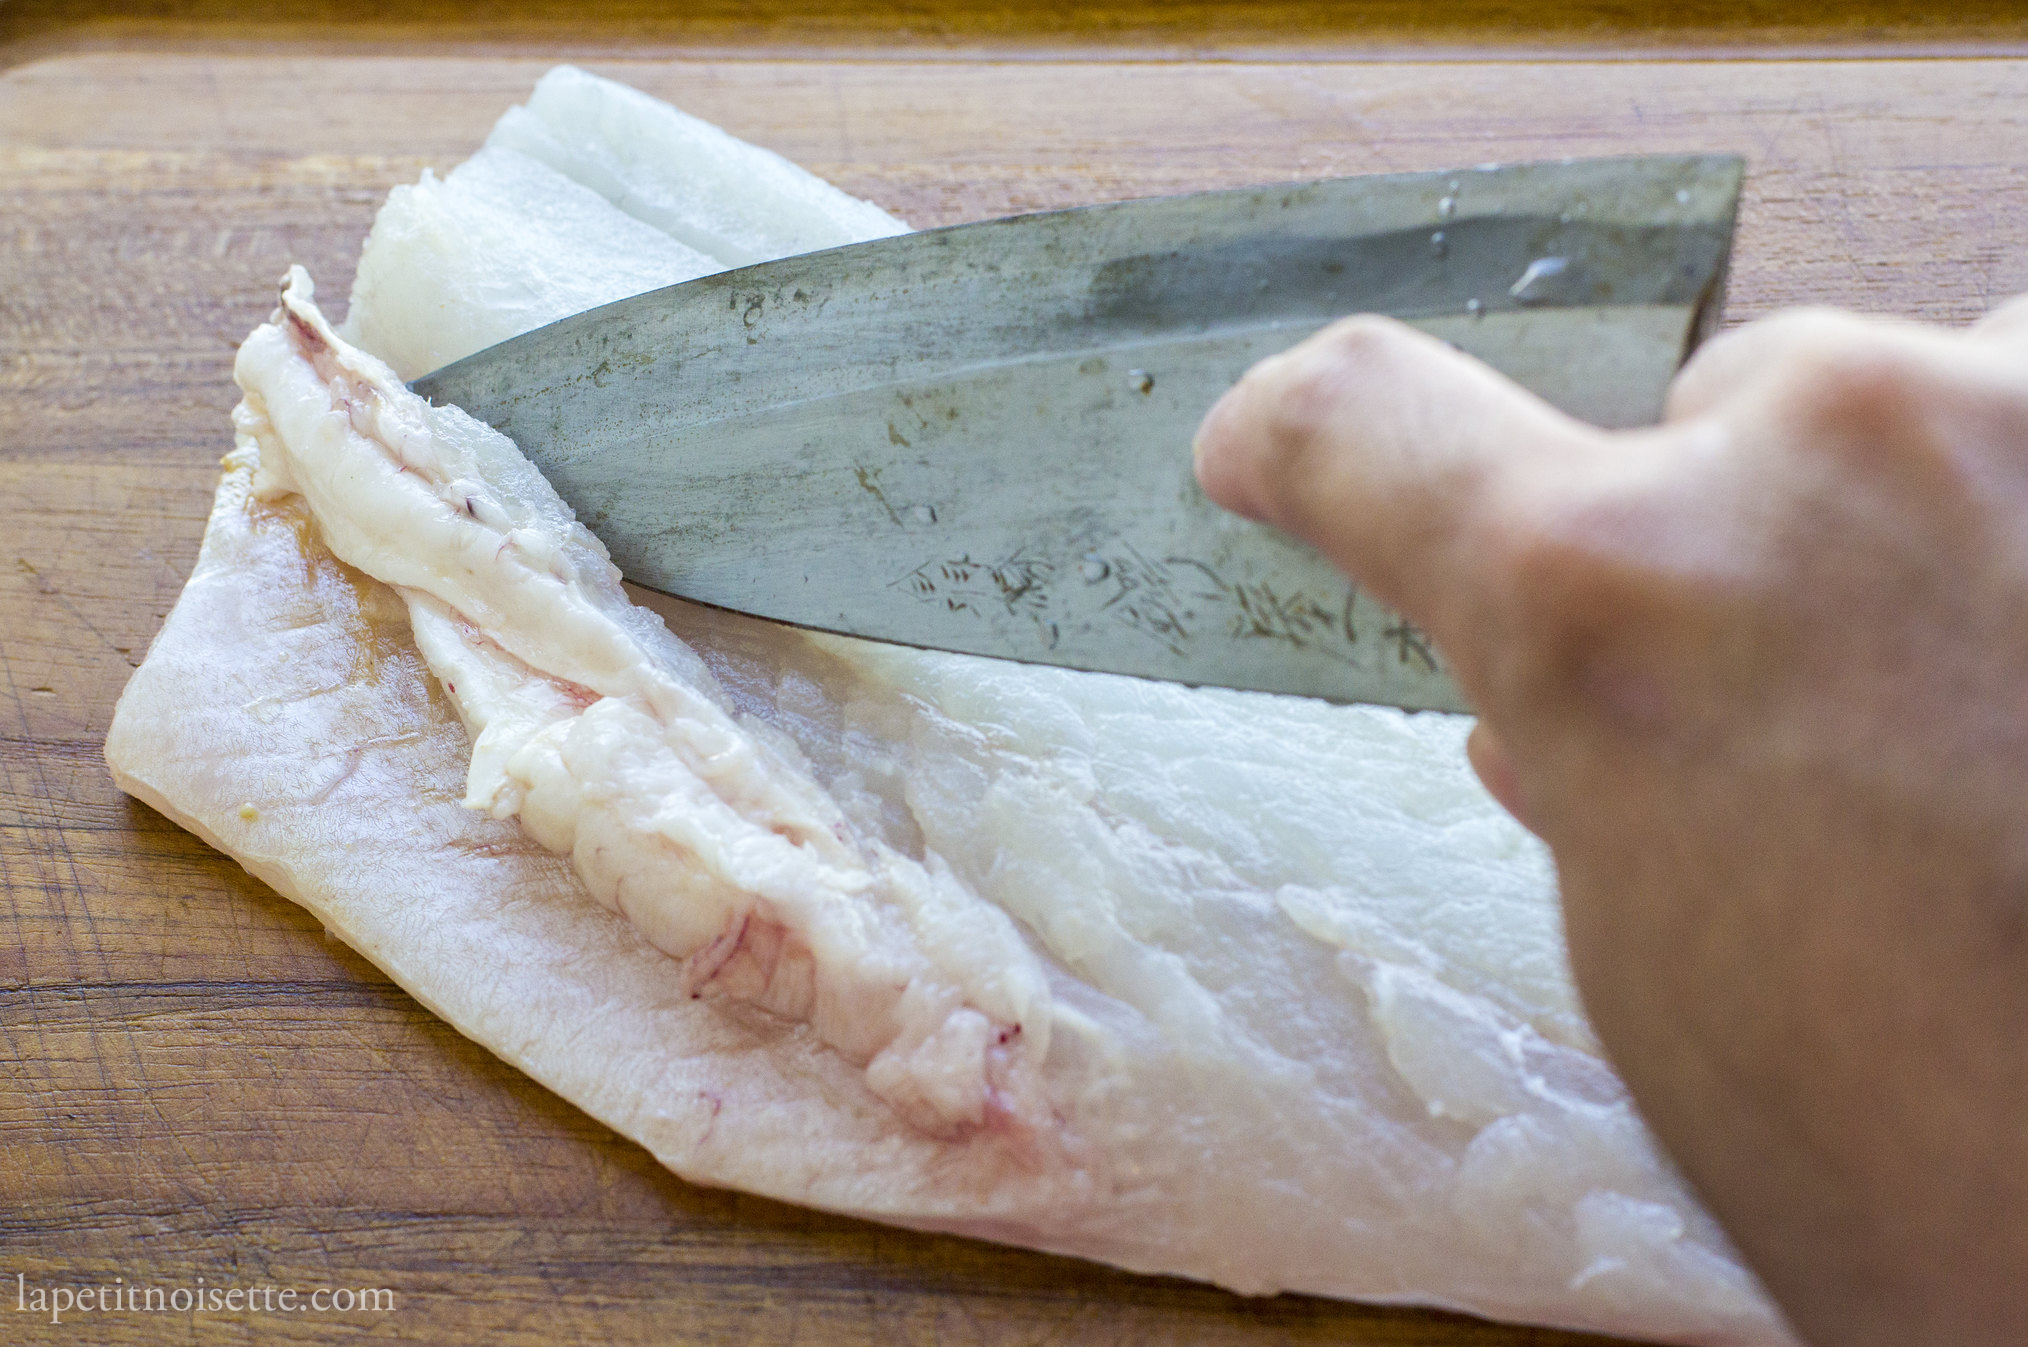
Turn your knife back and place the knife under the rib cage, cutting as to gently separate the rib cage from the flesh, angling the knife upwards towards the ribcage to reduce waste. Don’t worry about cutting yourself as the rib cage should be protecting your fingers.
To remove the pin bones, pull the pin bones using a pair of tweezers in the direction towards the head. Pulling the pin bones towards the tail is easier but will damage the flesh. Dip the tweezers in water to clean them occasionally. Repeating until you can not feel anymore pin bones. Remember to use a firm grip as not to break the pin bones, leaving bone fragments inside the fish. It is better to pull the pin bones slowly and steadily, rather than quickly.
To finish preparing the Suzuki, repeat for the other side of the fish to extract another fillet.
Generously salt a colander and place the fillets on a colander. Salt the flesh of the fish as well.
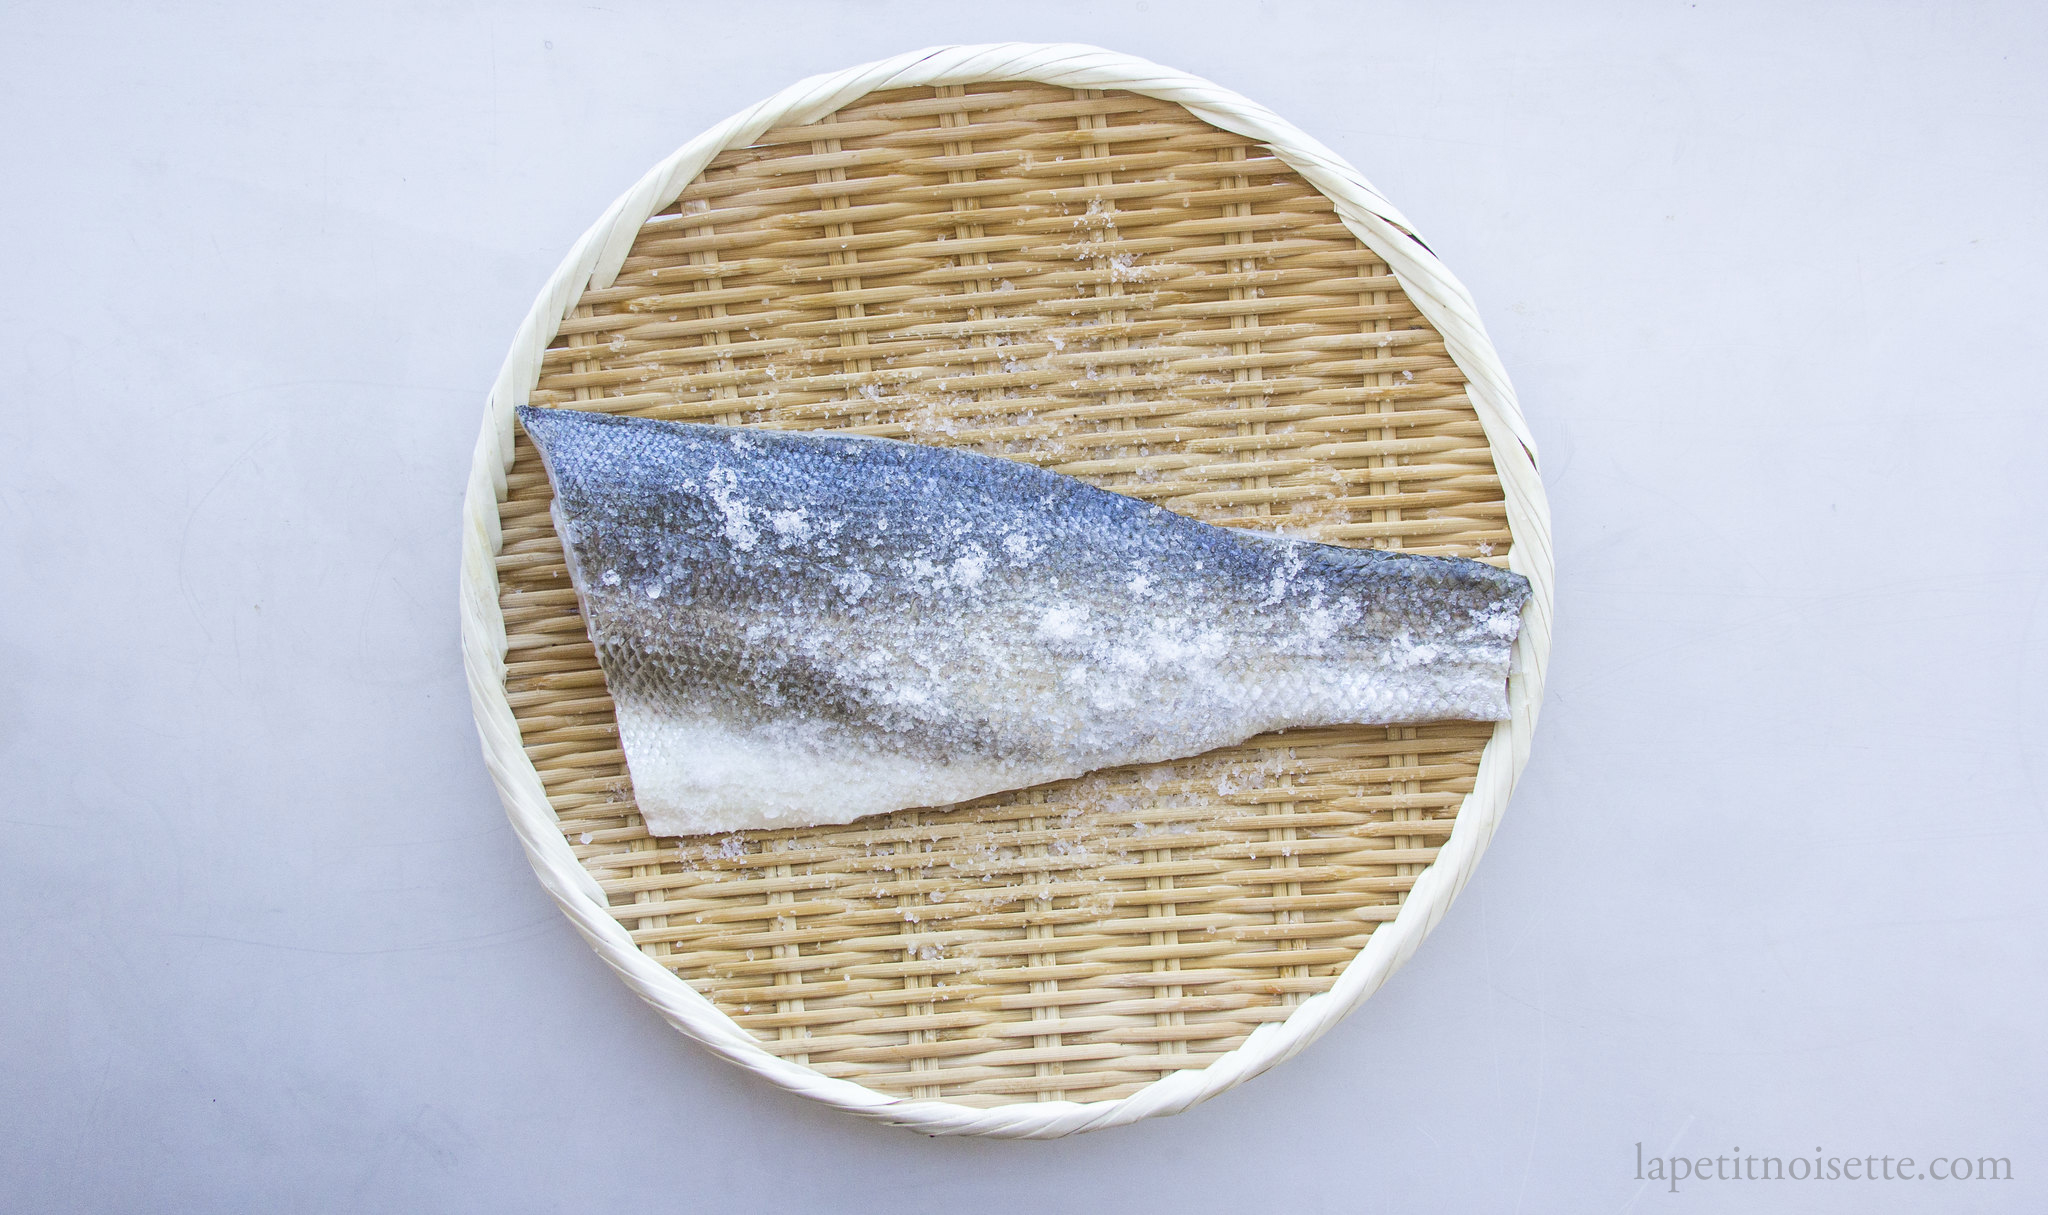
Allow to rest for 20 to 25 minutes depending on the size. During that time, remove the pin bones of the fish. After salting, wash off the salt and place the fillets skin side down on a chopping board.
To make the large fillet easier to handle, cut the fillet in half down the lateral line to portion it. (The rib cage is typically removed before the fillet is portioned, unlike what is shown here).
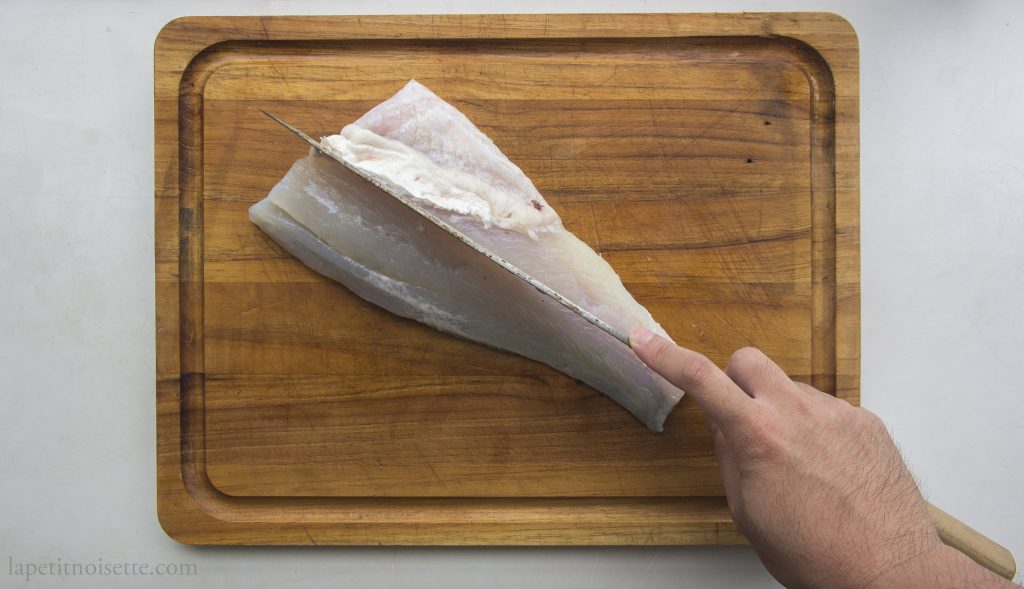
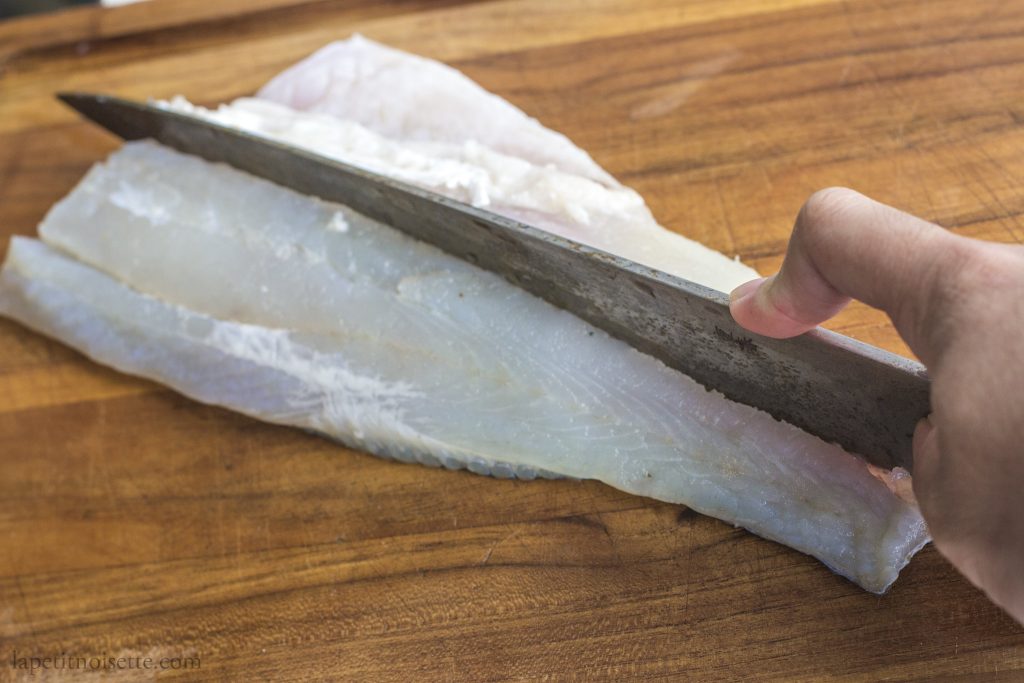
Remove the skin off the fillets by making a small cut underneath the tail of the fillet between the flesh and skin. Start by cutting into the flesh and stopping just at the skin. When the blade just touches the skin, use a back and forth motion on the skin to gently separate the fresh from the skin whilst angling the blade until it is flat. The blade should remain still whilst you only move the skin.
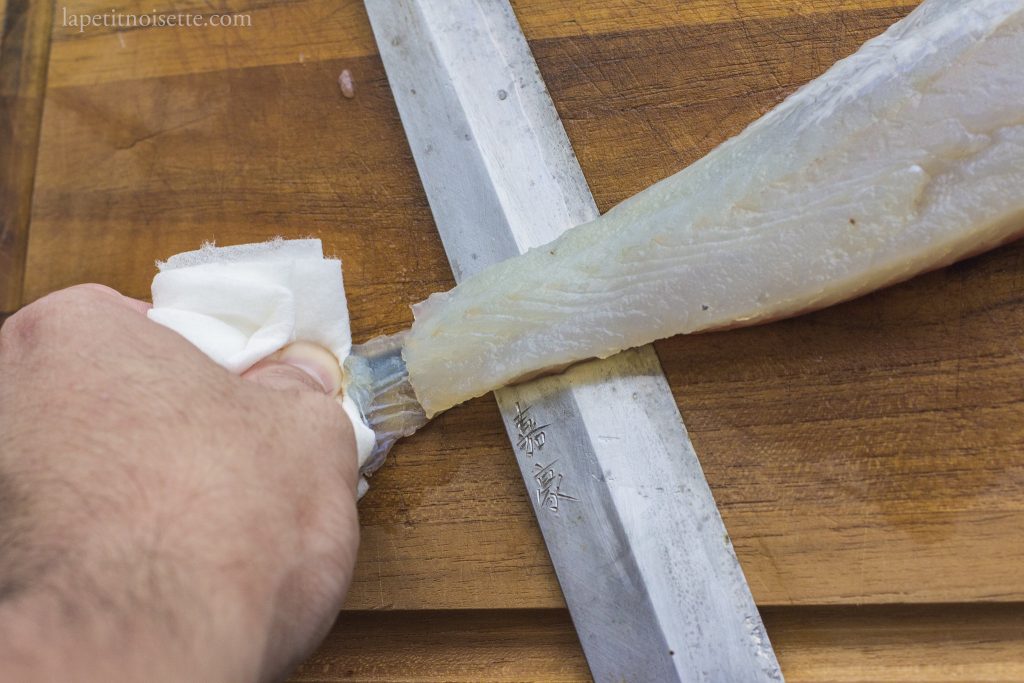
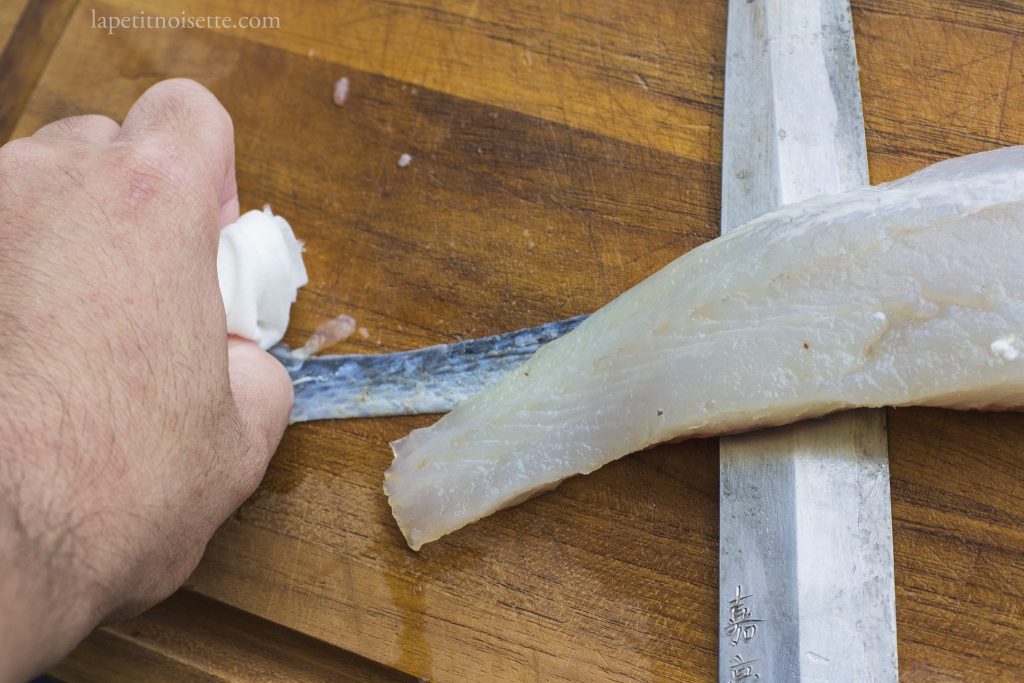
Continue the cutting motion until all the skin has been removed from the flesh. If the skin breaks halfway, don’t worry and start from the other end of the fillet. Using a paper towel to grip the skin of the fish allows you to have a more stable hold on the fillet, making it easier to cut.
The fillet is now ready to be used as nigiri.
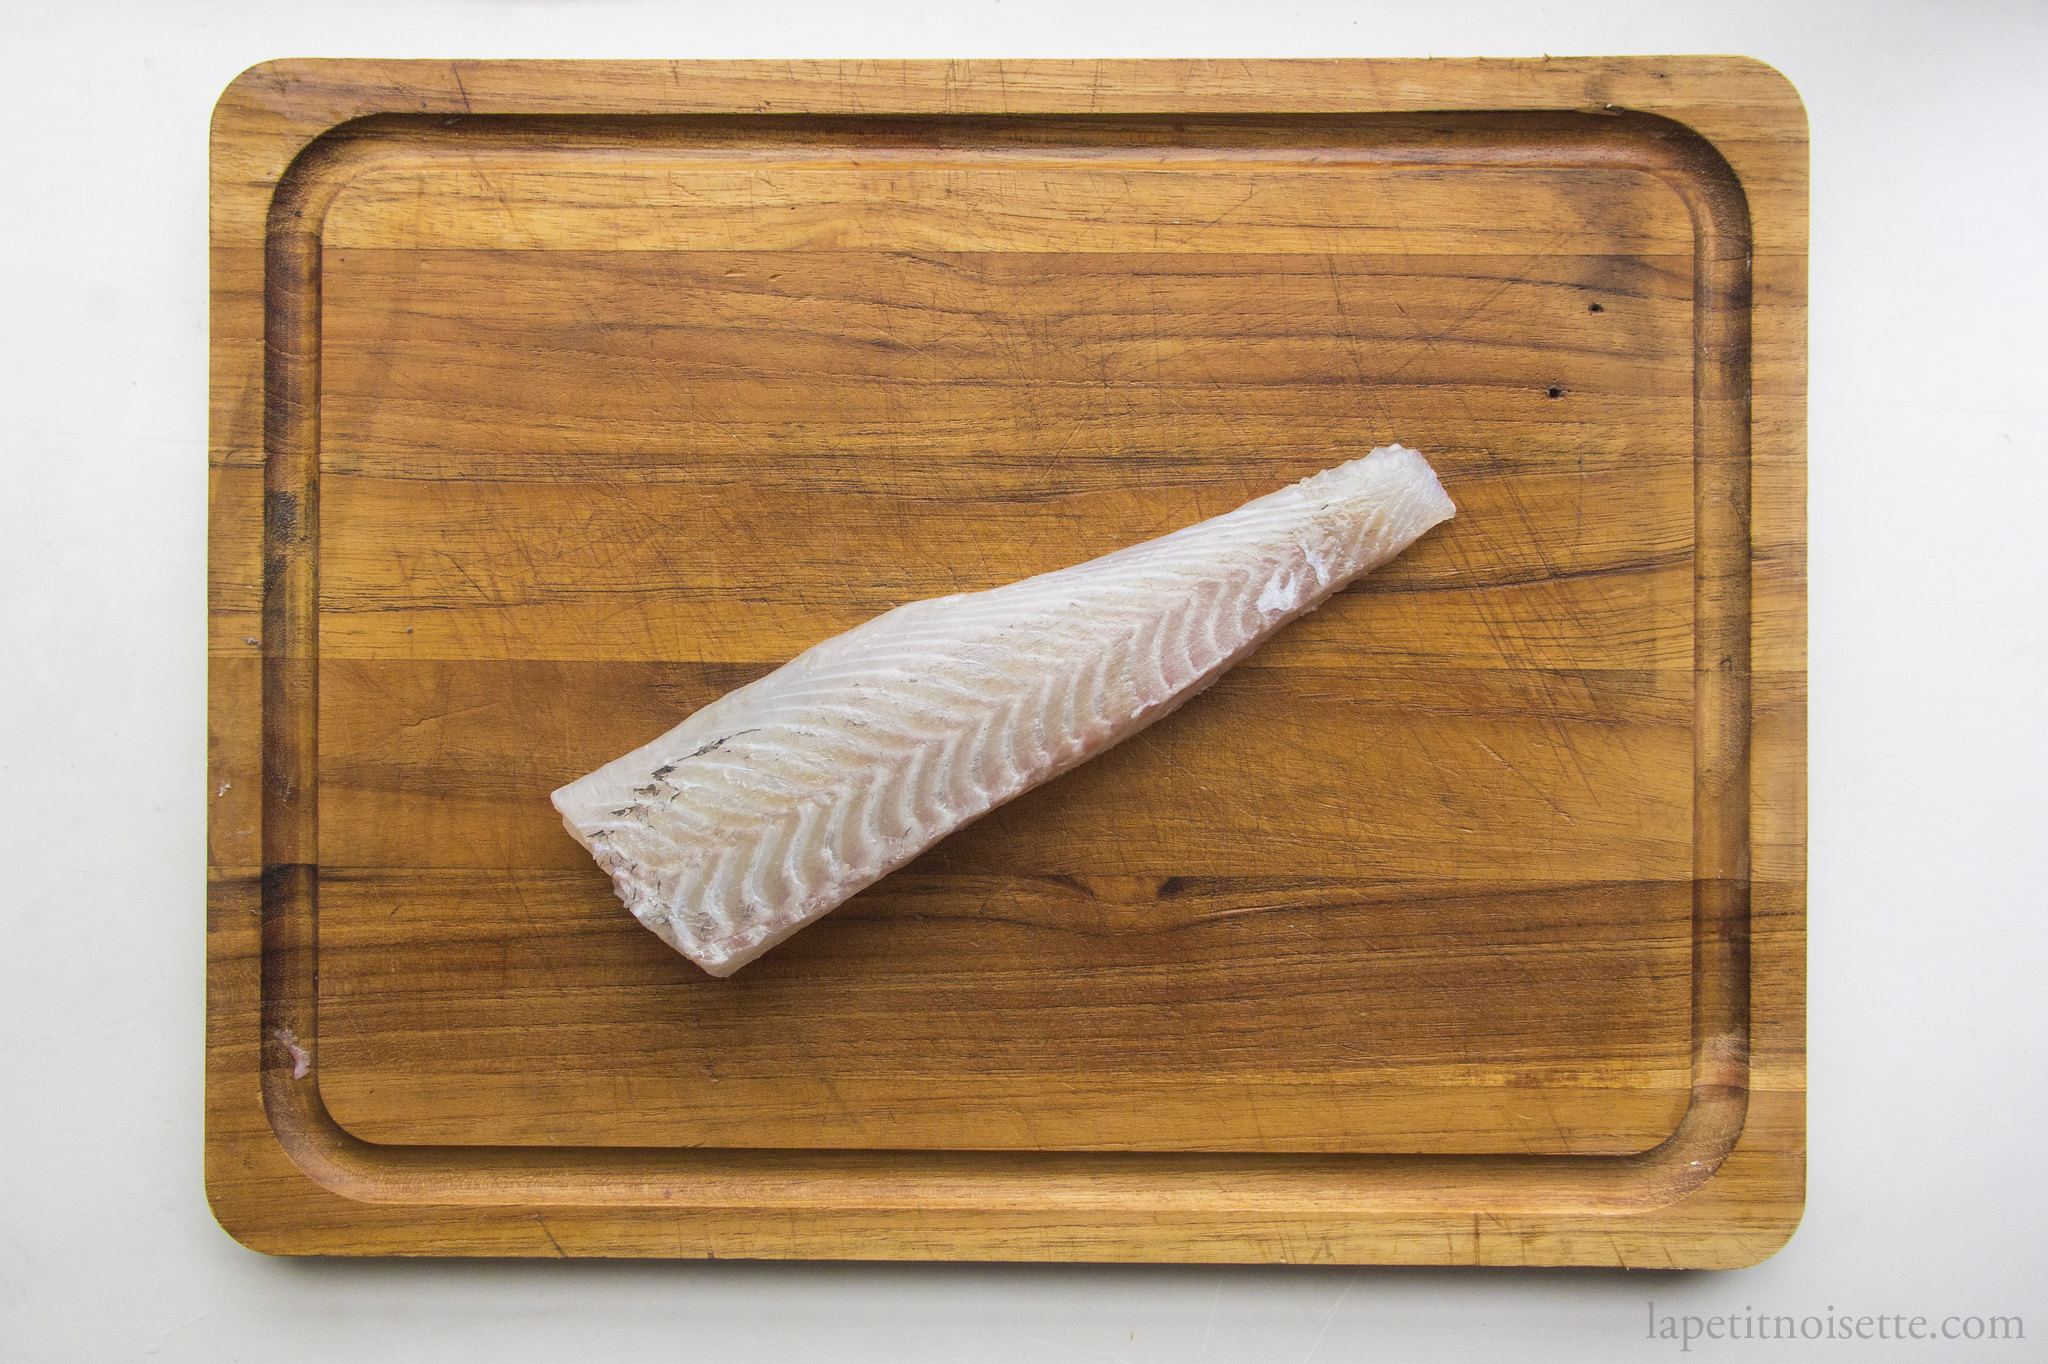
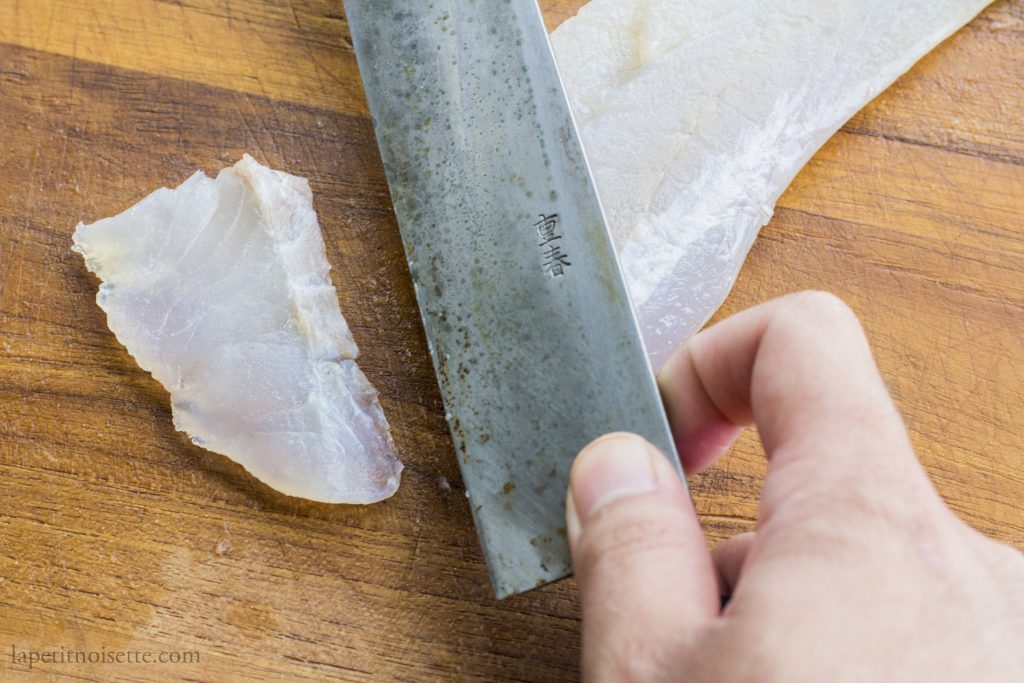
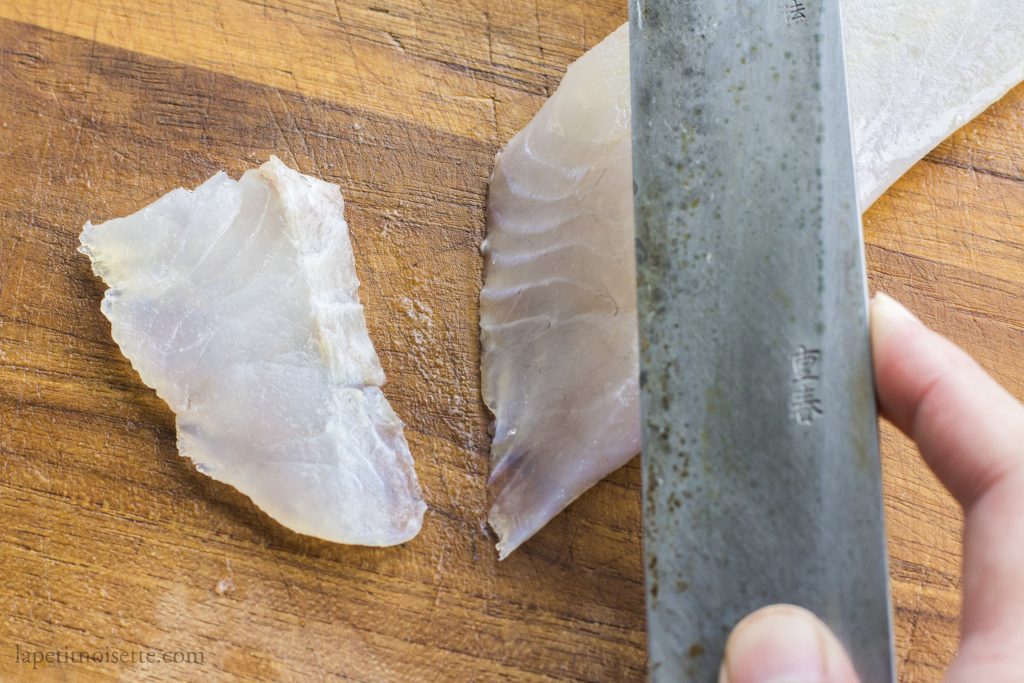
Lie the fillet on it’s back and start the cut from the thick/head end of the fillet. You want to cut against the sinew of the fillet at an angle.
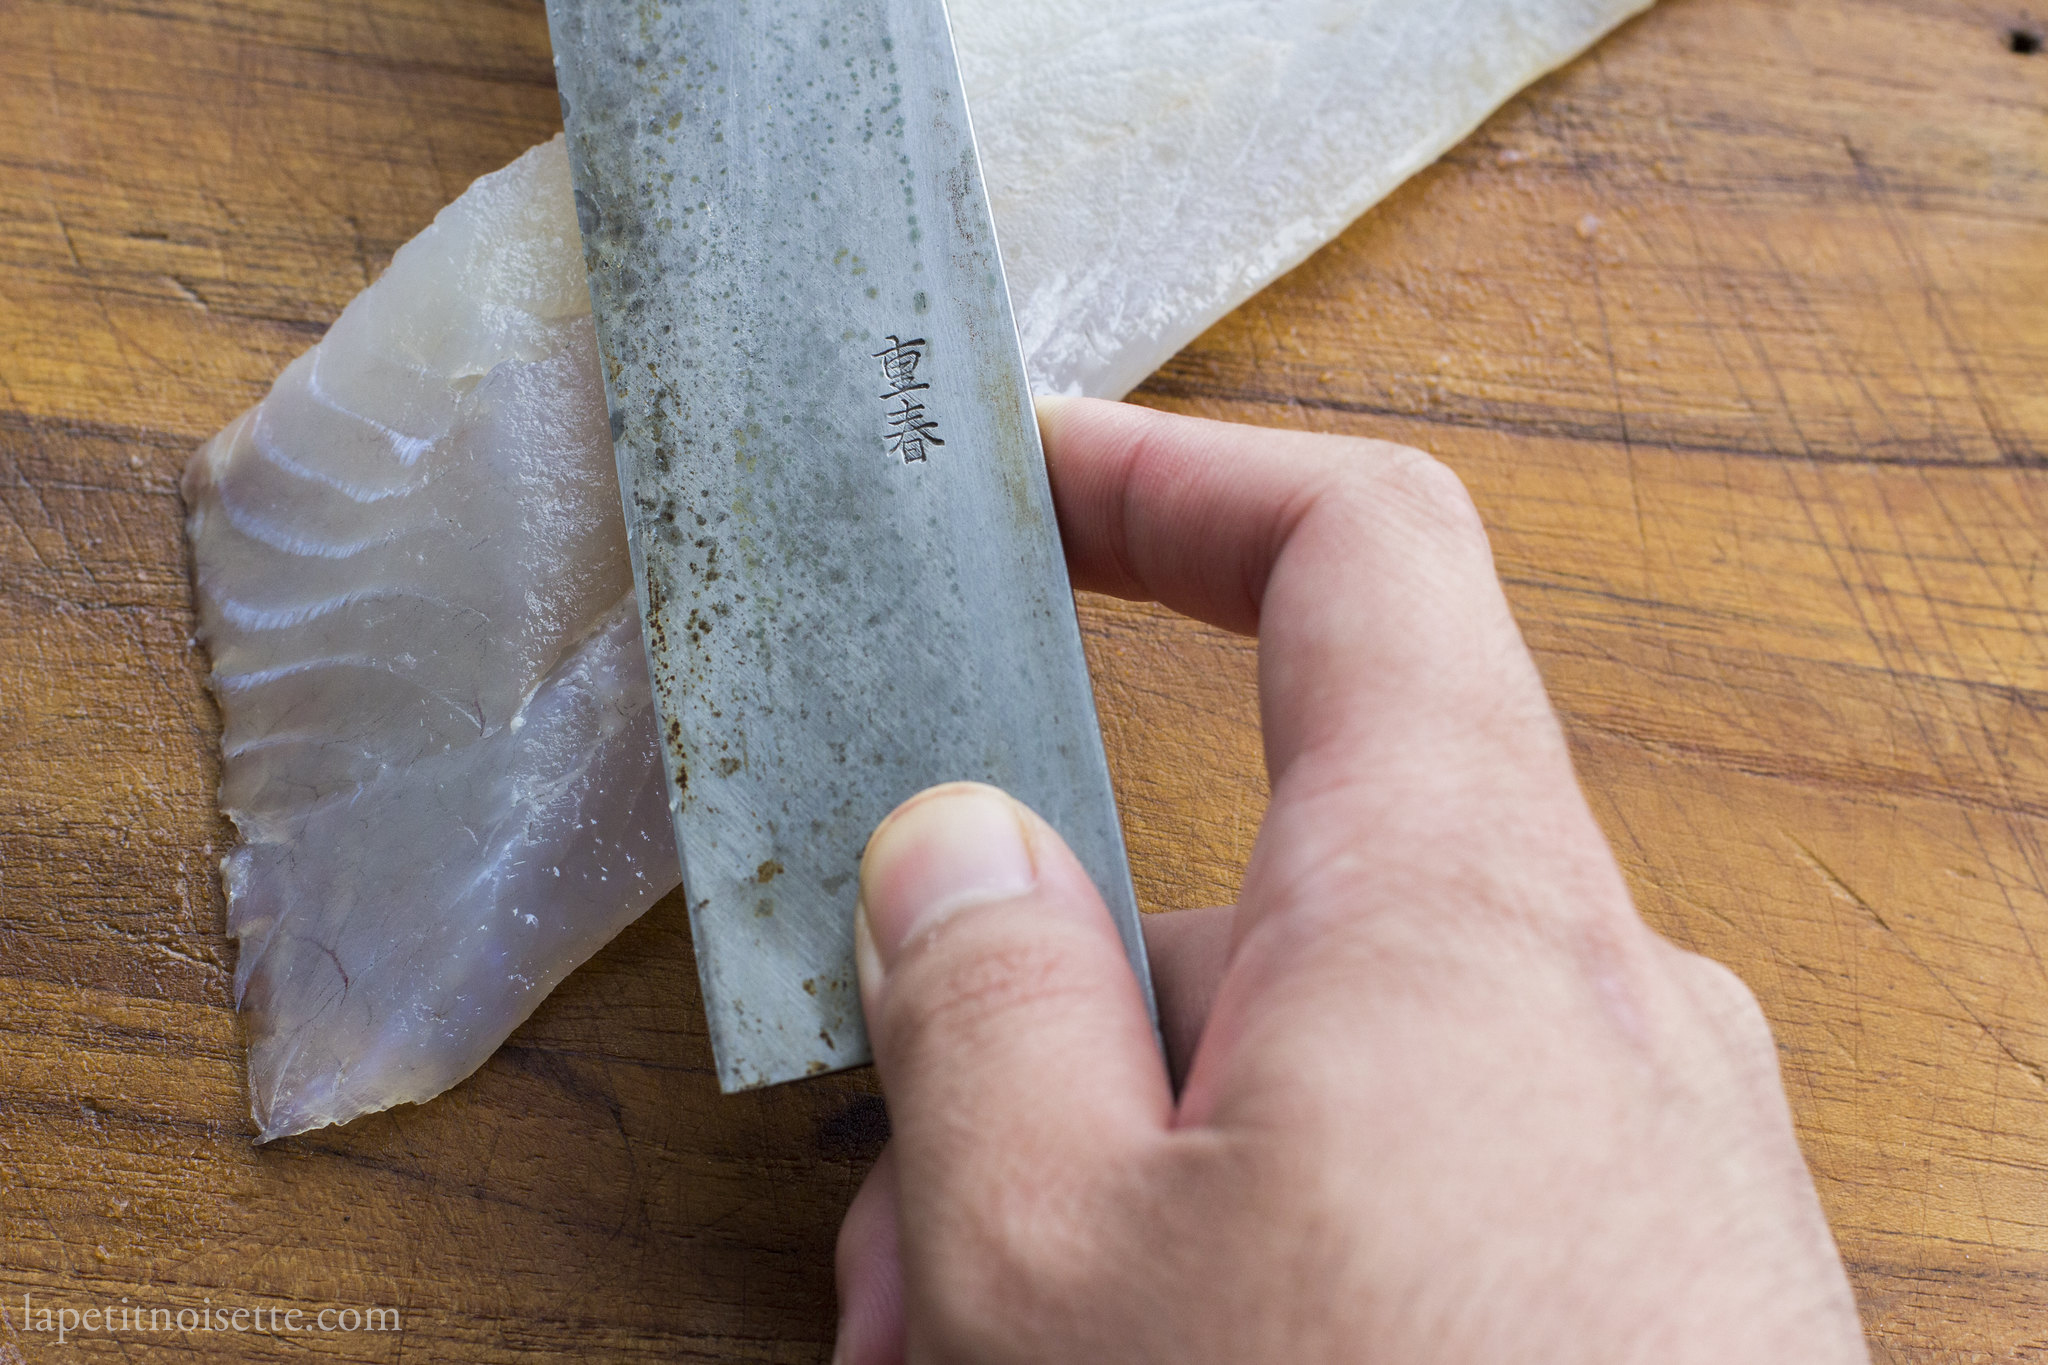
Make each cut in one singular pulling motion, do not make a second cut of push the knife as it will cause uneven cutting on the fillet, ruining the texture and appearance of the nigiri.
