In this new series, I’ll be covering the science behind lactic acid fermentation, as well as various examples of traditional lactic acid ferments found in Japan and some more modern interpretations of other lacto ferments:
- Lacto fermented matsutake mushrooms
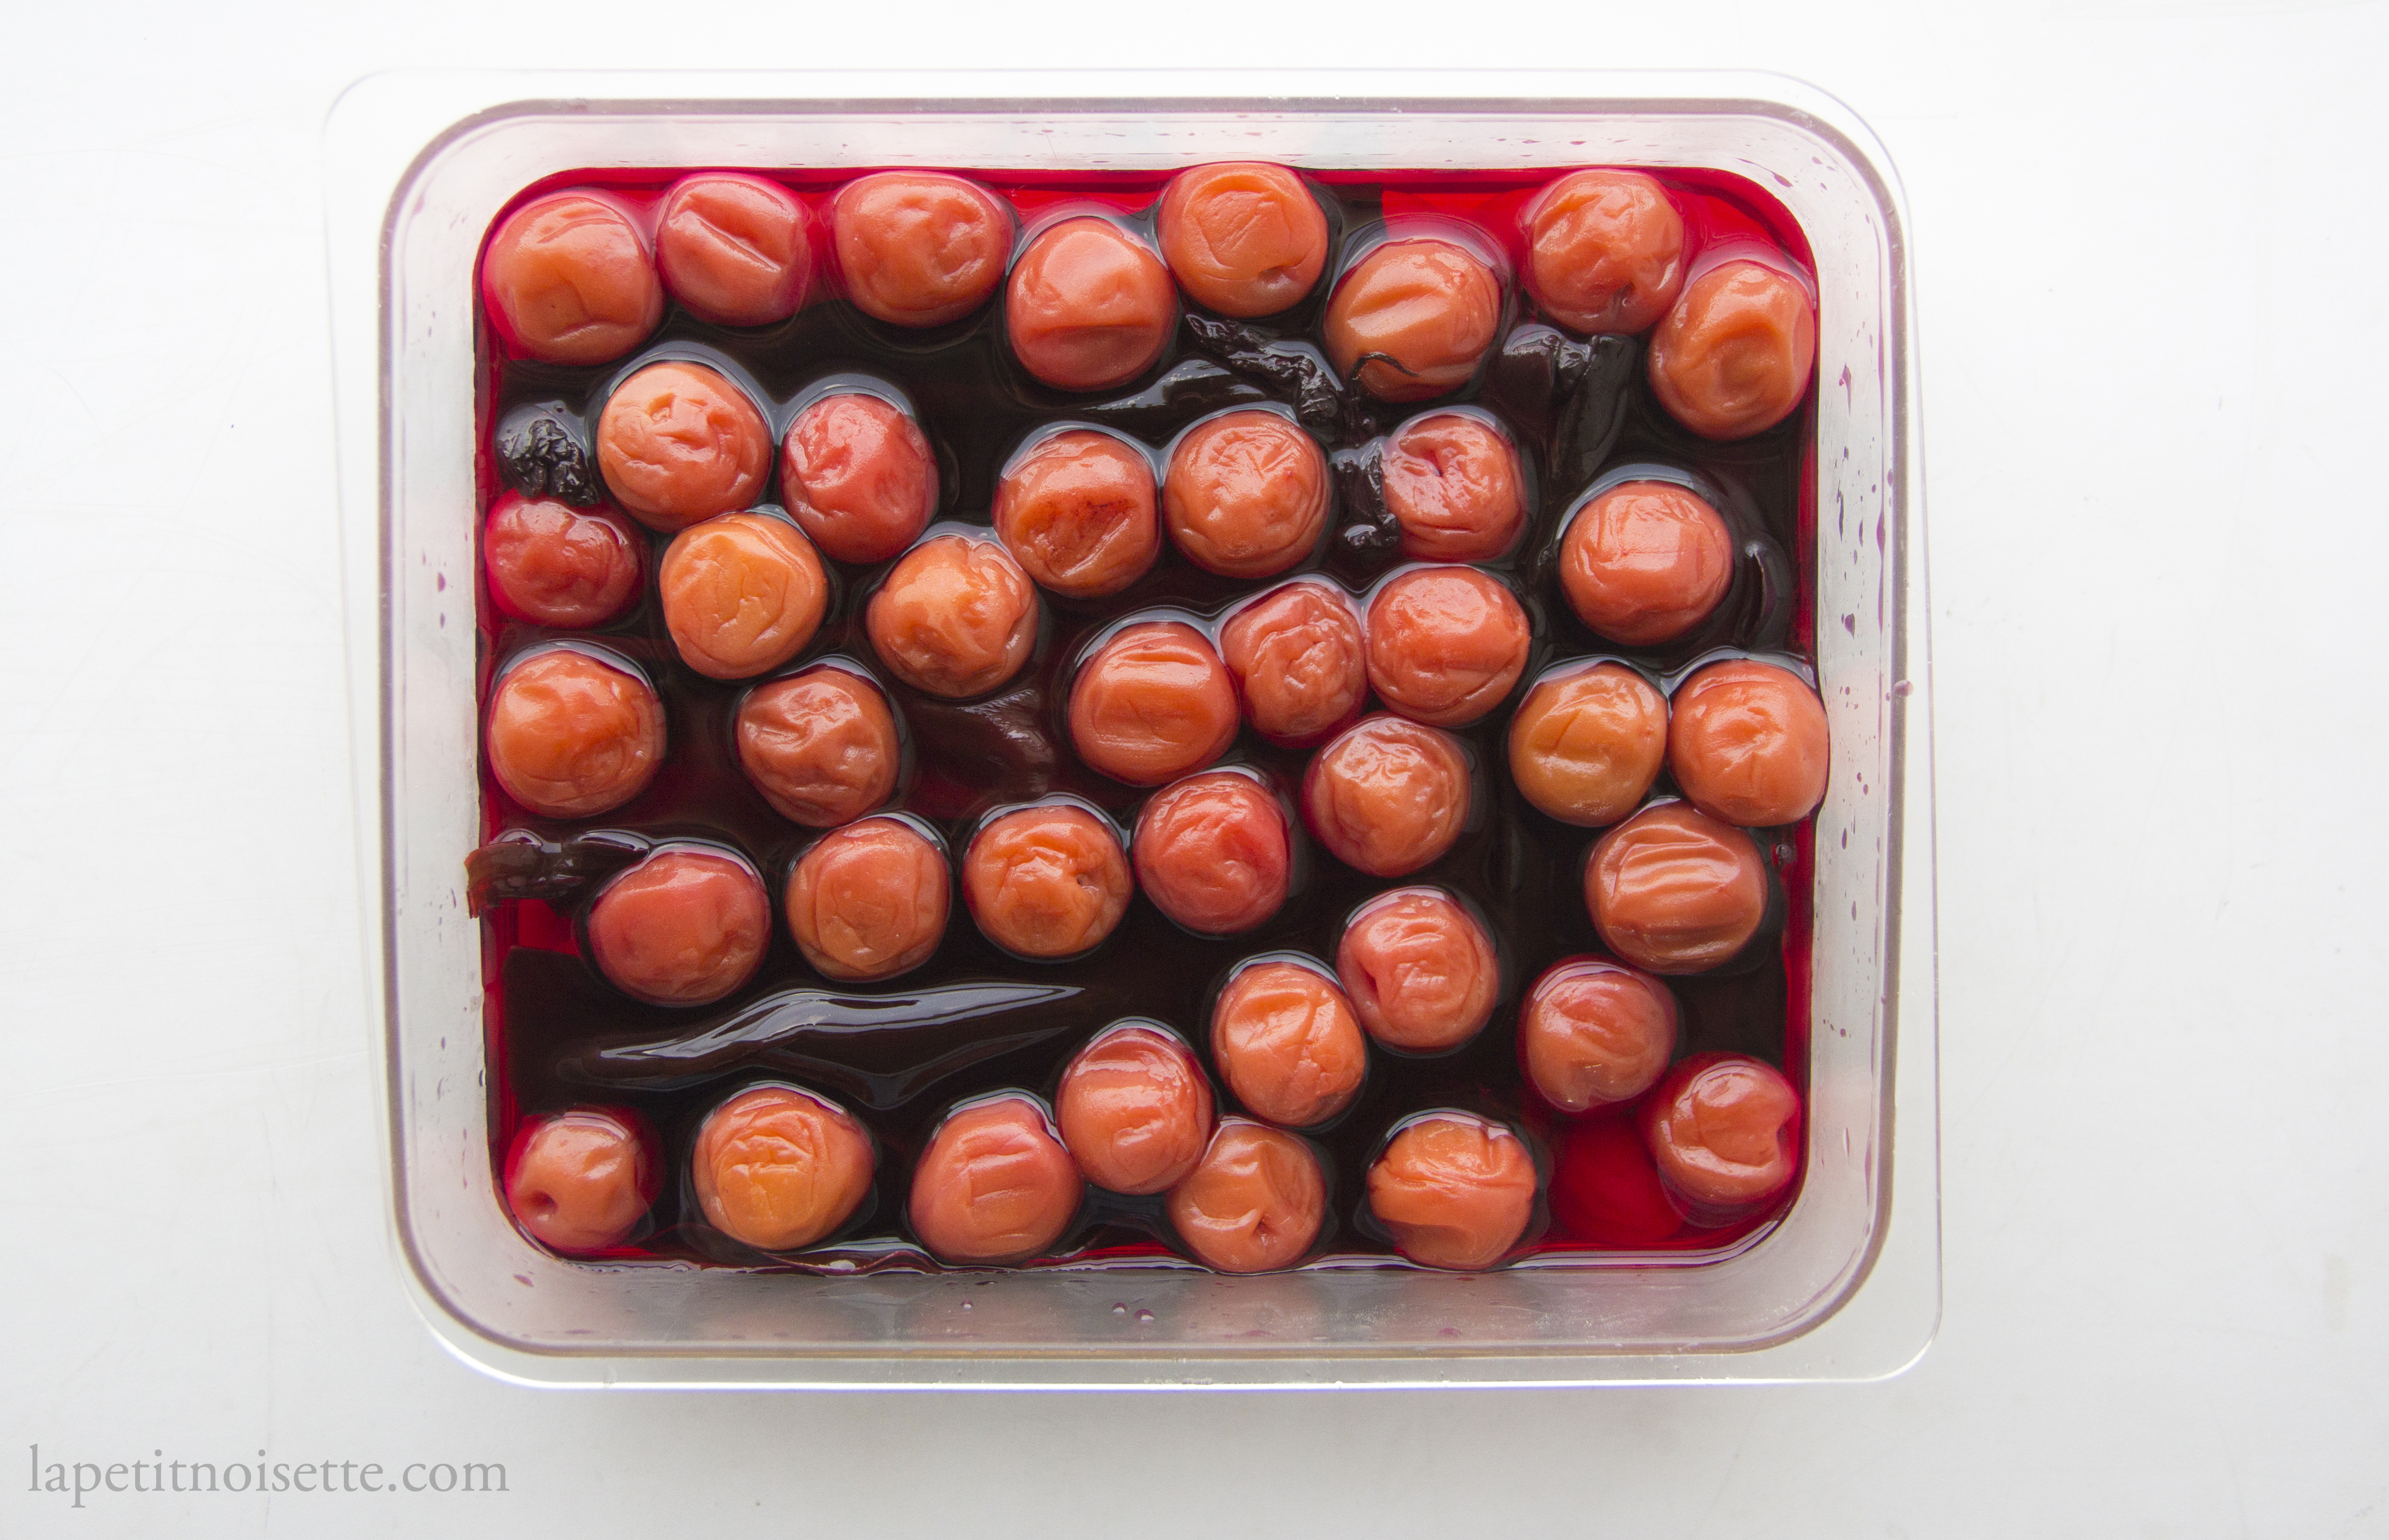
- Umeboshi with red shiso and kombu
- Umeboshi with rose petals
- Umeboshi with unripe apricots
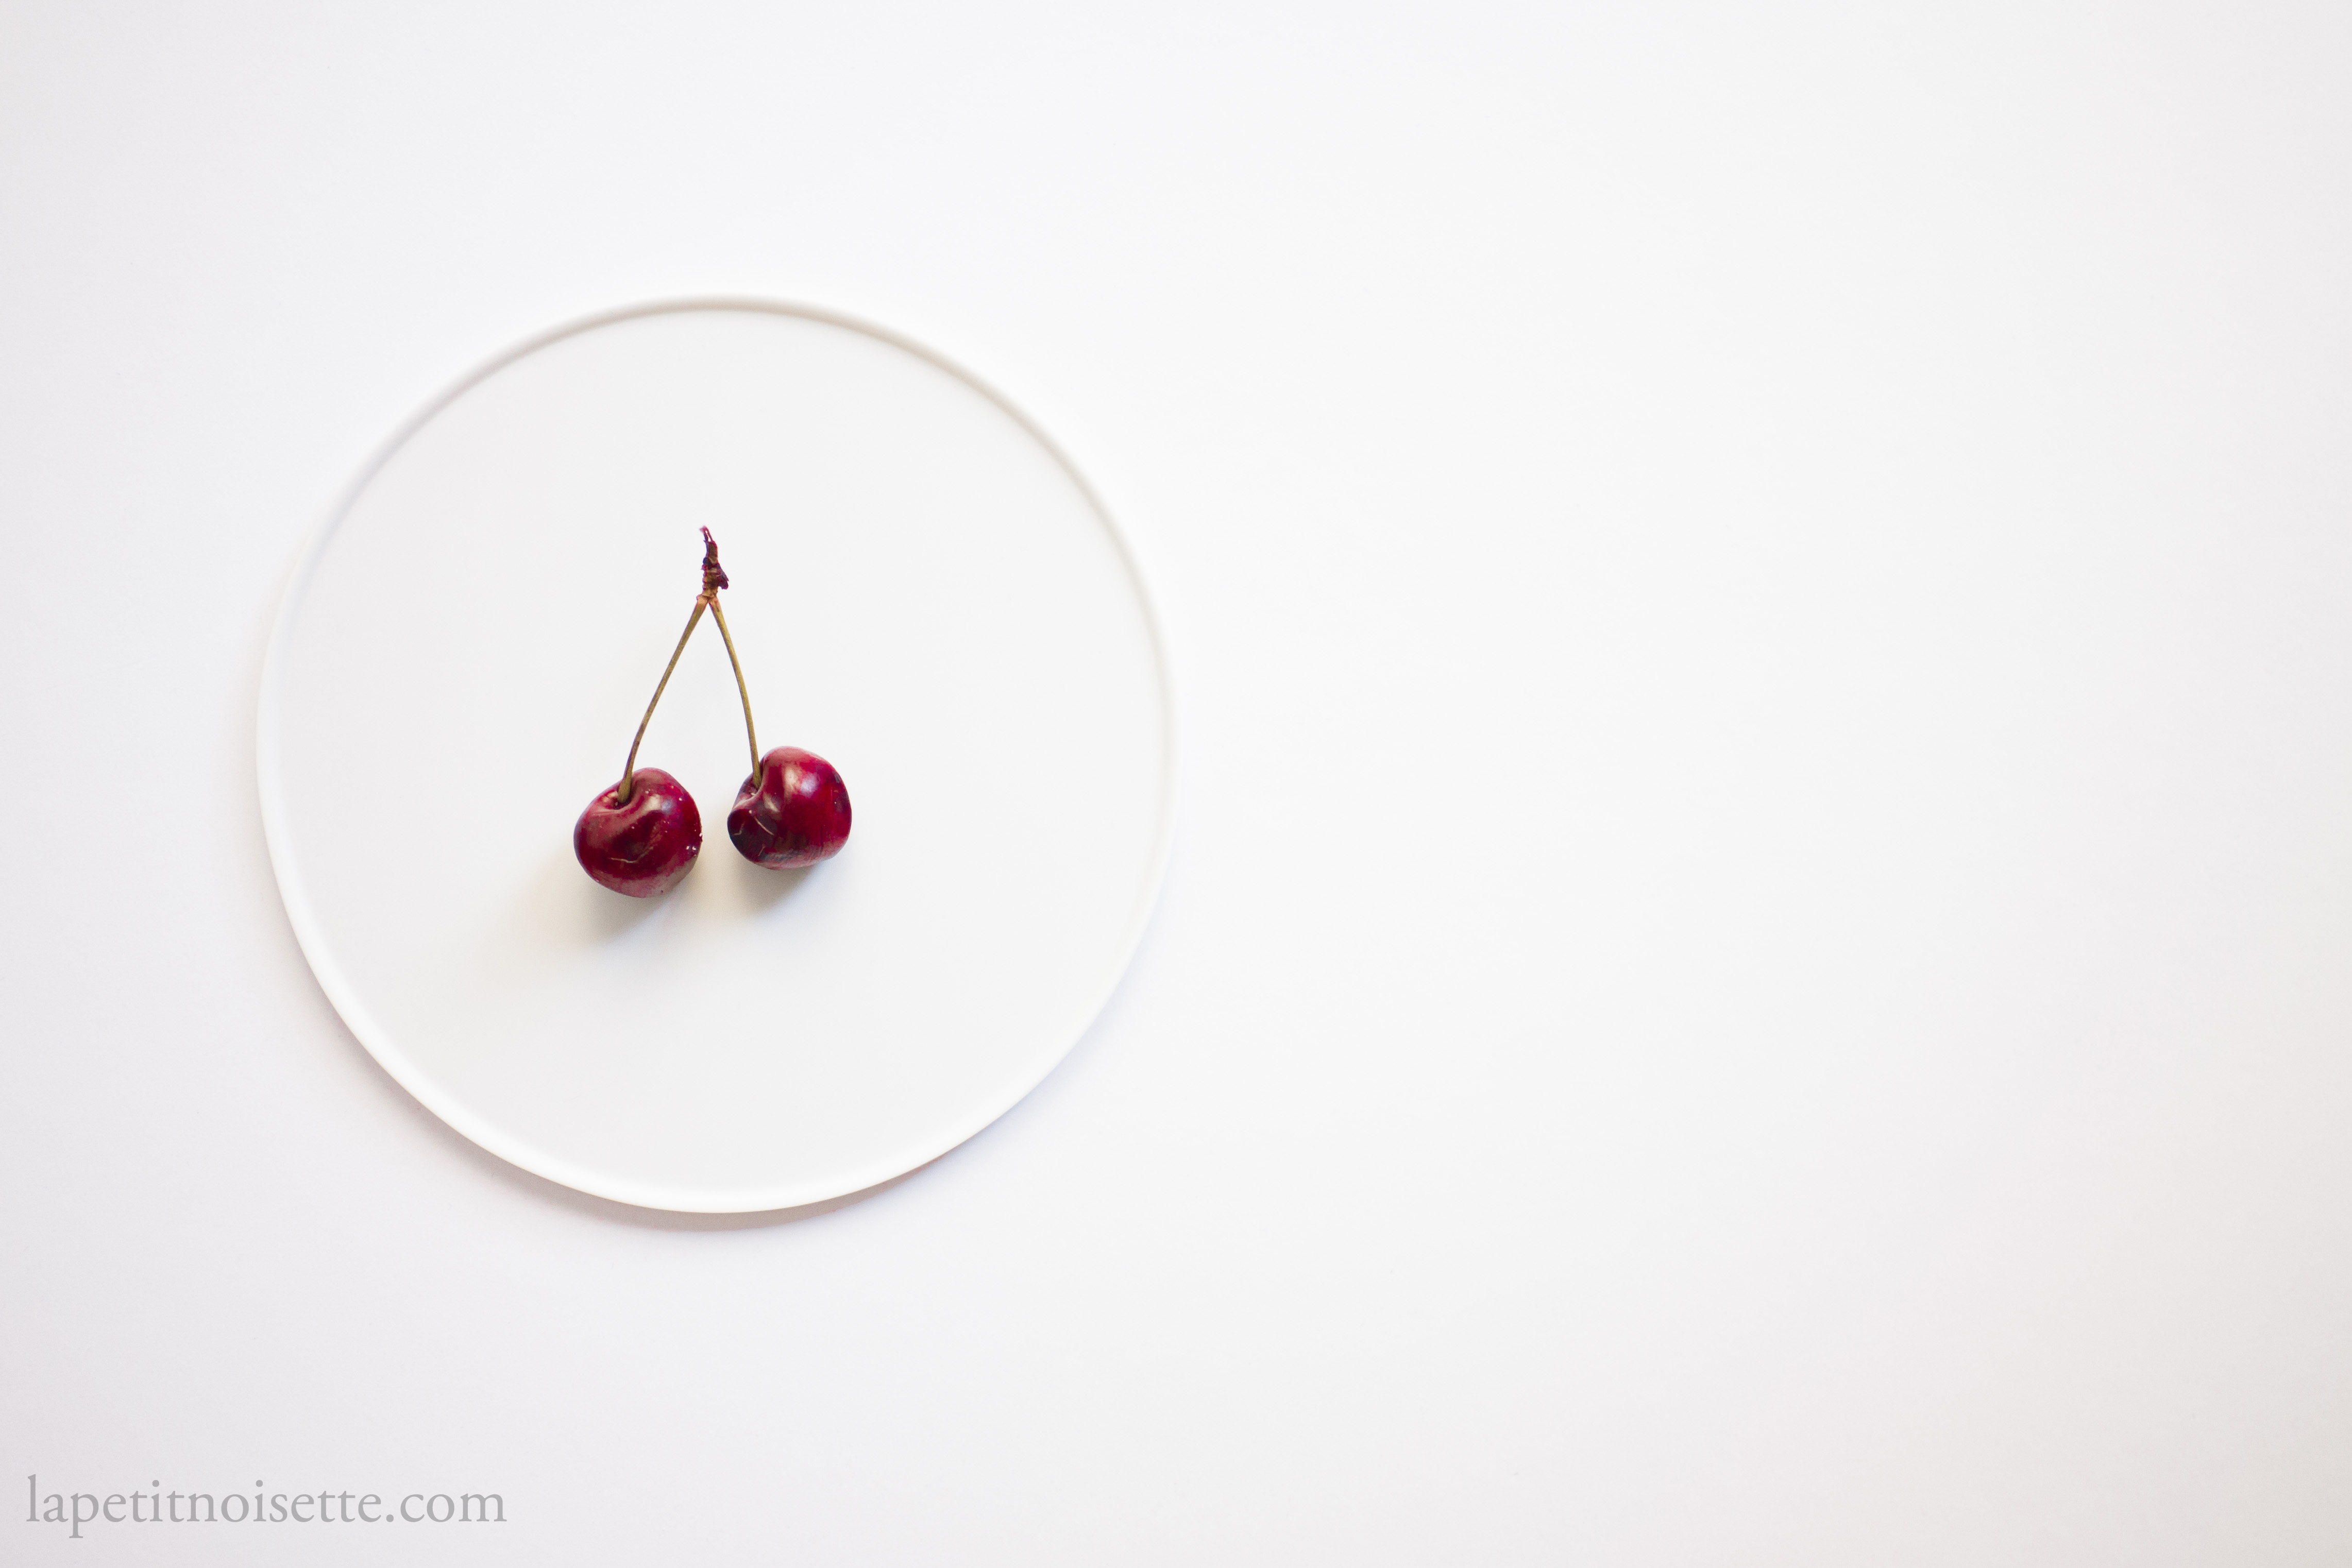
- Cherry Umeboshi (さくらんぼ漬け)
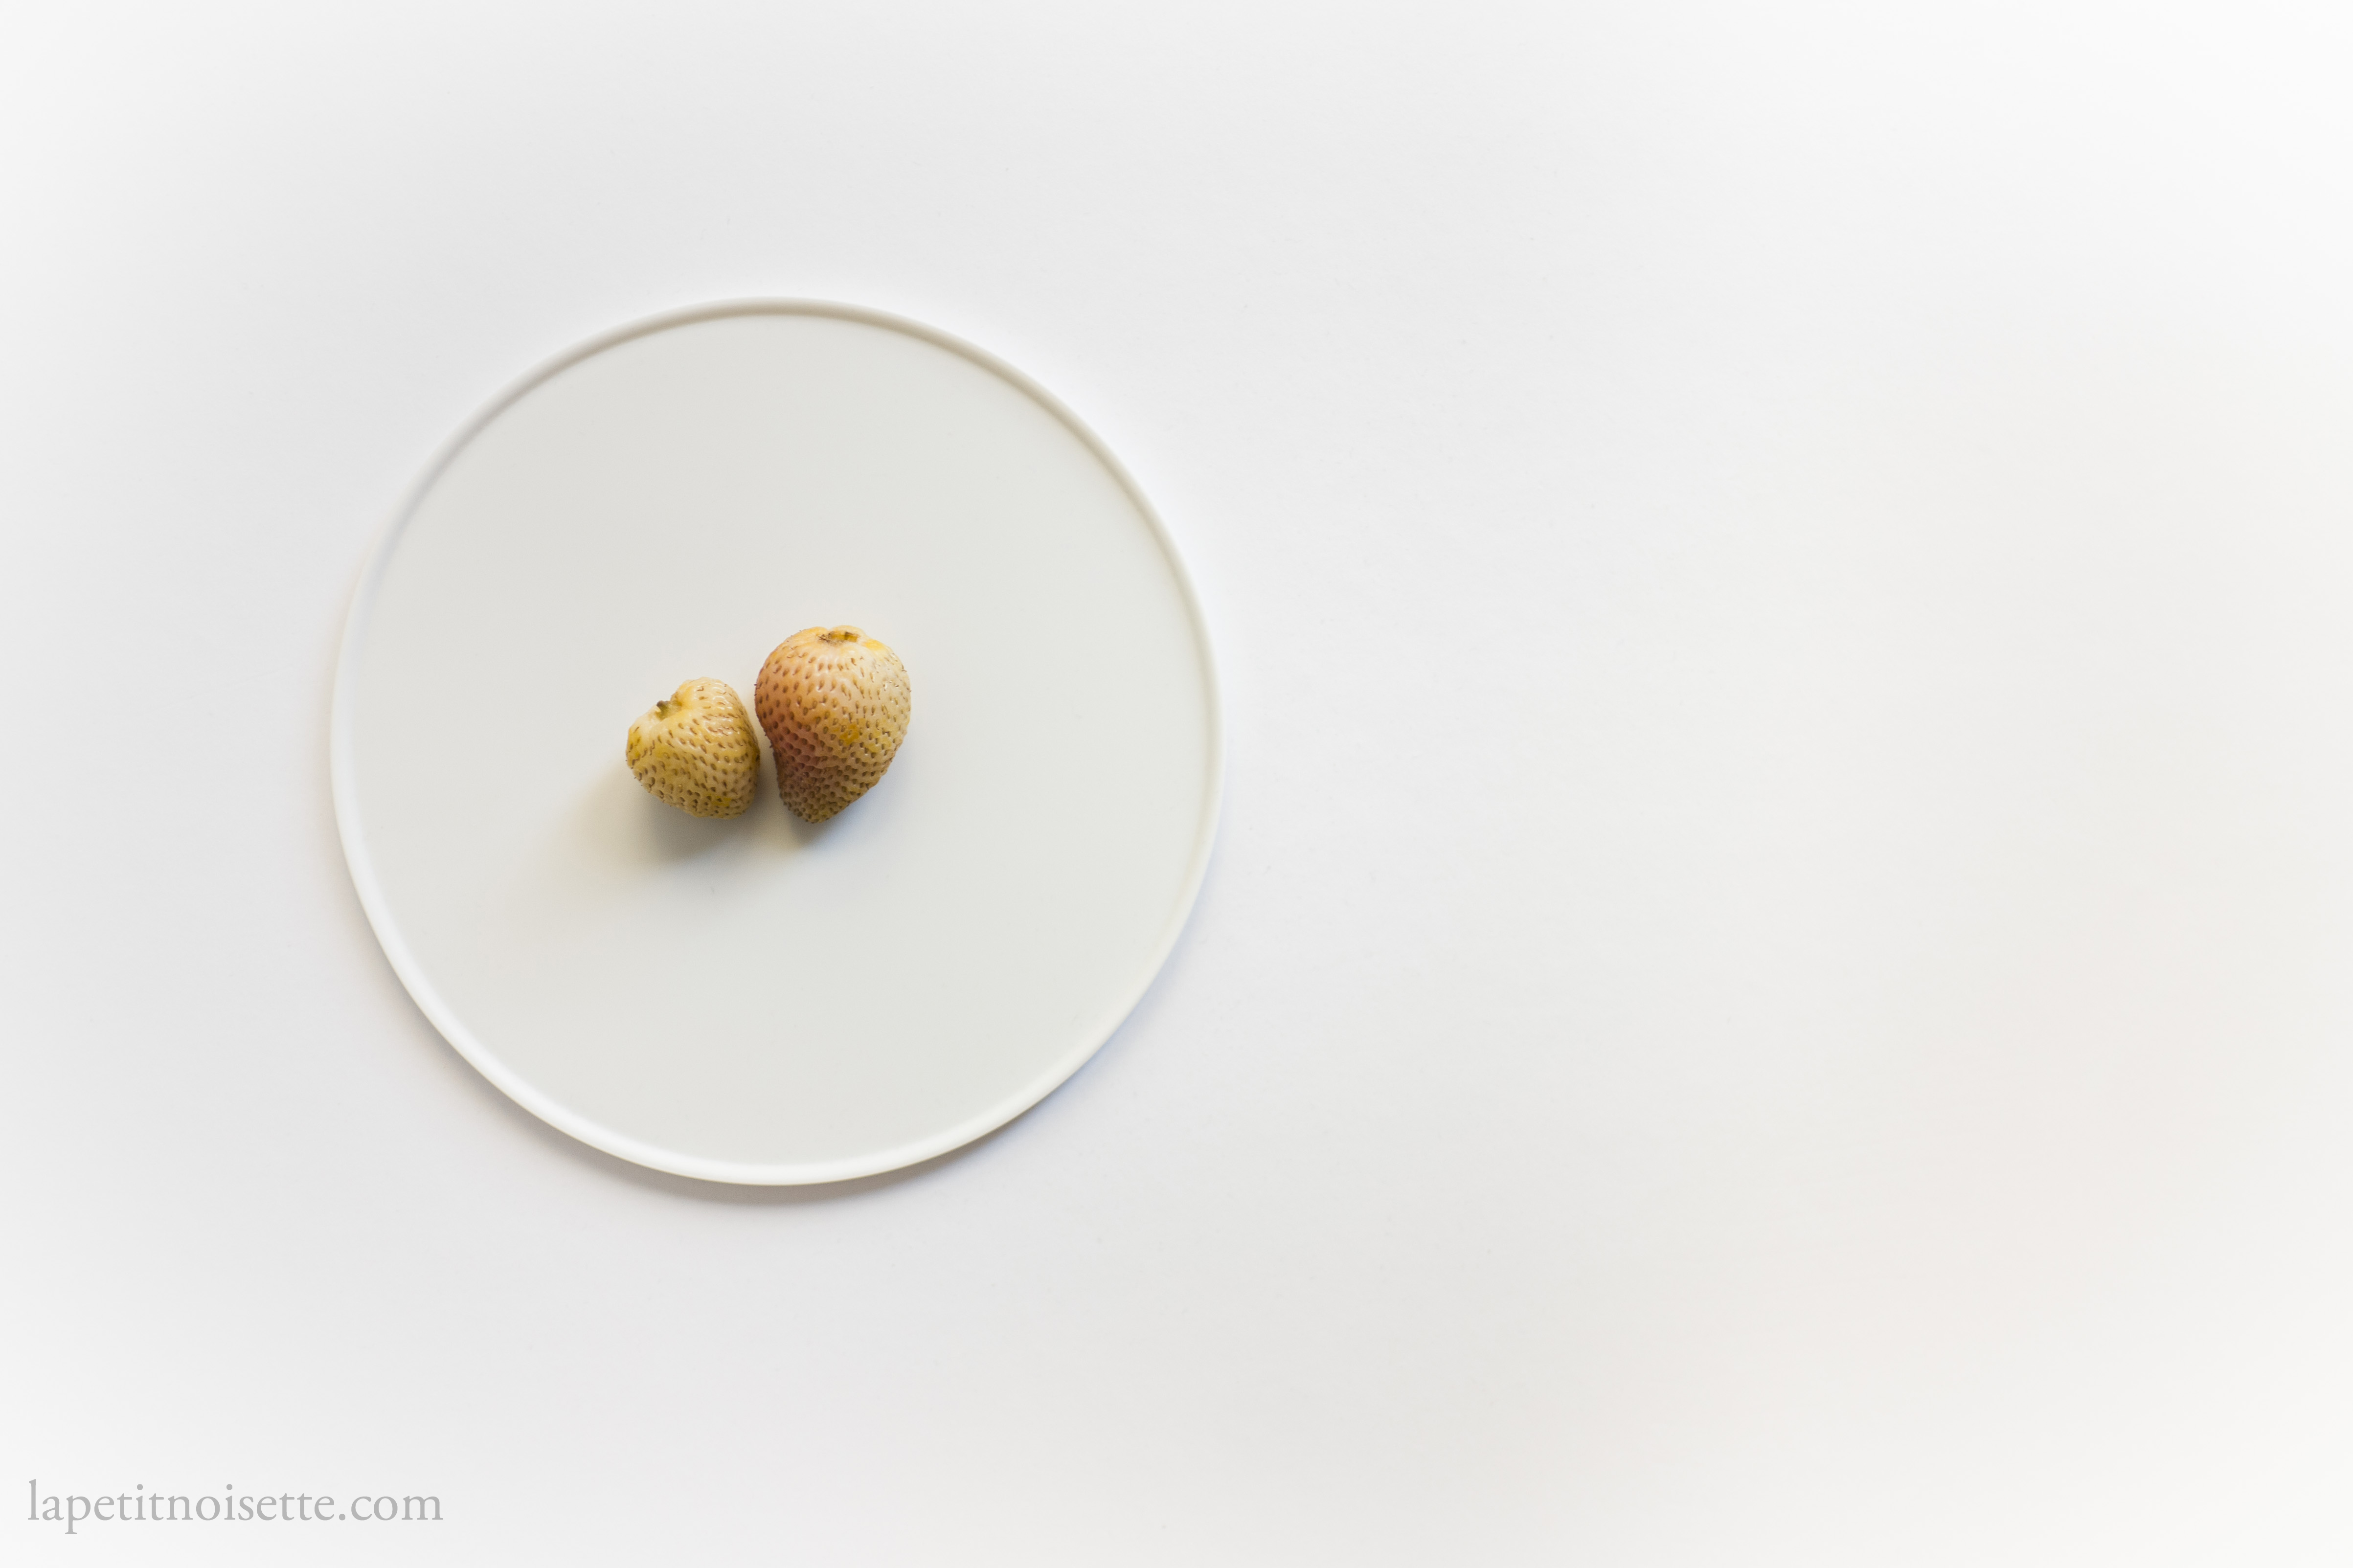
- Lacto fermented Green Strawberries
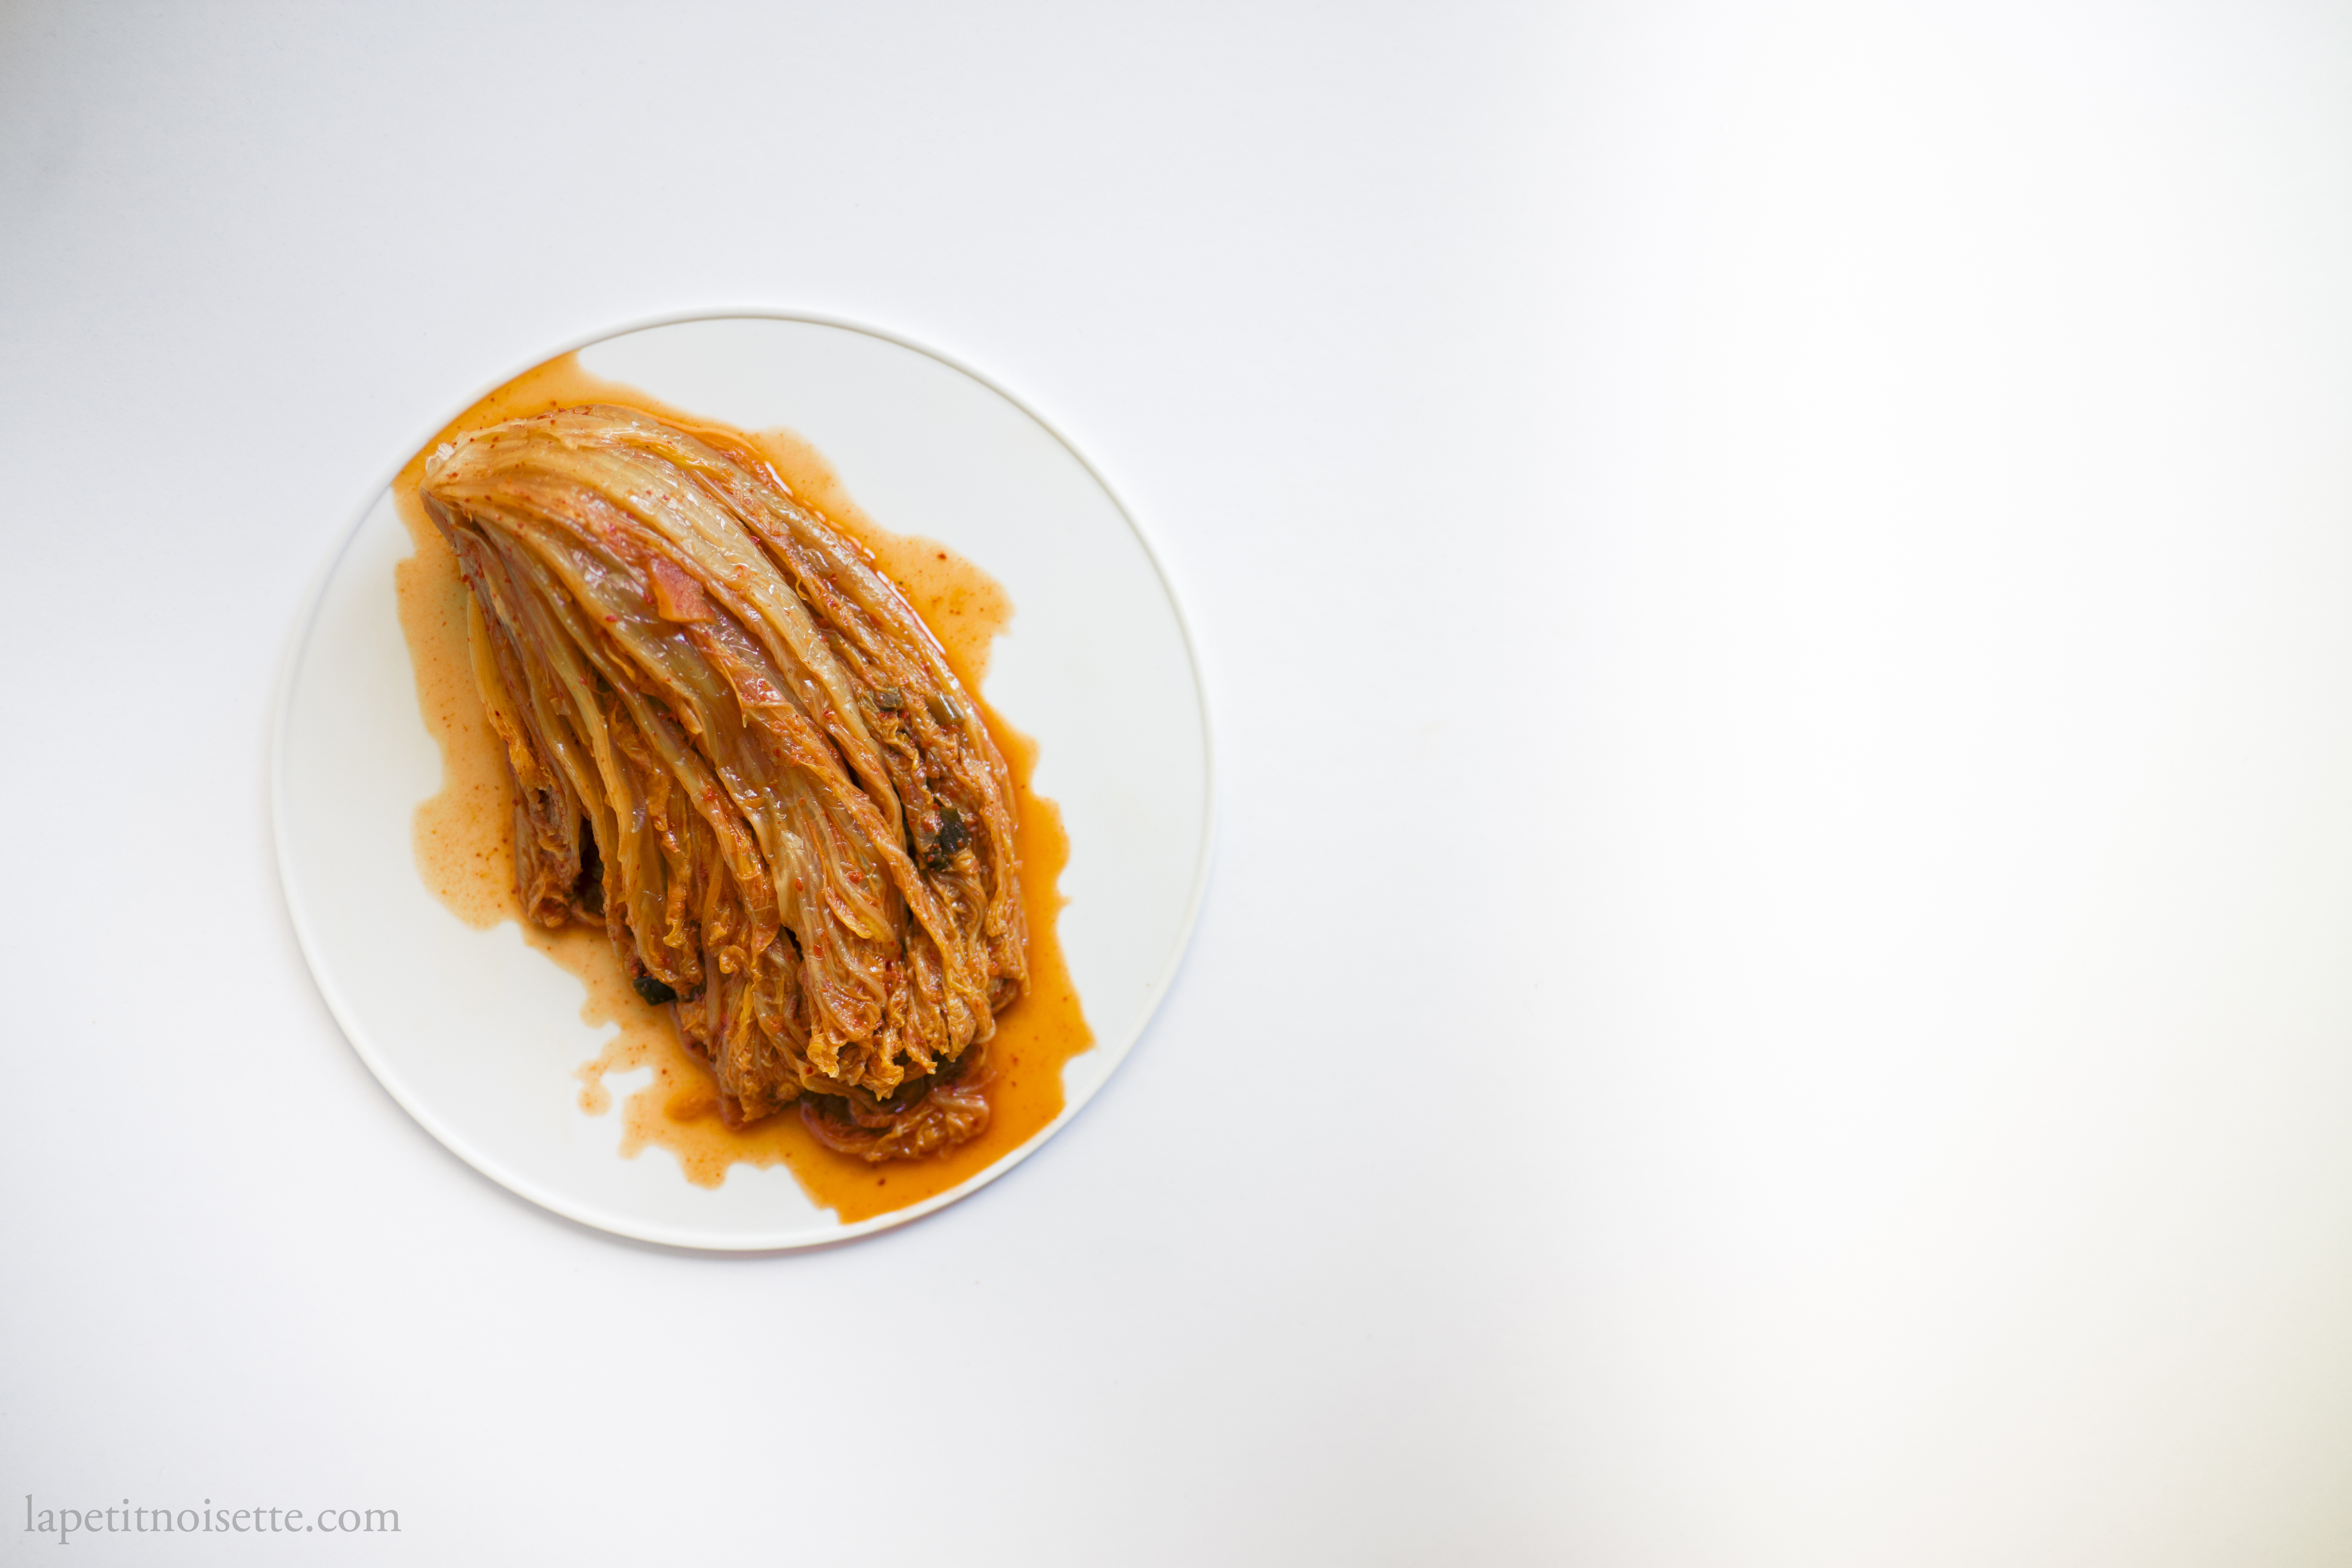
- 2 Years Aged Kimchi
- Oyster Kimchi
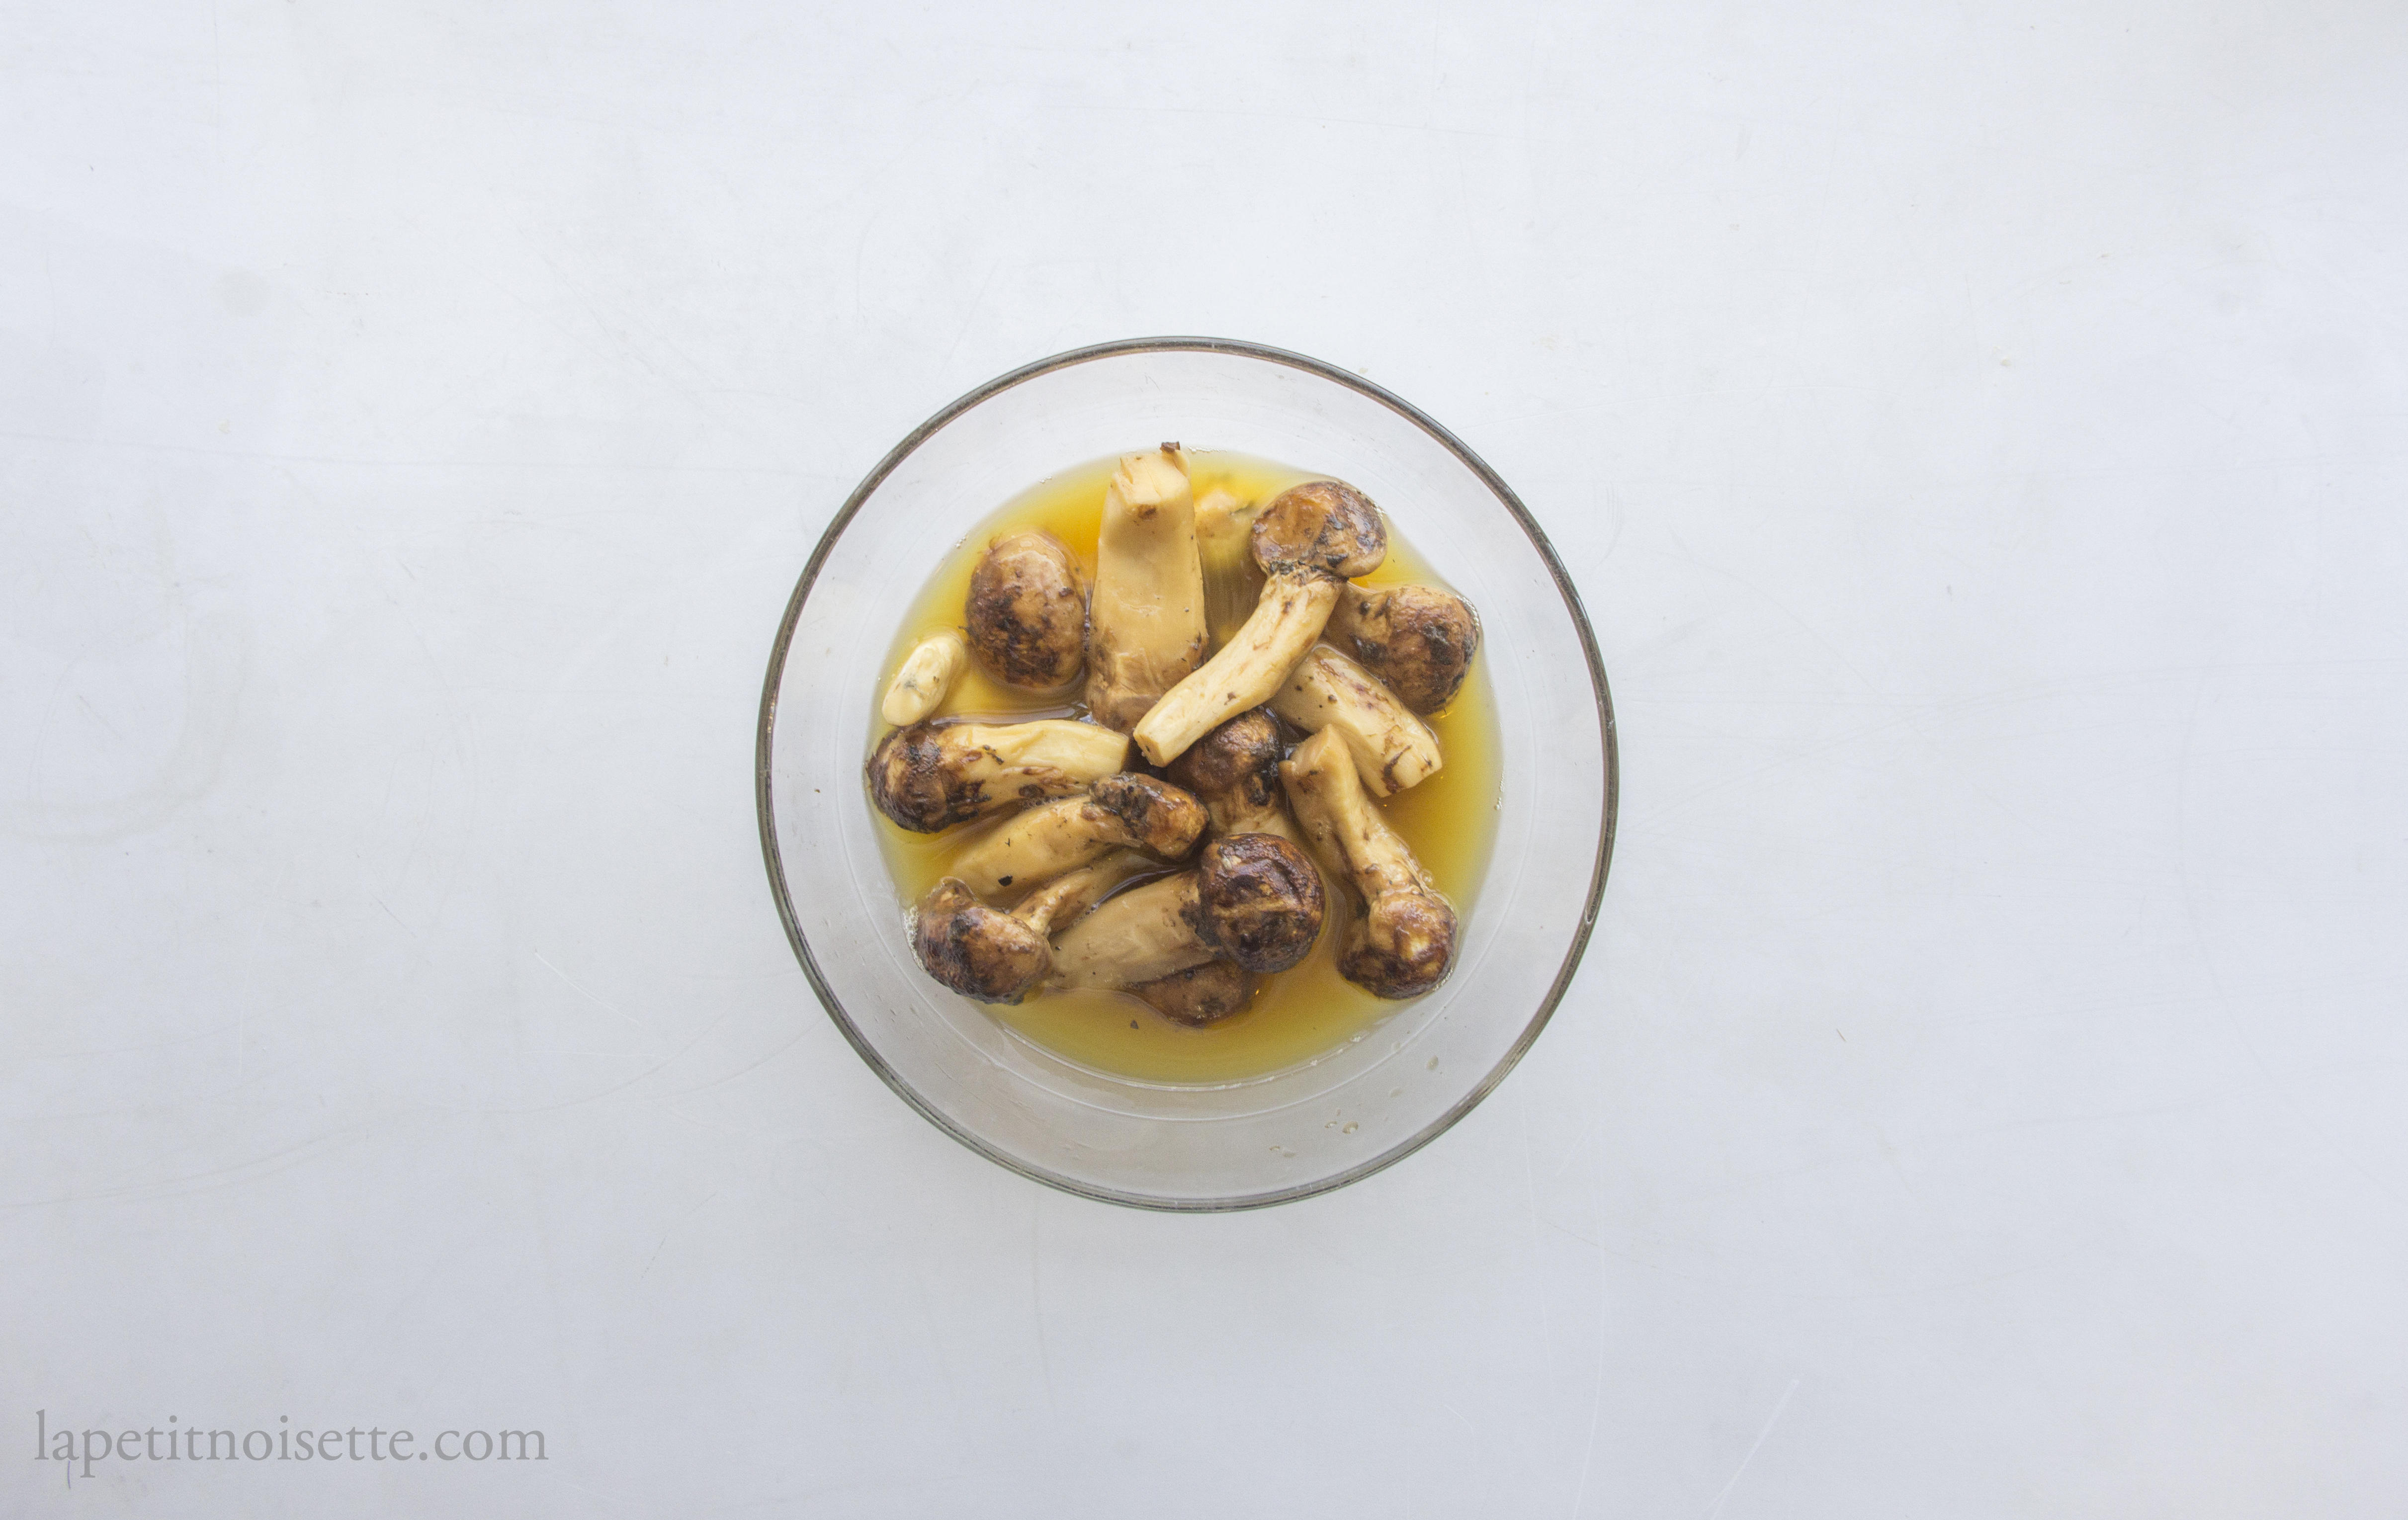
For a standard example of a lactic acid fermentation recipe, see our article on lacto fermented matsutake mushrooms.
What is Lactic Acid Fermentation?
Lactic Acid Fermentation, or lacto fermentation, is the process by which lactic acid bacteria (LAB) converts sugar into lactic acid. The interesting thing about LAB however, is that they cover a broad category of bacteria that are part of the Lactobacillales order. The reason why we’re talking about a group of organisms here, rather than a specific one (like Saccharomyces cerevisiae (baker’s yeast) or Aspergillus oryzae (Koji)), is that most LAB do quite similar things in the fermentation process, and are never found alone. For one, they all tend to thrive in an acidic environment without oxygen (anaerobic) that is also high in salt concentration (high osmotic pressure). And of course, they all break down sugars into lactic acid in order to obtain energy in the form of adenosine triphosphate (ATP).
The Ecology of Lactic Acid Fermentation
Whilst they share these similarities, it is their differences that make them interesting. For those of you who have done highschool biology, the concepts of ecological niches and succession should be familiar to you, if not here’s a basic primer: Flamingos eat crustacean and lions eat zebras, so they occupy a different ecological niche. But that’s a far comparison. Flamingos and lions don’t even live in the same habitat. For a closer comparison, we can compare birds in a lake. You’d see the same pattern, Flamingos have long legs and necks, and can thus stand in deeper water and reach down all the way into the mud to eat crustacean. Ducks in turn, have short necks and webbed feet, and thus can only feed by ‘tipping’, that is diving head deep into the lake to catch whatever insects or snails it can reach. The duck is unable to reach food as deep as the flamingo and thus occupies a different ecological niche. The most classical examples of animals that occupy a different ecological niche that you’d find in a biology textbook are Darwin’s finches and the Chthalamus and Semibalanus barnacle example. However, an ecological niche is not only defined by a species’s ecological role in the ecosystem, but also by the range of conditions that it can survive in. This brings us back to the different species of LAB bacteria, that each can survive at a different range of ecological conditions. Some can survive at high salt concentrations, whilst some can survive at lower pH’s. This means they all occupy a different ecological niche.
Even more interestingly, this means that different species of LAB bacteria are able to thrive on our ferments at different stages of fermentation, which is a biological process known as succession. For an example of succession, let’s take a look at a newly formed volcanic island. The new volcanic island does not have soil for plants to grow, so instead, the first pioneers to grow on the island are mosses and lichens, thus why they are known as pioneer species. These pioneer species break down the cooled volcanic lava into soil that other plants can use. The point to pay attention to here is that as the cooled lava is converted into soil, the habitat actually becomes less and less suitable for the mosses and lichens, and they are soon replaced by other smaller plants and shrubs. They actually make the environment less hospitable to themselves and more hospitable to others. The process of succession then continues: as the plants and shrubs die, they decompose and add a layer of organic material to the soil, making the soil more nutritious and thicker. This then allows plants with deeper root structure to replace the previous plants. This continues over and over again until the island can support a wide range of plants, from tall three to flowering bushes.
Now let’s take a look at how succession occurs in kimchi. When we first brine the kimchi in salt with our hands we are doing two things. Firstly, we convert the environment on the kimchi to one of high salt concentration and thus high osmotic pressure. This kills most bacteria that lives on the kimchi through plasmolysis, except for bacteria that is salt tolerant (halotolerant). Secondly, we also transfer the LAB that lives on our skin onto the kimchi. LAB can literally be found on any surface that we encounter during our daily lives, from our skin to even on the cabbage itself and it is this LAB that we will rely on to ferment our kimchi*, and luckily for us, most species of LAB are salt tolerant and they continue to survive on the cabbage after salting. On any surface, there are a myriad of different microorganisms competing to outgrow each other and multiple as fast as possible. When we add salt to our cabbage, what we are basically doing is modifying the environment so that it is tipped in favor of LAB survival. So whilst we aren’t directly inoculating our ferment with lab grown LAB, we are setting the conditions such that LAB is almost 100% ensured to win.
With all the other competing bacteria being killed off by the salt, the LAB now has free reign over the entire cabbage to start proliferating. The first species of LAB that begin to out compete other species of LAB are the ones that are able to thrive at more neutral levels of pH; these are the pioneer species in our kimchi. As they continue to multiply and convert sugar into lactic acid, the environment in our fermentation jar becomes more and more acidic, and the pH level continues to drop. As this happens, our pioneer species of LAB actually make the kimchi less inhabitable to themselves, as they are no longer able to survive at a lower pH. This brings on the next stage of succession, with species of LAB that are much more adapted to living in acidic conditions out competing our pioneer species. And so the process of succession in our little isolated jar of kimchi continues, with different species of LAB taking dominance as they succeed one another, until the fermentation is done and the process of succession is complete, at which our LAB community can be said to be a climax community. Here our climax community does not consist of only 1 LAB species, but different LAB species that share the living space, some more abundant than others. It is this process of succession that takes place in all lactic acid ferments that makes them so delicious, because other than the conversion of sugar to lactic acid, all the different LABs produce slightly different by-products from other metabolic pathways, which give rise to the complex and delicious taste of lacto-fermented food. In the words of my old boss David Zilber: “In any given wild ferment, there will be multiple strains of bacteria vying for position, blooming and fading at different times, each adding its unique voice to the chorus of flavors. It’s the intricacy of this interaction between different LABs that makes wild ferments so delicious.”
The chemistry of Lactic acid fermentation
So why does LAB convert sugars into lactic acid? One word: energy. In the same way that we as humans eat food to obtain energy, LAB obtains energy in the form of adenosine triphosphate (ATP) when converting sugars to lactic acid. In fact, this process is very similar to the anaerobic respiration that our bodies carry out as well. When we do a 100m sprint, our breathing does not supply us with enough oxygen to sustain aerobic respiration, and so our body automatically starts generating energy through anaerobic respiration (or directing the products of glycolysis through the anaerobic respiration pathway). It was actually once thought that it was the lactic acid produced through anaerobic respiration in our body that caused muscle pains and cramps (though that is currently disputed). The actual process by which LAB converts sugars into lactic acid is actually part of a much larger and more complex metabolic pathway but for simplicity’s sake we’ll focus specifically on the production of lactic acid. In fact, LAB can be categorised into two types, ones that are homofermentative and ones that are heterofermentative, both which are slightly different.
With the rest of the metabolic pathway stripped away, the equation for the homofermentative process is:
glucose + 2 ADP + 2 Pi → 2 lactate + 2 ATP
Here, one molecule of glucose is converted into two molecules of lactate. But what is lactate? In chemistry, lactate is the conjugate base of lactic acid. If you want to know more about what conjugate bases and acids are look up the Brønsted–Lowry acid–base theory. If not, put simply lactate is the anion (negative ion) from the dissociation of a lactic acid in water. It’s basically the same as lactic acid but “dissolved” in water. In this reaction, we get 2 ATP energy molecules from every one molecule of glucose broken down and 2 molecules of lactate. Interestingly enough, the homofermentative process only produces lactate and ATP, which actually means that if our lactic acid fermentation were to only have homofermentative LAB, we wouldn’t get the carbon dioxide build up and gas release we typically see when lacto fermenting.
The equation for the heterofermentative process is:
glucose + ADP + Pi → lactate + ethanol + CO2 + ATP
As you can see here, from the heterofermentative process, we only obtain 1 ATP and lactic acid molecule for every molecule of glucose produced, making it less effective energy production wise for heterofermentative LAB. However, two other byproducts, carbon dioxide and ethanol are produced. It is this carbon dioxide that is released that is the gas produced during lactic acid fermentation, causing jars to explode if too tightly sealed without an airlock.
- Remember, no lactic acid fermentation is exclusively done by homofermentative or heterofermentative bacteria. Every lacto-fermentation will be done by a variety of LAB that give it that complex taste that a simply adding vinegar to food would never achieve.
What conditions are needed for lactic acid fermentation?
As you’d probably already know by now, lactic acid fermentation occurs best in an anaerobic environment, that is, one without oxygen. So how do we achieve this? The most common way for fermentation enthusiasts to exclude oxygen from the fermentation vessel is by using an airlock, which is essentially a one way u-shaped valve filled with water that only lets gas out but not gas in. Alternatively, there exists traditional fermentation crocks that have a moat that you fill with water. These are called water-sealed crocks and essentially function the same way an airlock does. However, you must remember to constantly refill the moat with water to maintain an air-tight seal. If all the water evaporates, the seal will break and oxygen can enter the crock. Another method that plenty of restaurants including Noma used is by using a vacuum sealer, which you most likely won’t have at home unless you own one for sous-vide purposes (more on this here).
Of course, you could simply just rely back on your good old jar with a normal lid, opening the jar every few days to release the build up of carbon dioxide inside the jar. As long as you diligently do this, the chances of the jar exploding are basically impossible. I must stress though, that everytime you open the jar to vent out the carbon dioxide, you introduce oxygen into your ferment which may cause mold to grow. This is because other bacteria or mold (fungi) inside your jar will use that oxygen to grow.
However, as you shut back the lid, soon all the oxygen inside the jar will be consumed and it will return to an anaerobic environment. Therefore, I only recommend using a normal jar for lacto fermentation when you are either carrying out a fermentation with a high salt percentage, or fermenting in brine**. A fermentation with high salt will prohibit the growth of unwanted bacteria more than one with low salt, and so introducing oxygen into the vessel by opening the lid once or twice a week is fairly safe. Alternatively, a fermentation in brine (salt water) is only exposed to oxygen on the surface, which means that the majority of the ferment is protected from oxygen (which is why kimchi should always be kept under its juices).
This ties in to why we usually weigh down our lacto ferments with weights if we ferment them in vessels. This is because most lacto ferments that produce liquids like kimchi and sauerkraut start to float on their brines as the LAB starts producing carbon dioxide (see equation above). A fermentation weight not only protects our ferments by pushing them under their own juices which is an oxygen free environment, but also because their own juices are salty, which prevents the growth of non-LAB bacteria.
So as you’ve figured out by now, adding salt to our lacto-fermentation is important. As mentioned multiple times most LAB are tolerant to a certain level of salt, whilst enough salt can kill off most unwanted bacteria. This begs the next questions:
How much salt do I add to my lactic acid fermentation?
To re-emphasise, LABs do not need salt to grow or survive. As mentioned above, what we are trying to do by adding salt is to modify the environment so that LAB is almost 100% ensured to outcompete other types of bacteria and colonise your entire ferment. So whilst theoretically you could lacto-ferment and vegetable without salt by sterilizing it and inoculating it with pure LAB in a completely sterilized environment, in our everyday environment where thousands of different kind of bacteria are floating around the air and are on every surface, the chances of LAB being able to colonise an entire vegetable without other bacteria growing on other parts first is highly unlikely, which is why we add salt.
So whilst theoretically there isn’t a lower limit of salt to add for lactic acid fermentation to occur by chance, there is a lower limit of salt to add so that lactic acid fermentation occurs reliably, which is 2% of the vegetable’s weight. And so this is my recommended percentage of salt to use when you start out. Take note that the iodine in iodized salt can sometimes inhibit fermentation as so please avoid using iodized salt in lactic acid fermentations.
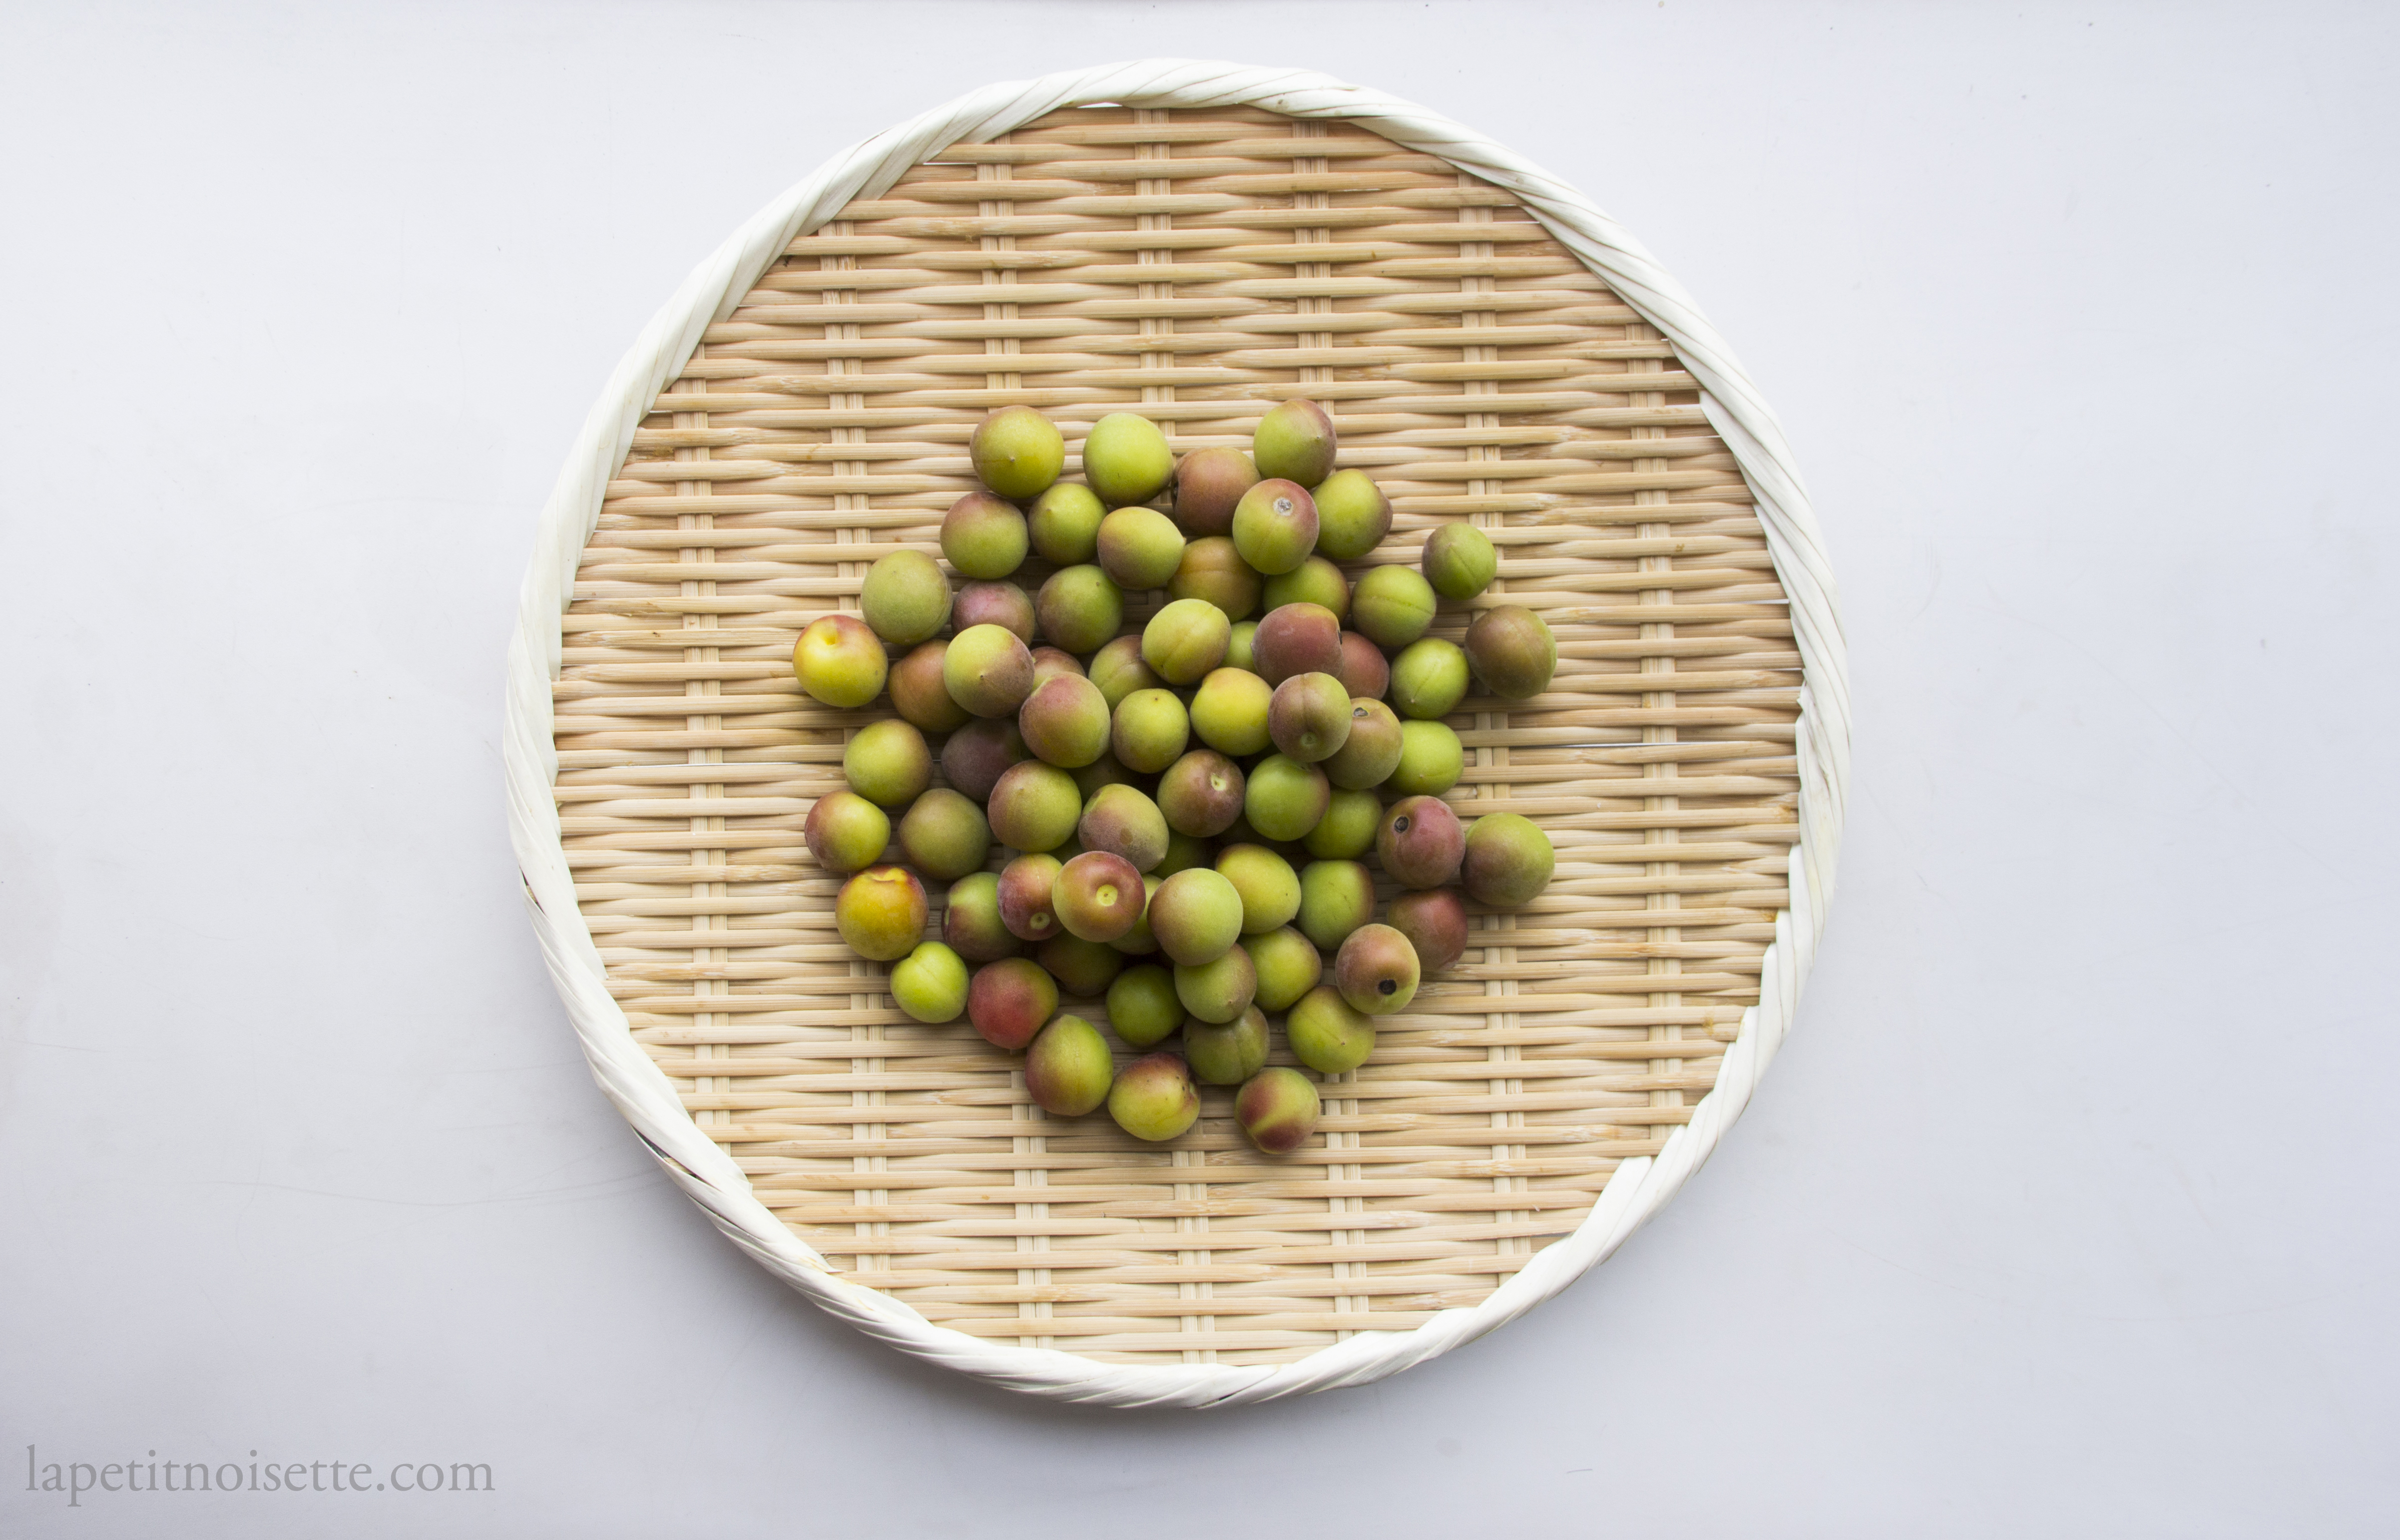
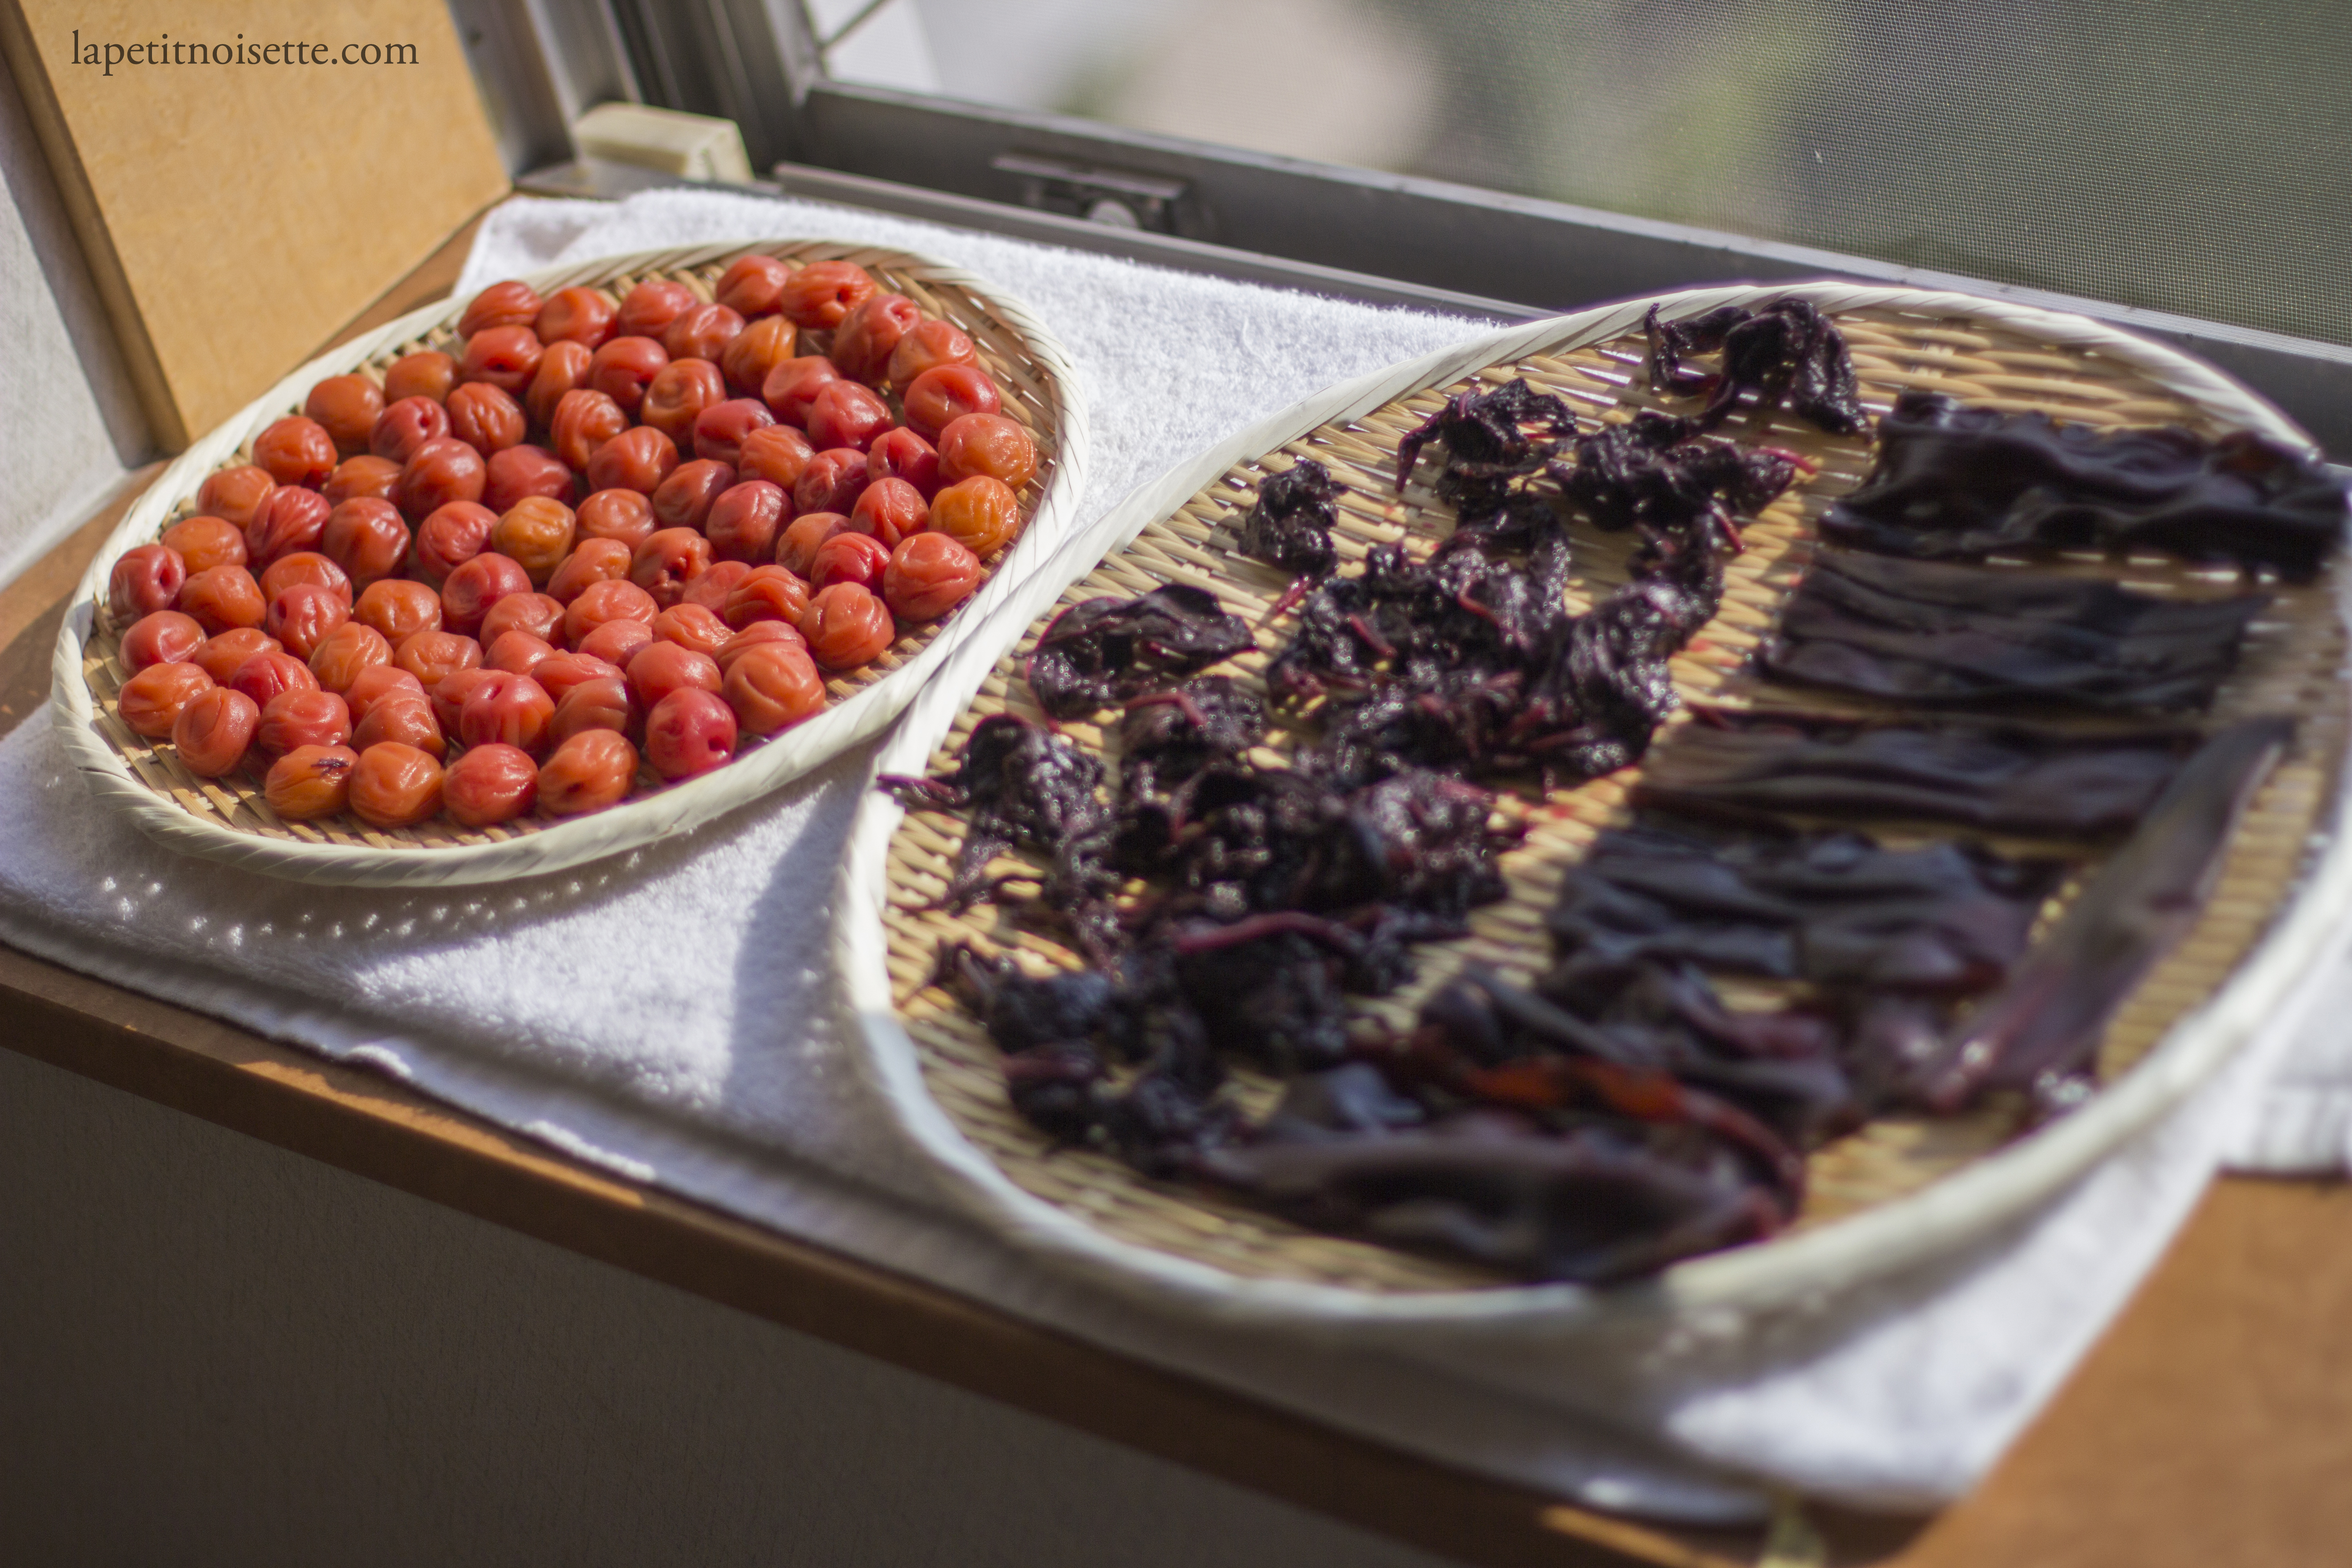
Why are we so obsessed with finding the minimum amount of salt we can add to a lactic acid fermentation? This is because we want to be able to preserve the taste of the ingredient we are trying to ferment in question without the salt overpowering it. However, using a higher percentage of salt does have its advantages. For example, Japanese salted plums, or umeboshi, that range from the traditional 20% to the more modern day 8% in salt, are designed to last for a long time, with those made from 20% salt designed to age for many many years to improve its flavour. Kimchi also benefits from a higher than 2% salt if you intend to age it for a much longer time. At salt percentages above 8% however, LAB activity also starts to be inhibited, which causes the fermentation to slow to a crawl, which relates to why it takes umeboshi 2 to 4 weeks to be ready whilst only 2 or 3 days for some lacto-fermented fruit. This brings us to the question:
How long do I ferment my lactic acid ferments for?
Almost every lacto-fermentation recipe you’ll find out there will take around 3 days to a week and very rarely any longer. This goes for the same restaurant recipes you’d find in any high-end restaurant. The reasoning behind this is simple: The longer you ferment the more it losses texture and becomes more acidic. Therefore, most lactic acid fermentations are run just long enough that enough acidity is produced to highlight the vegetable or fruit’s natural taste without being overpowering, whilst preserving their texture. Any fruit or vegetable that is lacto-fermented for too long starts to lose its texture and go mushy due to the LAB breaking down the pectin in the cell walls. Another reason behind this of course, is ease of production. If you’re going to feed 100+ covers every night for weeks on end, having an ingredient on the menu that takes weeks and weeks of fermentation not only requires extreme forward planning, but also space to keep all the produce as it ferments. Therefore most restaurants tend to keep their ferments short. The taste of the fermented product also changes the longer you let it ferment/age in an analogous way to wine. The tasting notes for a young lactic acid ferment is the same as a young wine, with there being more fresh fruit, light and refreshing crisp acidity and bright tastes. Conversely, the tasting notes of a lactic acid ferment that has been allowed to keep going is the same as an aged wine, with the previously sharp and bright fruity notes being dimmed down to give way to more savory and earthy notes.
The commonalities don’t just end there, in the same way that any wine can be drunk young but only the very best can age, the same goes for lactic acid ferments. People who intend to age their kimchi for up to 2 years or their umeboshi for more than 5 years all claim that only the ferments that are made from the very best ingredients will make it to the end of that journal, with the time, money and effort put into it yielding spectacular results in terms of taste. Just like wine however, not all lactic acid ferments are designed to age well, and just because they are unable to keep for months and months, doesn’t make them any inferior to more aged ferments.*** In fact, most simply lactic acid ferments like lacto-plums, lacto-asparagus or lacto-pineapple taste best after a short fermentation, as they tend to lose their freshness the longer you go. There is one aspect in which lactic acid fermentation differs from that of ageing wine, which is that the longer you allow a lacto-ferment to run, the more acidic it gets, until all that remains is a salty and overly acidic ferment. This is another reason why lactic acid fermentations are usually “ready” very soon. In the exceptional case of kimchi and umeboshi, the fermentation duration is so long that LAB actually starts to die and the acidity mellows off with age.
So how do you know when the fermentation is done? By tasting it! At Noma, work at the lab started off everyday with a tasting of every bag of lacto-fermentation that was in progress. Even if we had 40 bags of lacto-fermenting plums, we would meticulously taste every one of them as each bag fermented at a different rate. We would then reseal the vacuum bag and taste them again the next day until either David Zilber or Jason White thought they were “done”. Your human senses are the best tools you’ve got to judge the doneness of your ferment, and once it starts, as David Zilber would say” it begins moving in one general direction: from sweet to sour.” Think of tasting your lacto ferments in the same way you taste whether or not your pasta or risotto is perfectly al dente, or whether or not you’ve added enough milk to your coffee, it all depends on your personal preference and judgement. At the lab, it was absolutely essential that we tasted every bag of lacto-fermentation because whilst we knew that the ferment would be done in around 5 to 7 days, the point at which it was perfect varied due to too many factors out of our control, such a tiny variations in temperature in different spots in the fermentation room, or even how much LAB was already present on the fruit before we vacuum packed them. This brings us on to our next point:
What is the optimum temperature for lactic acid fermentation?
At the fermentation lab at Noma, our lacto-ferments were kept in a room specifically kept at 28°C/82°F which had been decided as the optimum temperature that balanced the speed of fermentation and favour development. As temperature increases, so does the pace at which fermentation occurs. This is caused by both an increase in the rate of LAB metabolism, but also the increased rate of LAB growth. The opposite is also true. Carrying out a lacto-fermentation at a lower temperature slows down the fermentation process. Both extremes have their advantages and disadvantages. At a higher temperature, your ferment is “done” much faster, but there is a higher risk of you getting the timing wrong. A much higher rate of LAB activity can also sometimes cause the production of undesirable flavours that are not fresh and fruity but more on the pungent end of the spectrum (you’ll also notice this in kombucha). At a lower temperature, LAB growth sometimes slows down so much that your ferment goes bad/moldy before LAB is able to colonise the entire fruit/vegetable. There is also a risk of oxidation occurring, causing your fruits to and vegetables to brown before they ferment.
Going back to our kimchi example, some recipes online, including the famous maangchi, recommend kickstarting your kimchi’s fermentation by leaving it out at room temperature instead of allowing it to ferment slowly in the fridge. However, most die hard kimchi fans believe that kimchi that has been left out to ferment for a day will develop off-flavours, as the LAB activity will be too vigorous. Instead, they believe that kimchi should be fermented between 0°C/32°F and 4°C/40°F from the very start. In fact, if we look at how kimchi was traditionally fermented in clay vessels (Onggi/옹기/甕器) buried underground, the temperature underground during winter would be constant between 0°C/32°F and 4°C/40°F. Even today, kimchi that’s made to be aged for a very long time can be kept in kimchi refrigerators which are designed to keep the environment at a stable and low temperature, allowing the kimchi to develop their complex flavours through a slow and steady fermentation. In this case, a low temperature is safe because kimchi will be submerged in the liquid released by the cabbage, thus protecting it from mold and oxidation.
All this being said, almost all lactic acid fermentation runs very well at room temperature, especially the more common ones you’ll experiment with such as plums, white asparagus and mushrooms etc. For traditional recipes like sauerkraut, kimchi and umeboshi, just follow their unique instructions for the recipe you’re following. If you’re in a cold country where room temperature is around 21°C/70°F, you’ll find that your lactic acid fermentation is done in around 6 to 7 days, and around 3 to 4 days if you life near the equator where the room temperature can be close to 28°C/82°F or even 30°C/826°F. As always, the best way to tell how your fermentation is going is to taste it, so maybe sample your ferment 1 or 2 days after you start, and maybe every half a day when it’s reaching your desired level of acidity.
How safe lactic acid fermentation? What are the dangers?
As already mentioned twice in this article, LABs do not need salt to grow or survive. As mentioned above, what we are trying to do by adding salt is to modify the environment so that LAB is almost 100% ensured to outcompete other types of bacteria and colonise your entire ferment. This means as long as you add around 3% of your ferment’s total weight in salt, your lactic acid fermentation is amongst the safest ferments that you could carry out at home and is one that I highly recommend to beginners. In addition to the protection provided by the salt, as your fermentation proceeds, the pH in your ferment will drop as the acidity drops, which again provides another layer of protection. Salmonella doesn’t survive below pH 4 and whilst C. botulinum produces toxins in anaerobic environments, they do not survive in salty, low pH environments.
In fact, the main dangers that come with lactic acid fermentation are the ones that occur outside the fermentation stage, that is using vegetables or fruits contaminated with raw meat, or by using unhygienic food preparation tools. As long as you follow the same hygiene practices as you would when typically cooking, then all is safe. As a general guideline, you wouldn’t want to use vegetables that you wouldn’t cook with in your ferments. If you’d think about it, fermentation was used by people to preserve their food back before refrigeration and pasteurization existed, and so many of these ferments from a historical point of view survived because they were safe. For those of you who want to be super precise, a lactic acid ferment that is at a pH or 4.6 or lower is as safe as a steak cooked medium well provided you prepared the ingredients to the same level of hygiene as you would have if you were going to cook them.
Given that lactic acid and salt are the two main chemicals that protect your lactic acid fermentation, you’re then going to have to consider how easily they penetrate your ferment to ensure safety. As a recommendation, always keen the surface area to volume of your ferment in mind. White asparagus doesn’t need to be cut into smaller pieces when lacto-fermented because they are thin and have a low surface area to volume ratio and thus the salt and lactic acid can penetrate it. Going back to our kimchi example again, the carrots and white radishes added to kimchi are usually shredded and it would be hard for lactic acid and salt to penetrate into the centre of a solid piece of carrot. Additionally, the salt is rubbed into each leaf of the cabbage during brining whilst the marinade is also applied to each individual leaf of the cabbage at the final stage, ensuring the salt is applied to every surface in the cabbage and that fermentation can take place between the cabbage leaves. Sauerkraut itself is usually shredded. Alternatively, baby cucumbers destined to become gherkins, cornichons or pickles need not be cut as they are made from around 95% water and thus absorb lactic acid and salt easily. And if you’re going to be fermenting something large with a thick skin, consider cutting it up into smaller pieces.
What else could go wrong during lactic acid fermentation? (Mold and Kahm yeast)
Occasionally, you’d find white creamy and wispy film start to grow on the surface of your ferment which is kahm yeast. Whilst it isn’t dangerous to eat, if allowed to grow out of control, it tends to cause your ferments to start developing off-tastes. If you notice a little bit of kahm yeast growing, it’s safe enough to simply remove it with a spoon. Some sources also say that you can simply mix the kahm yeast into the brine to kill it but I feel that sometimes leads to a worse infection or contributes to an even worse off taste. If kahm yeast takes hold of the entire surface of your fermentation vessel, it is still completely safe to eat, though not the most appealing favour-wise, so it’ll be up to you what you’d want to do with it.
Kahm yeast tends to grow on ferments that may have too little salt, two much sugar or too much exposure to oxygen. For example, when making kimchi, sugar is typically added to the rice flour marinade used to coat each individual cabbage leaf. If too much is added, it increases the danger of kahm yeast taking hold before the ferment is acidic enough, ruining your entire batch of kimchi. The incidences of Kahm yeast infections are also much higher in household ferments carried out at jars which have a much higher level of oxygen exposure compared to those in restaurants which are typically done in vacuum sealed bags. This is why most home enthusiasts use fermentation crocks with water seals or airlocks. Alternatively, you can sprinkle salt over the top of your ferment to inhibit yeast growth but at the cost of increasing the saltiness of your ferment.
Whilst kahm yeast is white and wispy, mold is fuzzy/hairy and comes in a variety of colours, mostly dark green, dark blue or black. If you see any mold on your ferment, it’s time to throw it away as no mold is safe to eat. It is also not safe to simply remove the mold from the surface of your ferment as it’s hard to determine how deep the mold has actually penetrated into the ferment. Again, lactic acid fermentations are actually fairly safe from mold growth so long as you add enough salt (2% is consistent and a safe bet), and you keep the environment oxygen free. Once fermentation has started and lactic acid starts to be produced, only bits of vegetables or fruits exposed above their brine are at risk of growing mold.
As a rule of thumb, one of the most reliable ways to judge whether a ferment is safe to eat is to use your sense of smell. If you think it smells off, musky or just not right, you’re probably right. Believe it not, we humans are fairly accurate in our innate ability to judge if food has gone bad or not. So before you decide whether or not to eat something, if it looks alright, always just give it a good smell first before you eat it. Lactic acid ferments should smell fresh and appealing, not pungent and unappetizing.
* If we look at this from a more romanticized point of view, you could say that there is a scientific backing for the Korean phrase son-mat (손맛). Son-mat, which directly translates to “hand taste”, is the idea that the hands of the maker/chef impart a unique taste into the kimchi/ferments that are made, tying into the notion that kimchi made from your mother’s hands tastes the best. In this case, the LAB from the maker’s hands is literally transferred into the kimchi.
There are many well written articles surrounding the concept of son-mat that exist on the internet if you’re interested in finding out more. I highly recommend Jiwon Woo’s mother’s hand taste project that he did in collaboration with the Microbiology department of Utrecht University.
**Whilst working at the fermentation lab at Noma, Jason White always told me that he felt fermenting in brine doesn’t get as much attention as it should. By dissolving salt in water, you basically create a brine that can be poured over fruits and vegetables, thus allowing lactic acid fermentation to occur in an oxygen free environment. Whilst there is oxygen dissolved in the brine, it doesn’t facilitate bacteria and mold growth in its dissolved form, plus the fact that the brine is a salty liquid means that it is able to coat every exposed surface of your ferment with salt, thus inhibiting bacteria and mold growth. Other than making brine yourself, some traditional ferments create their own ‘brine’ from the juiced that they release such as kimchi and sauerkraut, whilst even modern recipes like Noma’s lacto fermented plum made in a vacuum packed bag also release their own juiced during their fermentation period which ultimately protects the plums from mold and bacteria growth.
Not all fruits and vegetables are suitable to be fermented in brine however, as softer ones tend to lose their texture as you ferment them. This is why umeboshi is made from unripe green Japanese plums and not ripe ones, and is why aged kimchi can sometimes be mushy. Even the lacto fermented plum recipe mentioned above can become mushy if left too long. Vegetables that do well fermented in brine are ones that are more crunchy, like white asparagus and radishes etc.
The brine used to lacto ferment plums should be made from 2% of the total weight of the ingredient you are fermenting plus the water used. For an example recipe where brine is used, see this recipe on lacto-fermented matsutake mushrooms.
*** Some people (who tend to be more wealthy) claim that an old wine is more complex in taste and smell compared to young wine but I believe this is not the whole story at hand. Instead we should look at every bottle of wine as having their own peak at when they drink the best. Some wines are designed to be drunk young whilst some are designed to be drunk after many years of cellaring. However, the taste of aged wine tends to be a more acquired taste, with the everyday person preferring wines that are more drinkable from a day to day basis. This is also where price point and occasion comes into play. Whilst some may claim that wine that has been aged is superior to young wine, who on earth would open a thousand dollar plus wine to drink on a weekday night? So while it may be true that only exceptional bottles and vintages of wines are able to be aged, that only makes them superior to other wines in their rarity, but not in their taste. I argue that the average layman who is not deep into the world of wine would actually prefer non-aged wines, and a well chosen affordable glass of prosecco at the beach on a sunny day is on par in taste with an aged vintage champagne at a fine dining restaurant; context and occasion matters when it comes to wine. The same goes for lactic acid ferments. Whilst the acidity and earthy-ness of a 2 year aged kimchi can balance out the fatty-ness and meaty aroma of pork in kimchi stew, the same 2 year aged kimchi loses out to simple freshly made kimchi on plain rice.