Michelin Starred Tempura Recipe
*Update: After consulting Shuji Niitome himself, we were advised that the recipe below is mixing one crucial step, which is to sieve the flour into a container before freezing the flour at -60°C. He said that even though the flour should be sieved before being put into the freezer and right before you add it into the liquid mixture, he believed that sieving it before putting it into the freezer was an even more crucial step. After being sieved into a container, the flour is not disturbed until needed to be used. He also told us that he uses an aluminium tempura pot in contrast to most high end restaurants that use a pure copper one.
Read our previous article on the science of tempura.
If you look around the internet for tricks to make the most crispy and light tempura, you’ll come across several amazing tips and tricks that have a strong scientific backing to them. Most of them revolve around inhibiting gluten formation in one way or another as gluten formation gives fried batter a chewy texture rather than a crispy one. You have the option of adding vodka to the batter as alcohol inhibits gluten formation and evaporates when fried. You can also inhibit gluten formation by keeping the tempura batter as cold as possible, going as far as to substitute some of the water with ice, or simply take the shortcut of using as low protein a flour as you can find so that the flour already contains very little gluten to begin with.
This means using cake flour instead of bread flour, or substituting some of your flour with rice or cornstarch, which contains no gluten. Others recommend barely mixing the tempura batter together, as it’s the vigorous mixing that promotes gluten formation. One common addition you’d see in the western restaurant industry’s take on tempura is to add sparkling water to the batter to make it fizz, giving the batter a light airy texture. Today however, we’ll be looking into a very interesting technique, which is the use of extremely low temperature flour in making tempura.
When it comes to tempura restaurants, the legendary Tempura Niitome (天風良 にい留) is easily a cut above the rest. Located in Nagoya, Tempura Niitome was opened by Shuji Niitome (新留修司) after having honed his skills in Ginza’s Tenichi and quickly rose to fame as the best tempura chef in Japan. When asked, he constantly attributes his success to his skill in making the perfect tempura batter that is crisp at the first instance before melting into your mouth. This is done through the use of flour that is kept at -60°C (-76°F) for three days, a technique he pioneered in his attempts to push the limits of deep frying. Continuing our chase for the perfect tempura, today we’ll be investigating Tempura Niitome’s techniques and tricks.
What is Shuji Niitome’s tempura recipe?
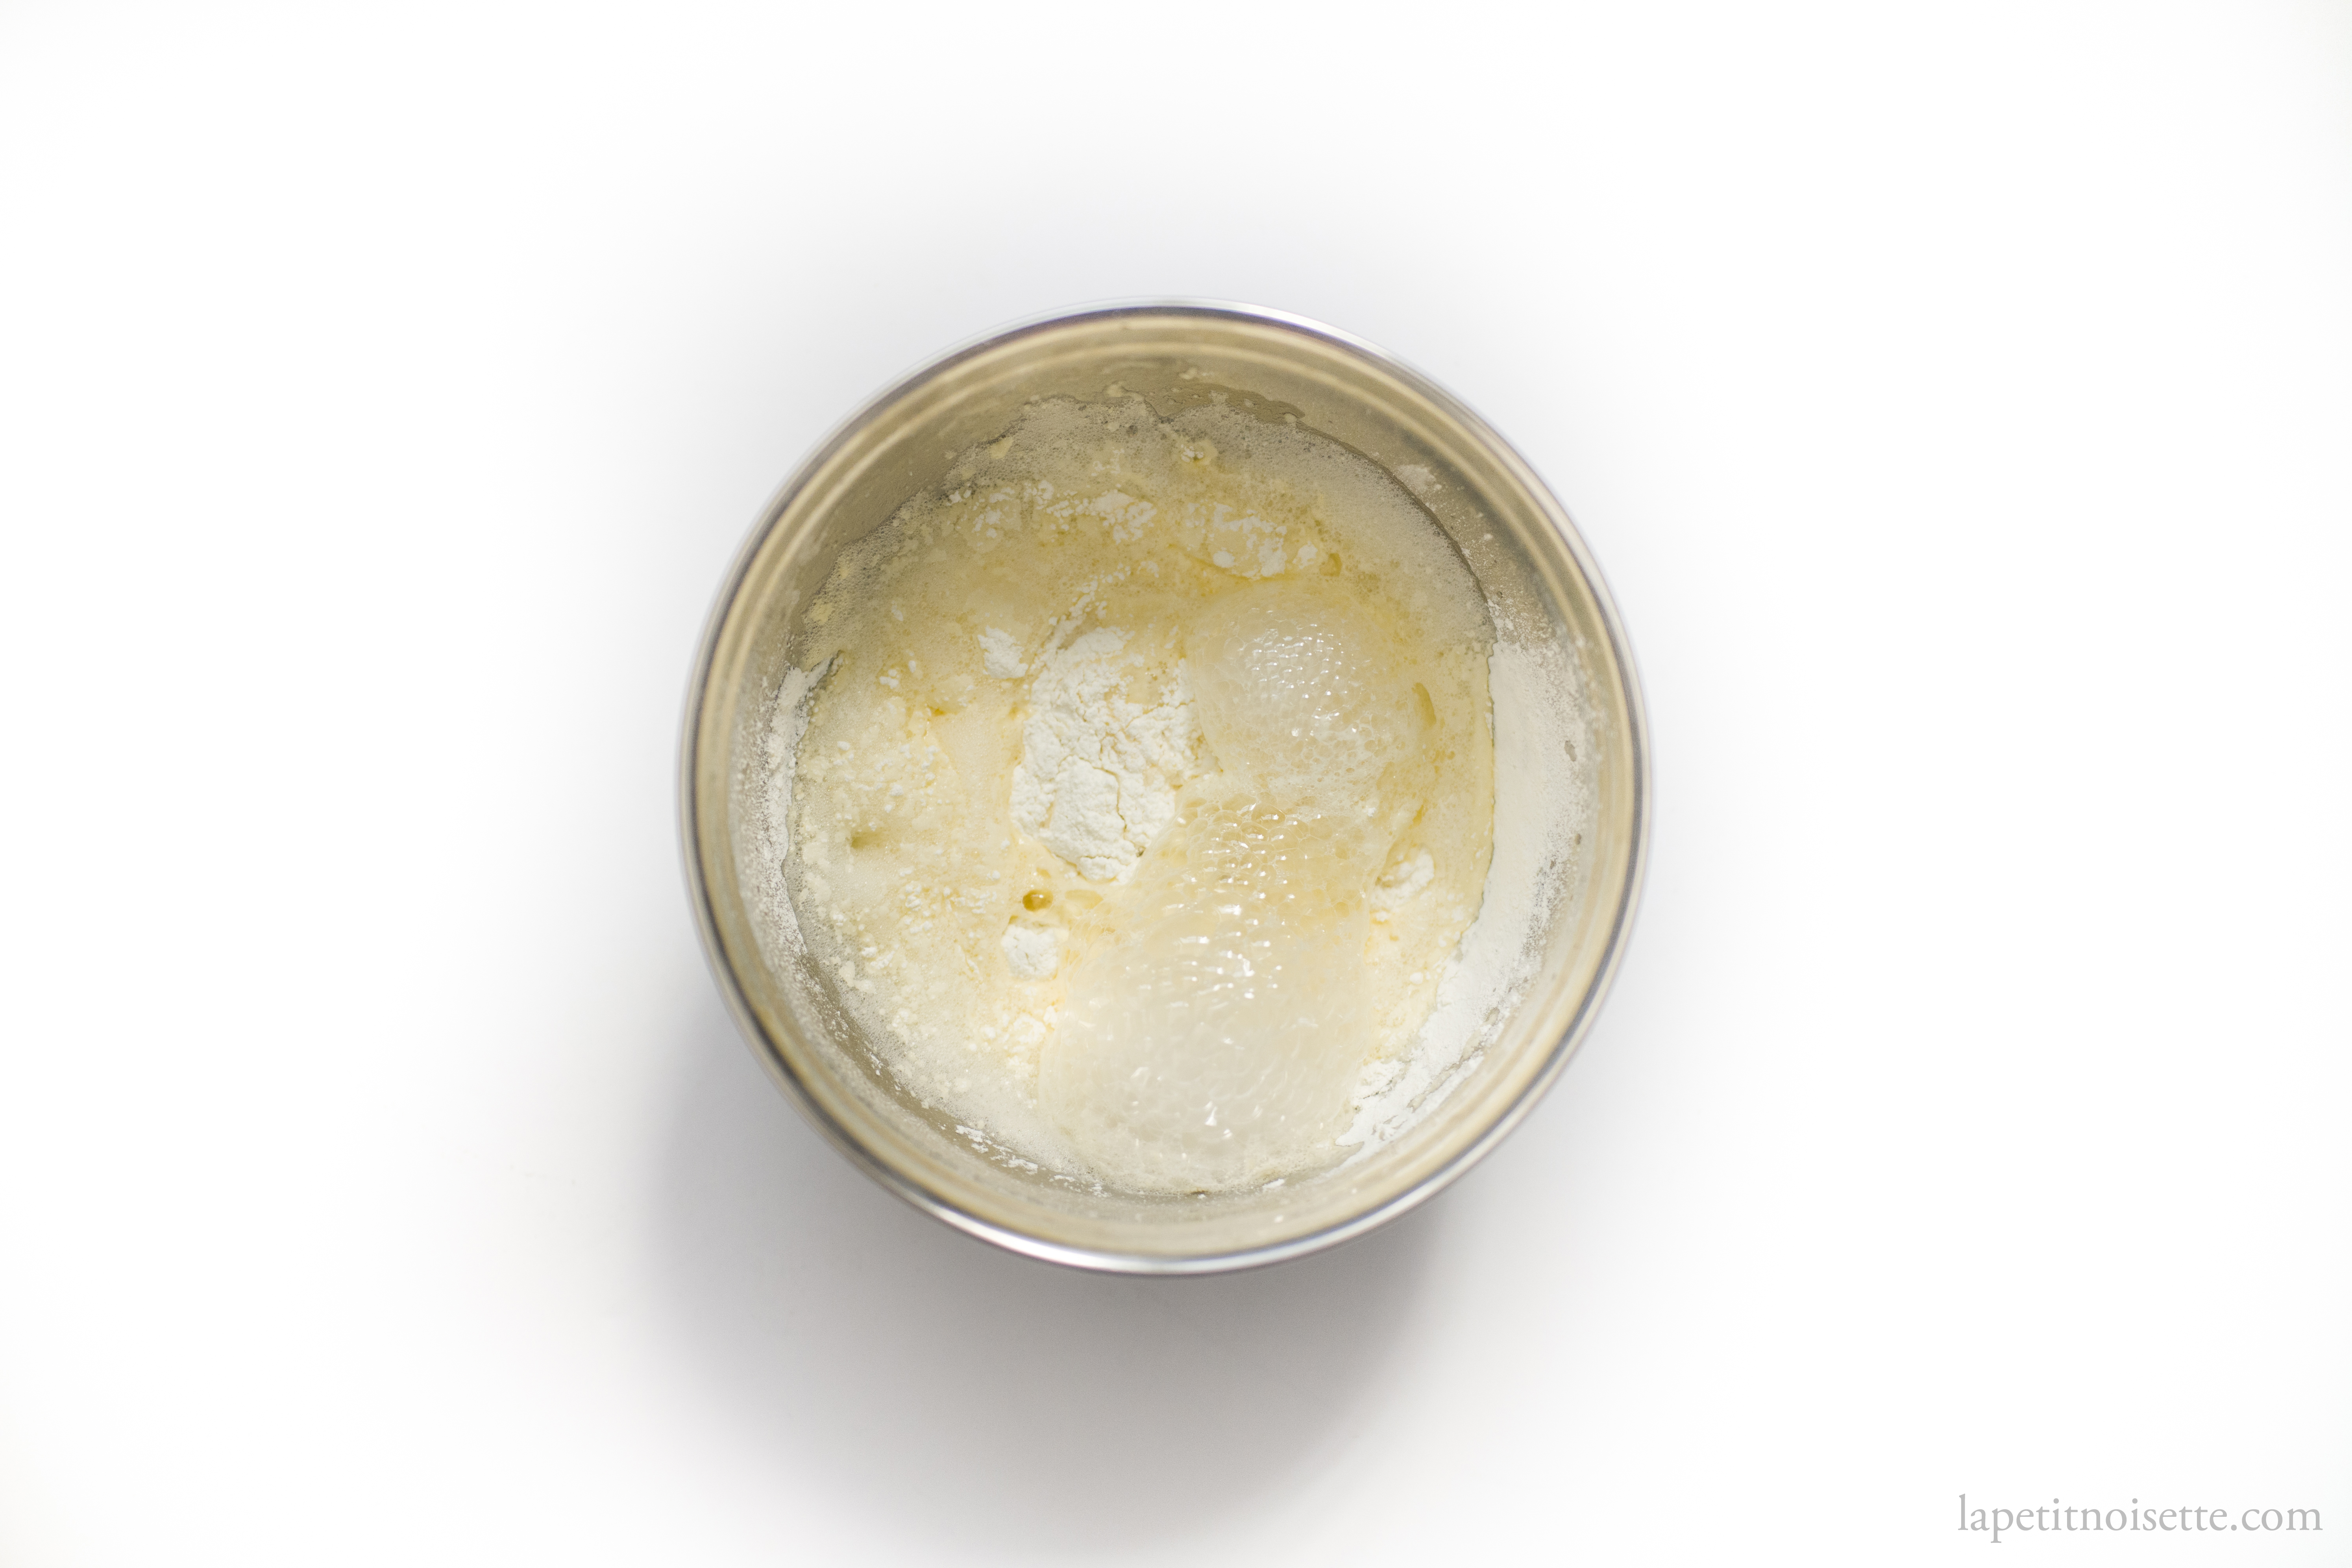
At tempura Niitome, the chef makes the tempura batter just before it’s used. He starts with a water and egg mixture that he vigorously whisks to incorporate air into. This bowl of liquid is set over and ice bath, to which he sieves in low protein flour (hakurikiko/薄力粉) that has been kept at -60°C. This is then whisked briefly. The food that is to be fried is not first dusted with rice flour or cornstarch, but instead goes straight into the batter. Let’s look at what we can elucidate from these steps.
Why deep fry using low temperature batter?
Long story short, gluten formation in flour begins the moment water is added to flour and too much gluten formation in deep frying batter leads to chewy instead of crispy batter. You can read more about it in my article on the science of deep frying tempura. By keeping the tempura batter cold, you can slow down the rate of gluten formation and keep your tempura crispy. Whilst this is a valid enough explanation, does this justify keeping the tempura flour at -60°C (-76°F)?
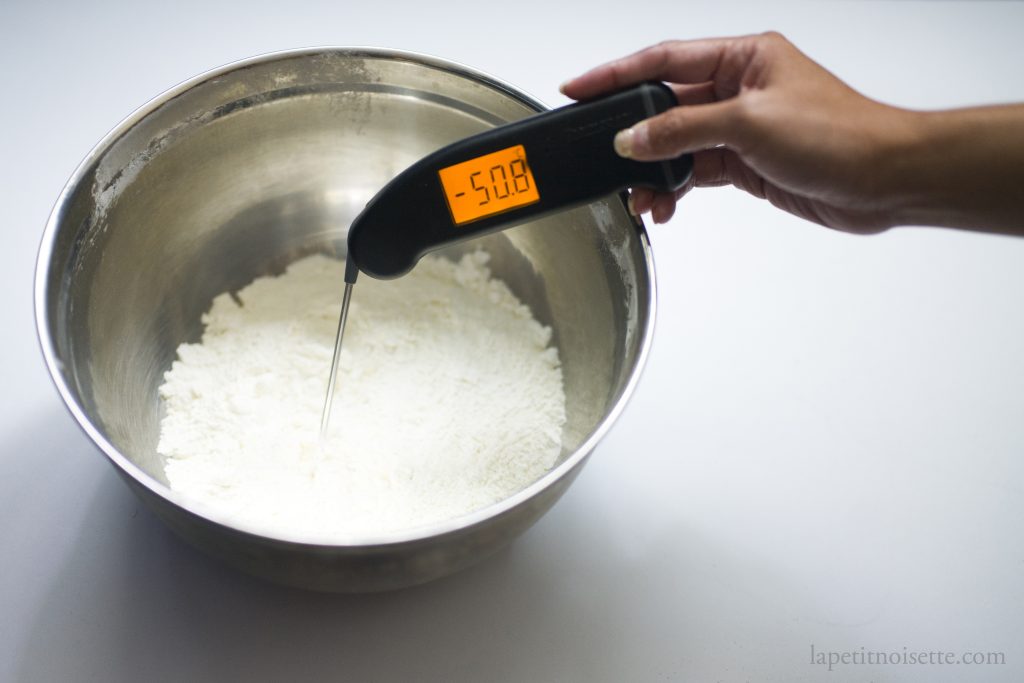
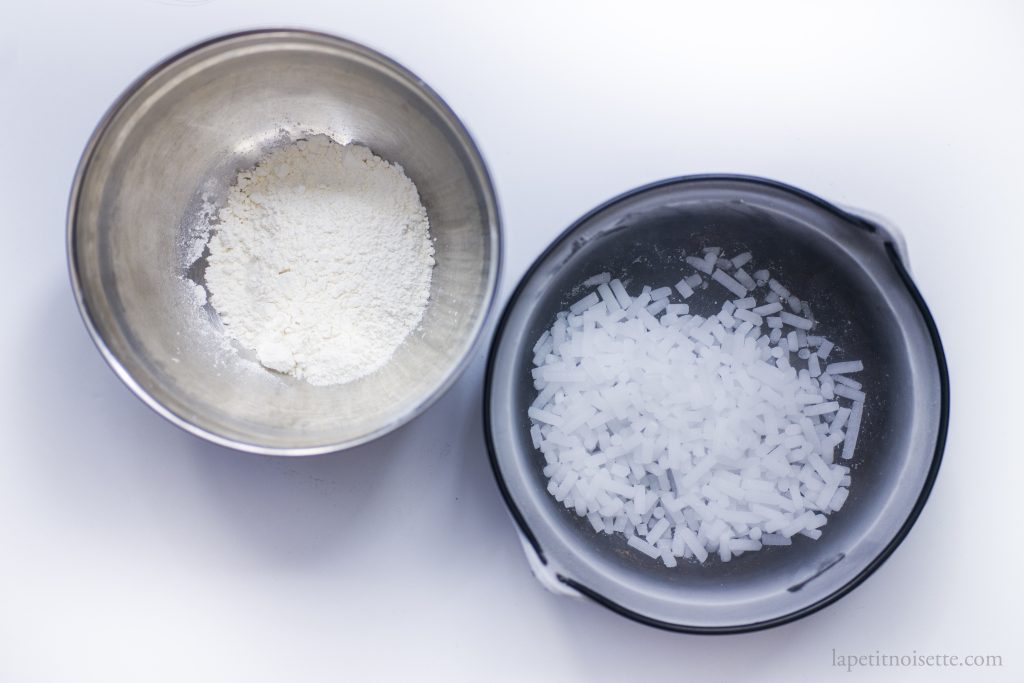
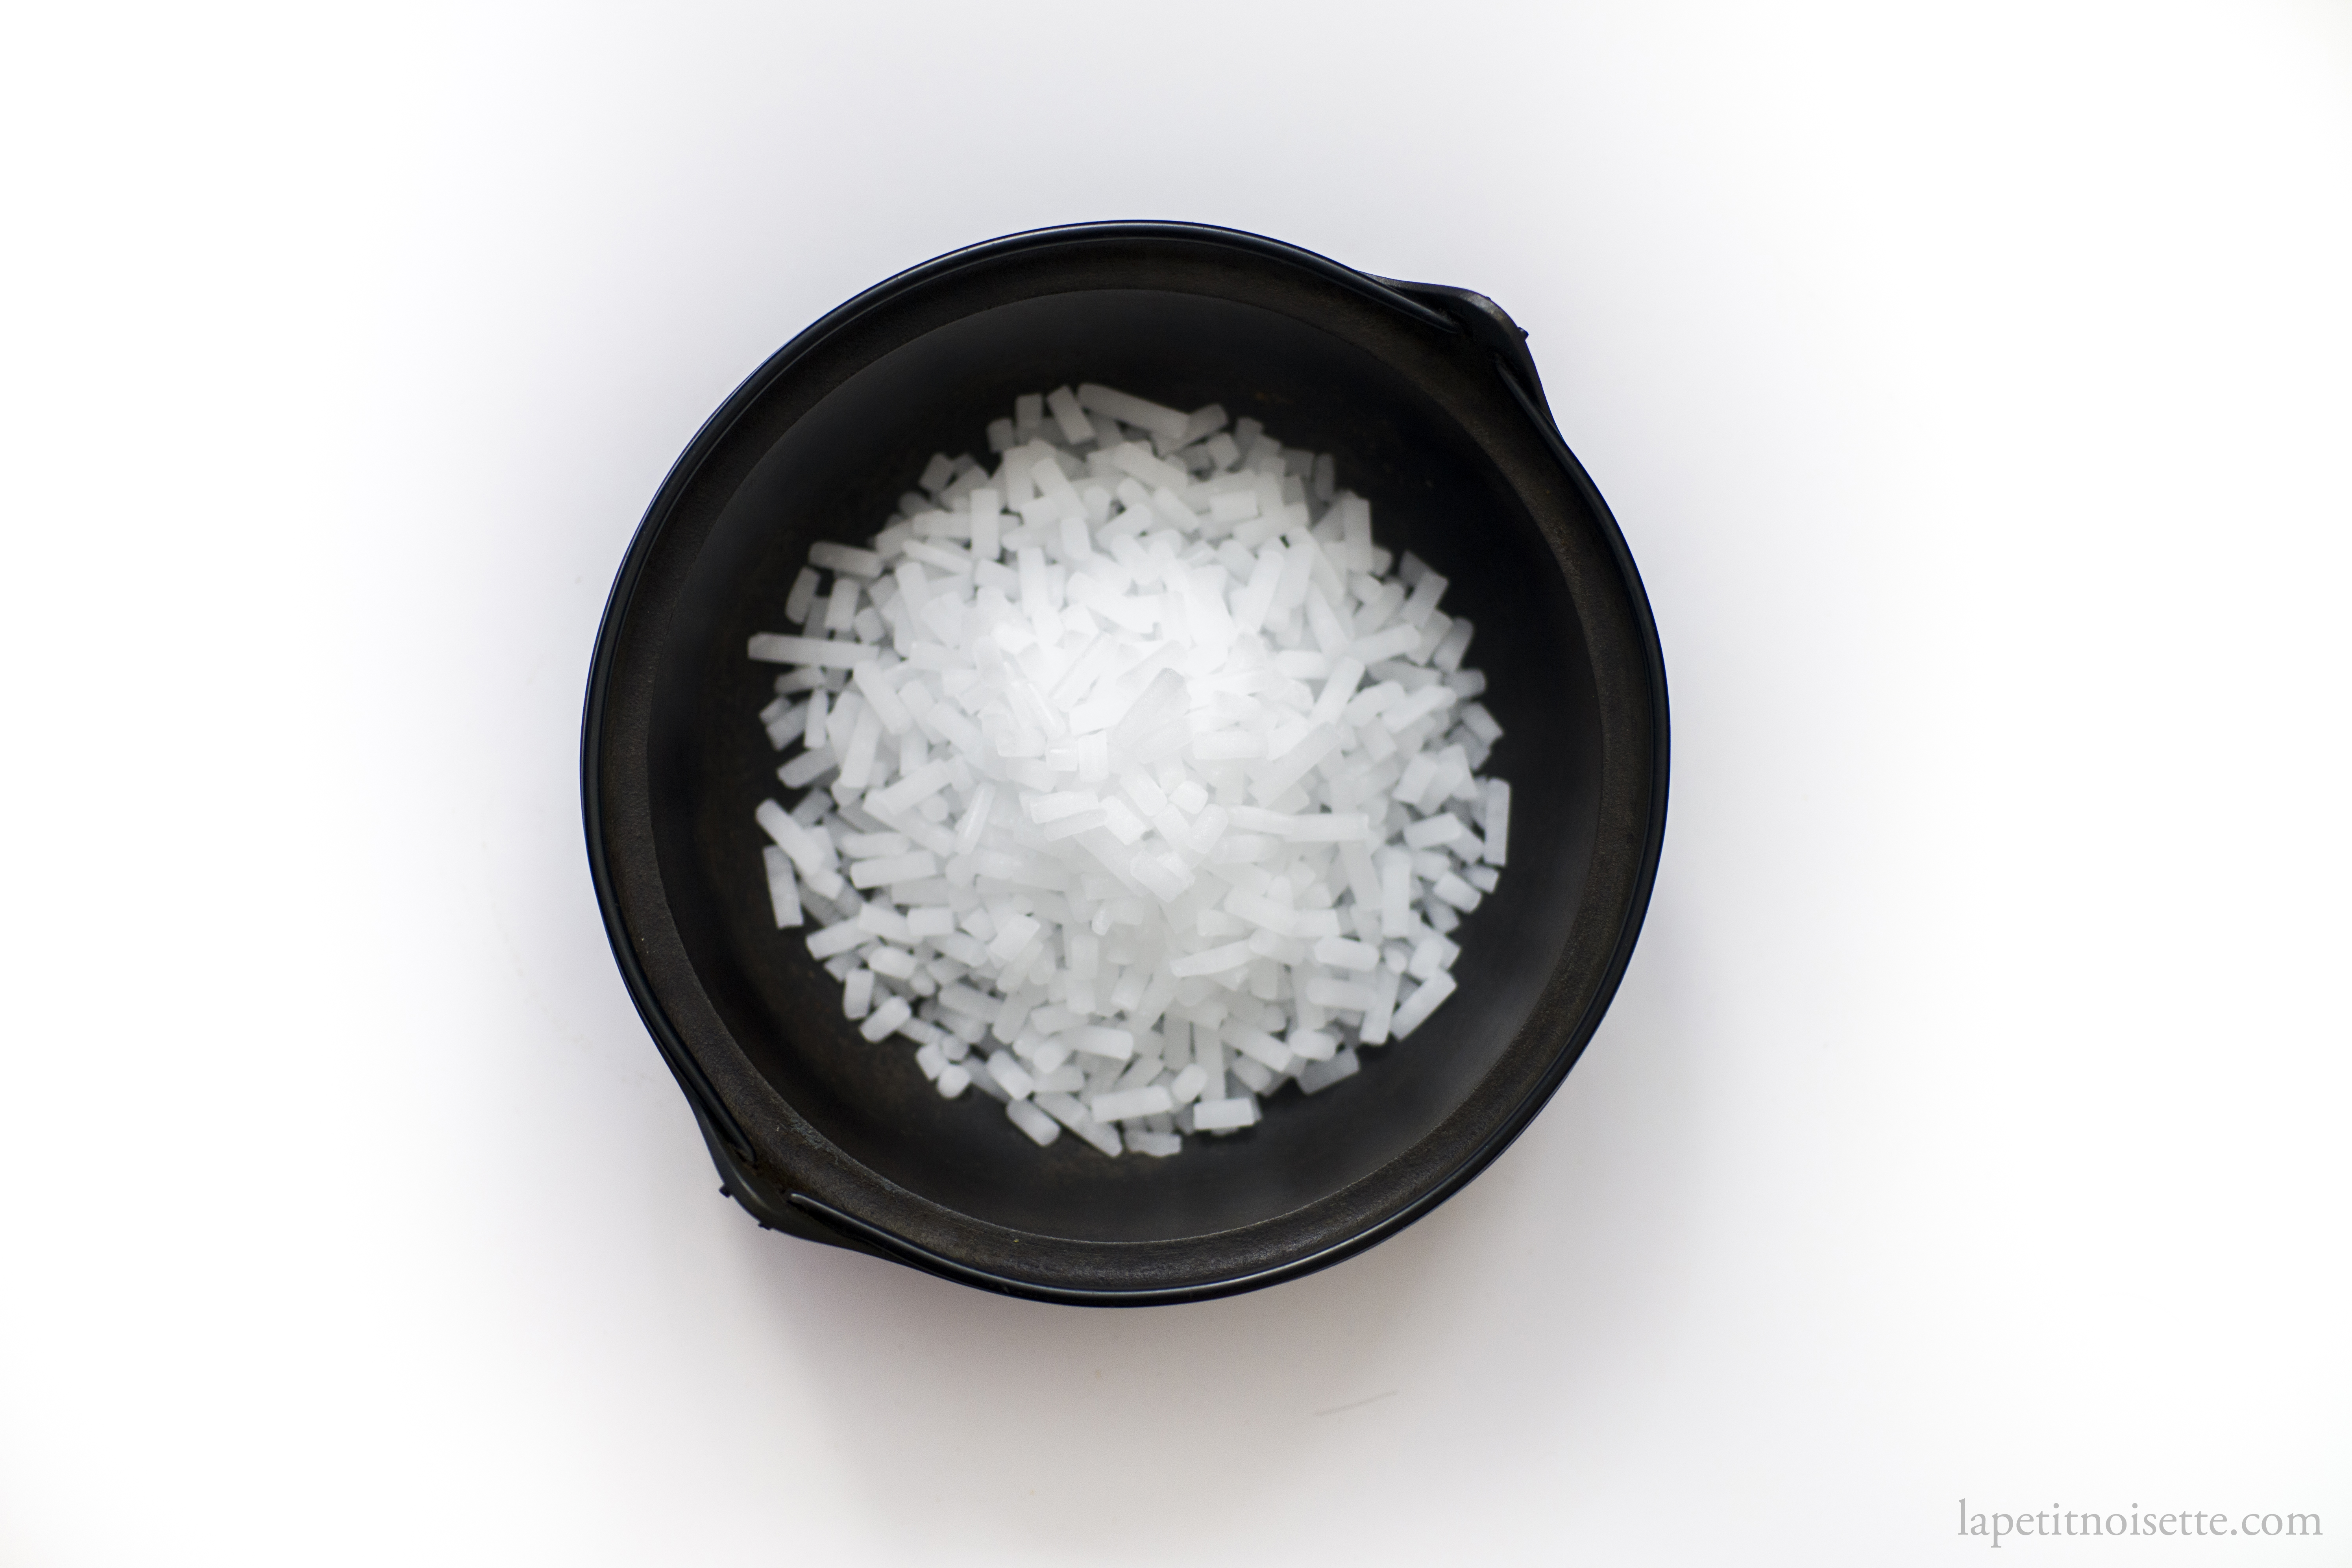
To test this, we first had to find a way to lower the flour to -60°C which is far lower than a normal freezer’s -20°C. Finding a freezer that could do that was going to be hard, as keeping temperatures of -60°C for long periods of time is very energy intensive and would require equipment usually only found in the medical world, and medical equipment is extremely costly. After some thinking and brainstorming, we concluded that our best bet was to try using dry ice, which has a temperature of -78.5°C which whilst a bit lower than what we wanted, would definitely do the trick. The name dry ice can actually be slightly misleading, as it’s actually solid carbon dioxide, which instead of melting, sublimates (transforms from a solid to a gas) into carbon dioxide gas slowly as it warms. What this means is that by cooling the flour with dry ice, we weren’t going to be diluting the tempura batter as it would just sublimate into gas and leave the batter.
The method was simple: cool the flour with dry ice until -60°C before sieving out the dry ice from the flour and then directly mixing the flour in a water and egg mixture to make the batter. After several rounds of testing, a few observations became very clear. If using a traditional tempura batter recipe of a 1 to 1 ratio of liquid to water, even when using flour at -60°C and water that had been kept in the fridge (~4°C), by the time you’d have mixed up the batter, the average temperature of the batter would be around 14°C to 15°C. Something that you could have easily achieved simply by adding ice to the batter. In a way this makes a massive amount of sense, water has an extremely high specific heat capacity, which means it requires a huge amount of energy added to raise 1kg of water by 1°C and a huge amount of energy absorbed away to lower 1kg of water by 1°C. As flour has a very low specific heat capacity, the amount of cold flour we were adding to the water would be able to absorb the same amount of energy from the batter as a few cubes of ice and thus lower the temperature by just as much, even when the flour was cooled down to -60°C. To conclude, using flour cooled to -60°C just to have a cold batter is just not justified, as adding flour at -60°C was just not enough to lower the temperature of the batter by that much and you could do something similar with ice. We could already see this, as Shuji Niitomi himself keeps his batter over an ice bath. So why was he so obsessed with keeping his batter at -60°C?
But first, there was another dilemma to solve. To keep on experimenting, we continued to lower the temperature of the batter by instead adding some dry ice directly into the batter to cool it further to see if it had a greater effect on the final deep fried product. This led to another interesting observation, which is that given that the freezing point of water is 0°C, lowering the temperature of the batter more and more was counterproductive as it just yielded a batter that was too thick to even use below 5°C. At around 8°C to 13°C the batter was still thick but just barely usable. The resulting tempura would have a thick and hard crust that was still semi-raw and soggy inside. It turns out then when you’re working with batter at such low temperatures, the conventional 1 to 1 ratio of liquid to flour in a tempura batter no longer works as it would be too thick, instead we had to test ratios from 1.1 to 1 all the way to 2 to 1 to even get the batter liquid enough to work with (more on that later).
Dehydrating the tempura flour to let it melt into the batter
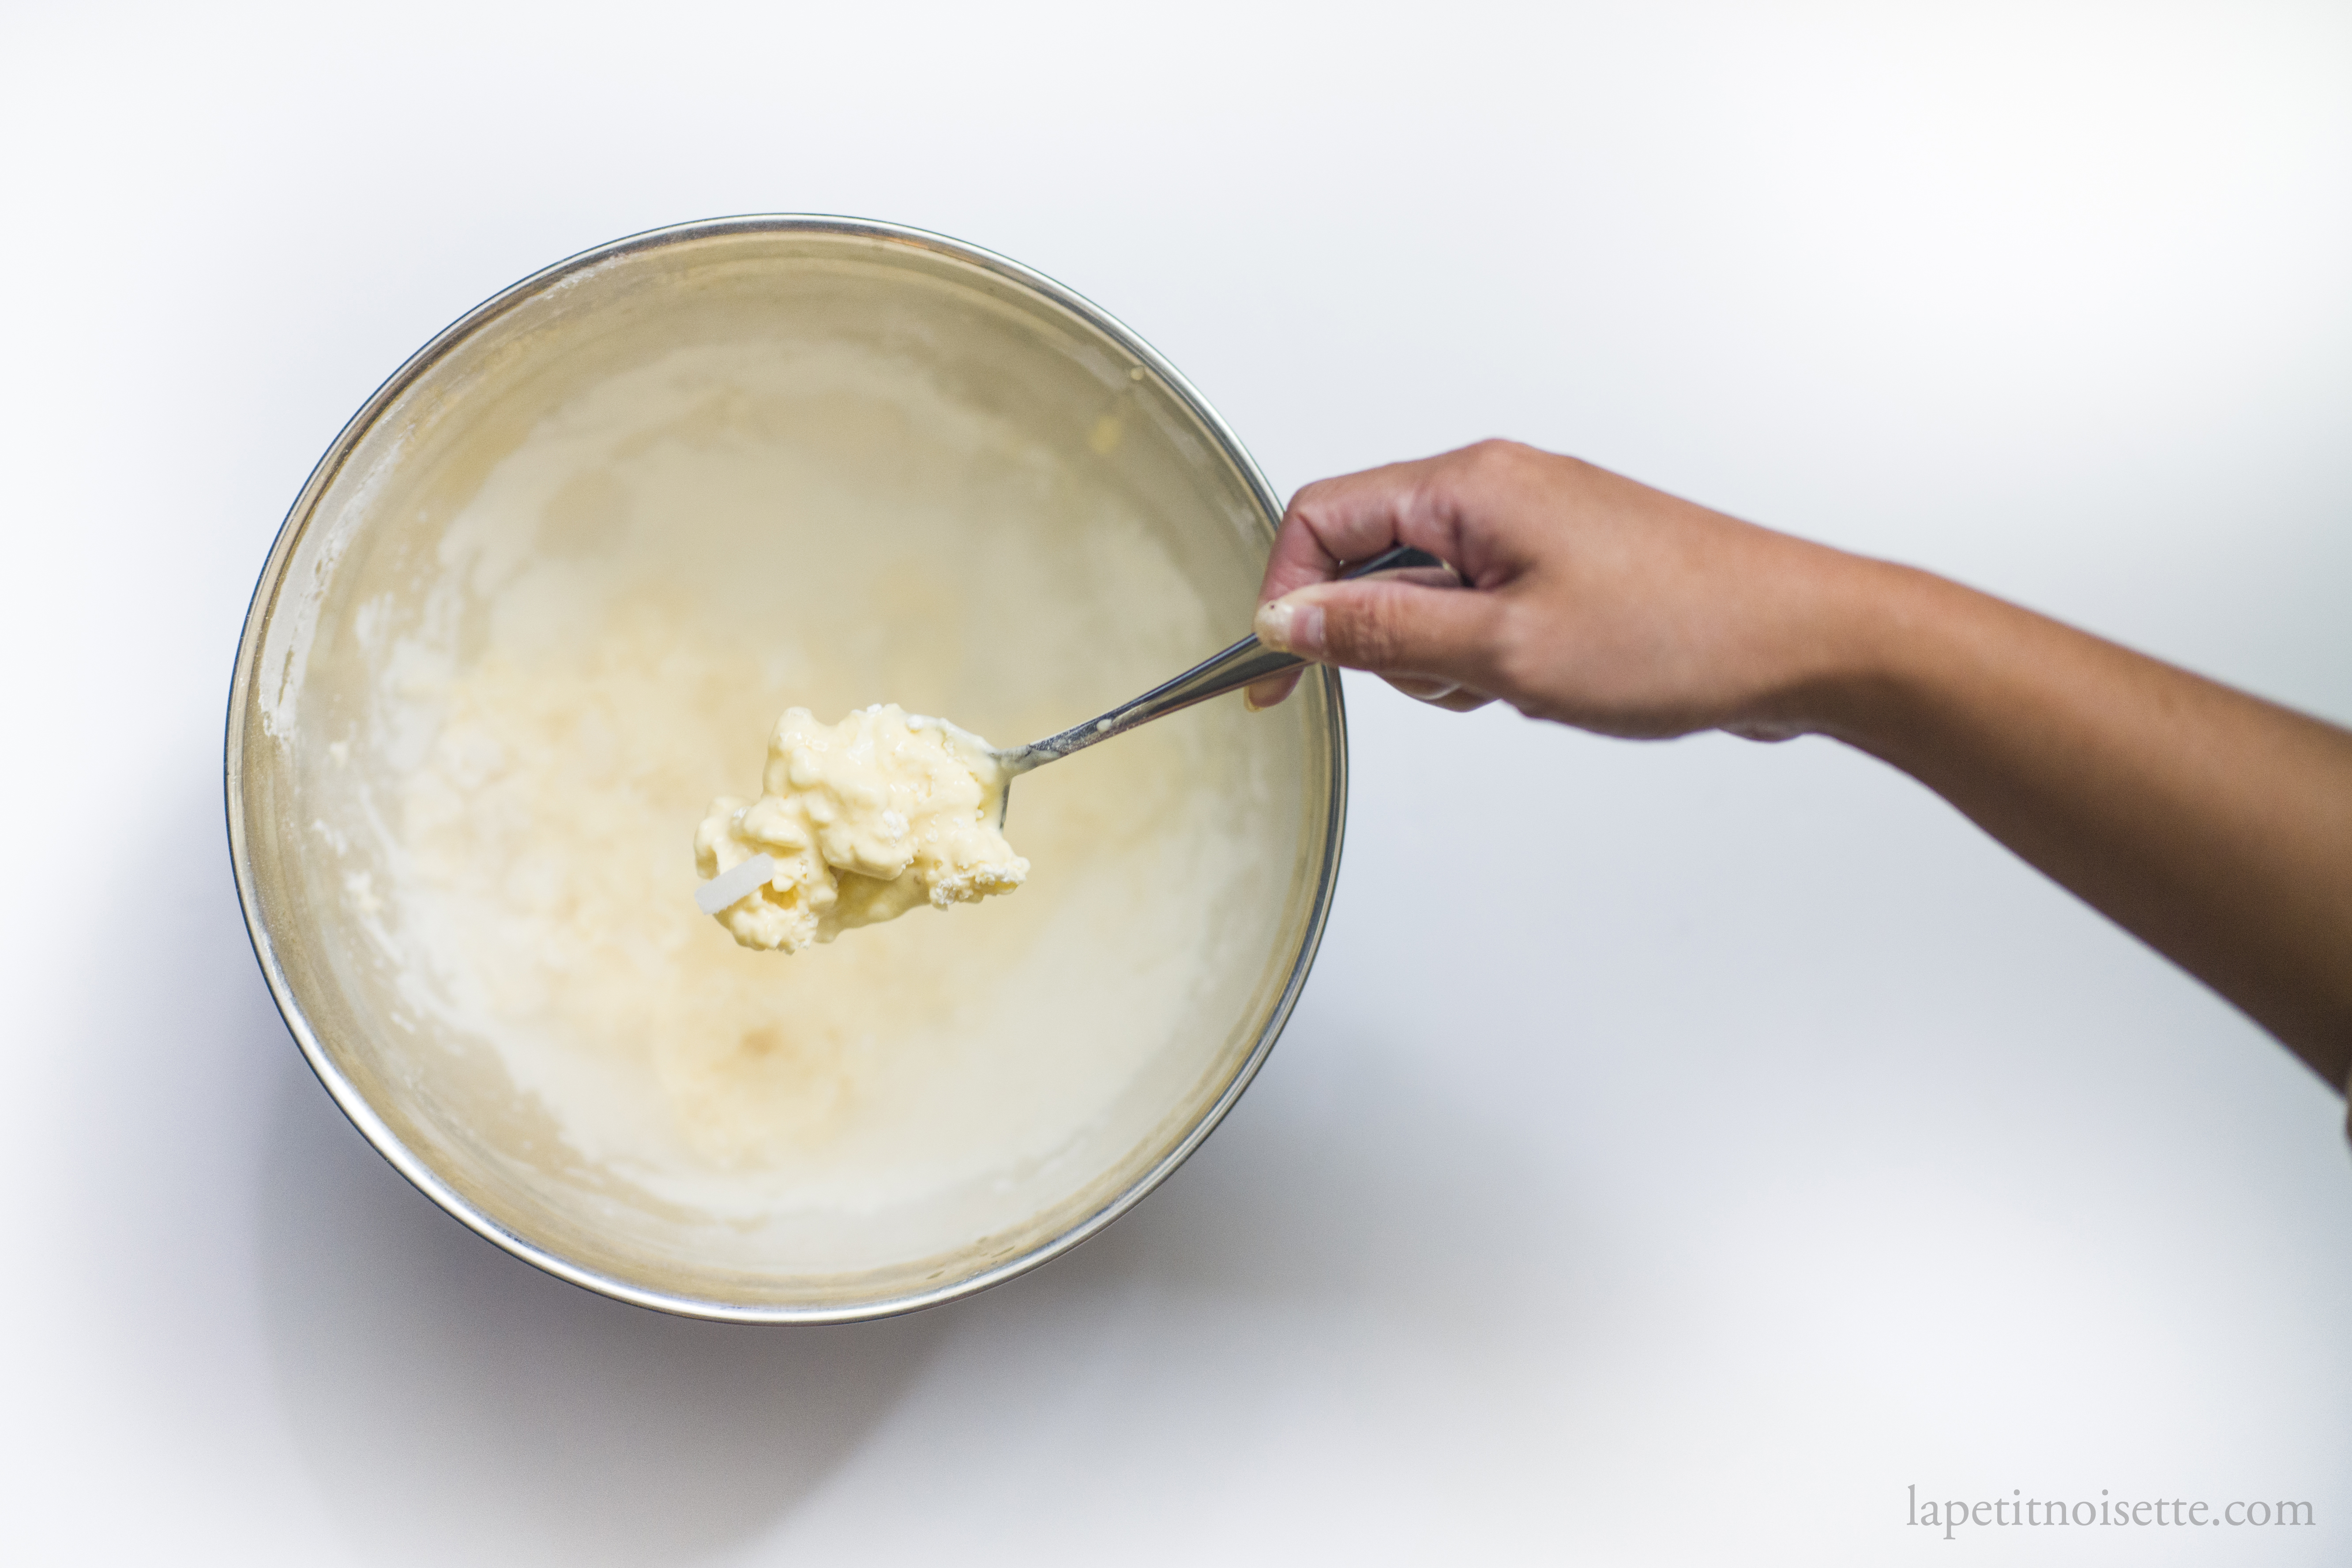
So if the -60°C flour was not to inhibit gluten, what was it for? The ultimate clue that led the way was Shuji Niitome’s constant emphasis that he did not need to mix his flour into his liquid to make the batter, the flour simply ‘melted’ into the batter. He would also talk about how crucial it was that the flour was added to the batter as quickly as possible when removed from the freezer, else it would not work. After lots more testing, we decided that the most plausible explanation for this is the dehydrating and desiccating effect fridges and freezers tend to have. By keeping the flour at such low temperatures, he was essentially trying to remove as much moisture as he could from the flour so that the moment the flour was sieved into the liquid, the flour would instantly absorb the liquid due to how dry it was, giving his so-called ‘melting’ effect. This also explained why you couldn’t just cool the flour down to -60°C and use it, you actually needed to leave it for 3 days so that the freezer would remove enough moisture from the flour. To test this, an actual -60°C freezer had to be used, but as a side by side comparison, we brought a lot more dry ice to see the difference between keeping flour at -60°C for 3 days vs -60°C for 3 days in an actual freezer.
Freezing the tempura flour for 1 day vs 3 days
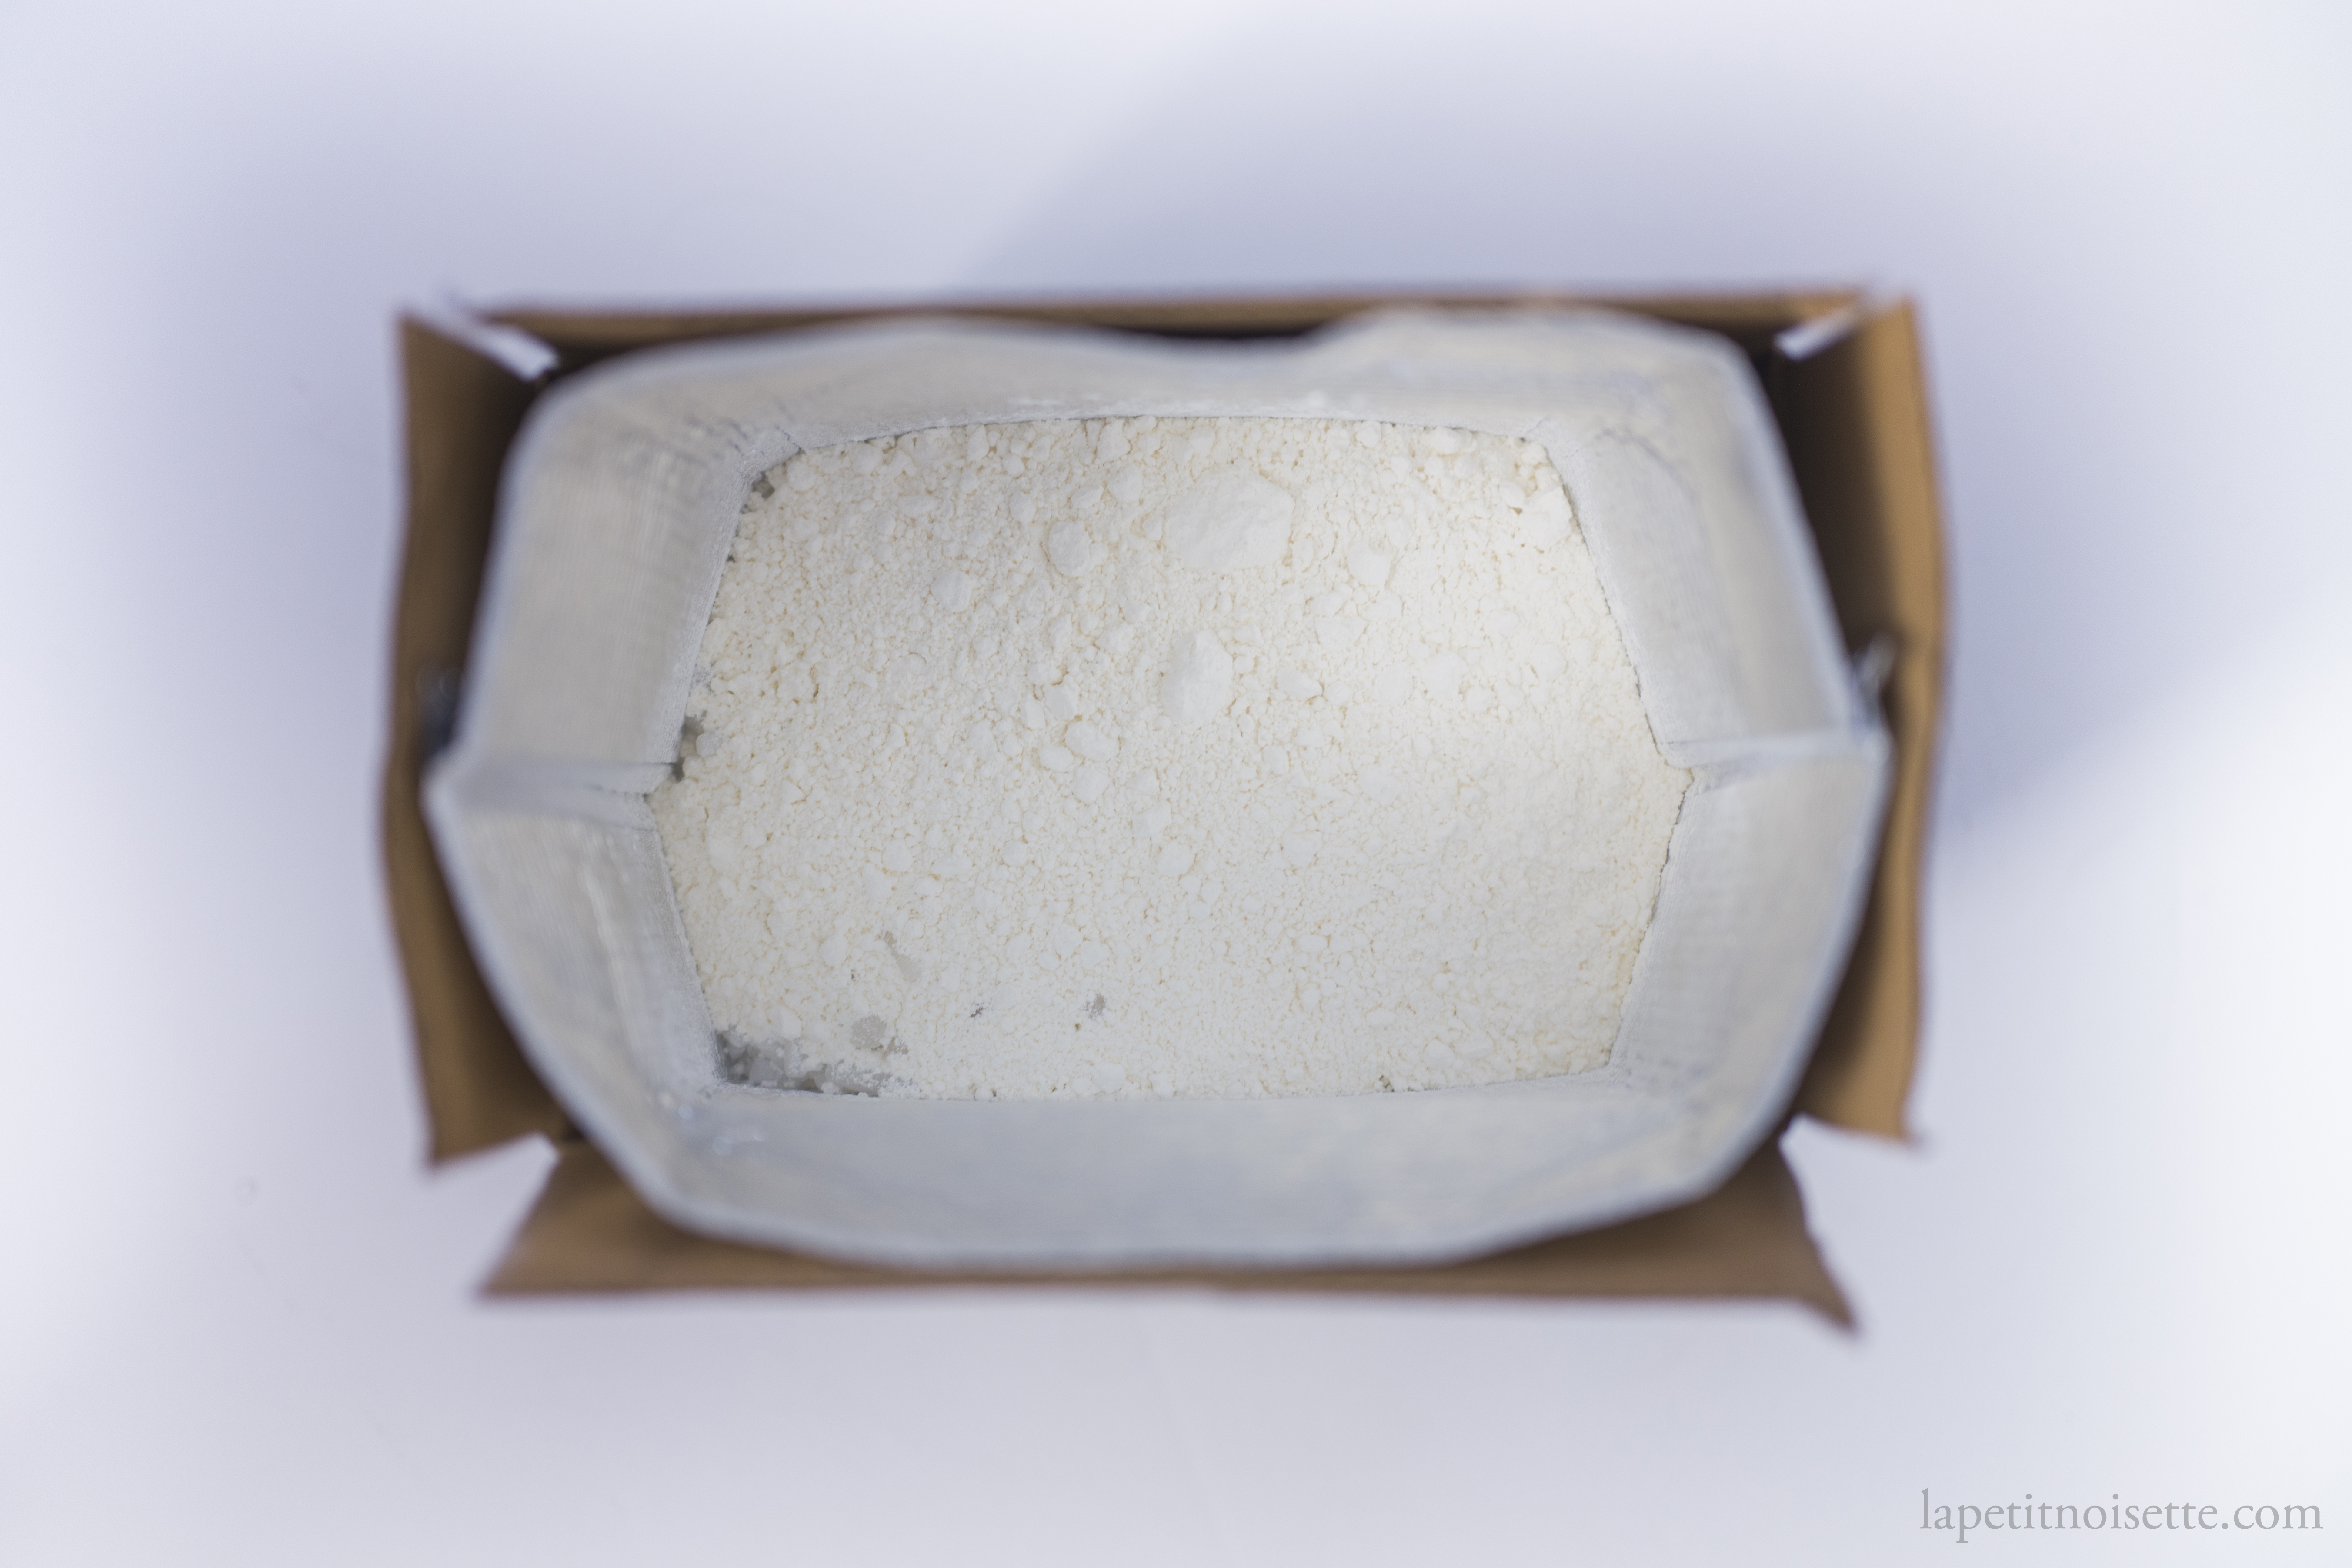
The results were impressive, flour kept at -60°C for three days had a very unique powdery texture, as though it was a fine smooth soft dust. It may have been an illusion, but it was as though the flour was so dry that it had shattered. When added to the liquid, it dissolved much quicker and yielded the crispiest tempura we’d ever taster. When comparing using dry ice vs the freezer. The difference between keeping the flour in the freezer vs the dry ice was slightly noticeable, with the freezer kept flour making the best batter of the lot.
Surprisingly however, the greatest difference was between flour cooled to -60°C for a few minutes with dry ice vs 1-2 days, with cooling the batter for 1-2 days being the most crucial aspect to a superior batter, only marginally increasing the quality, with 3 days at its peak. After 3 days, there was no noticeable difference.
Whisking the egg and water mixture
After so many tests, it still felt as though Tempura Niitome’s technique still had secrets to be discovered, as all our experiments with super cold flour had pushed the boundary of making crispy tempura but had not yielded the melt in your mouth follow up. If anything, the resulting tempura was something too crispy as though biting into a cracker, not what you’re looking for in tempura. This led to the final rounds of investigation: whisking the egg and water mixture before adding in the flour. The effect this had on the batter was very similar to making a genoise sponge cake. By whisking the mixture first before adding the flour, you were basically making a foam. In a way this was a slight stroke of genius as you can’t whisk the batter after adding the flour as you’d encourage gluten formation (which is why you fold in the flour when making a sponge cake too). Instead, By whisking the mixture beforehand, you could easily add in the dehydrated -60°C into the bubbly batter, which would then combine with a quick mix. Giving you the perfect foamy and light batter. In a way, this is similar to Heston Blumental’s use of a nitrous oxide in a culinary shipon to make his fish and chips batter.
Flour to liquid ratios
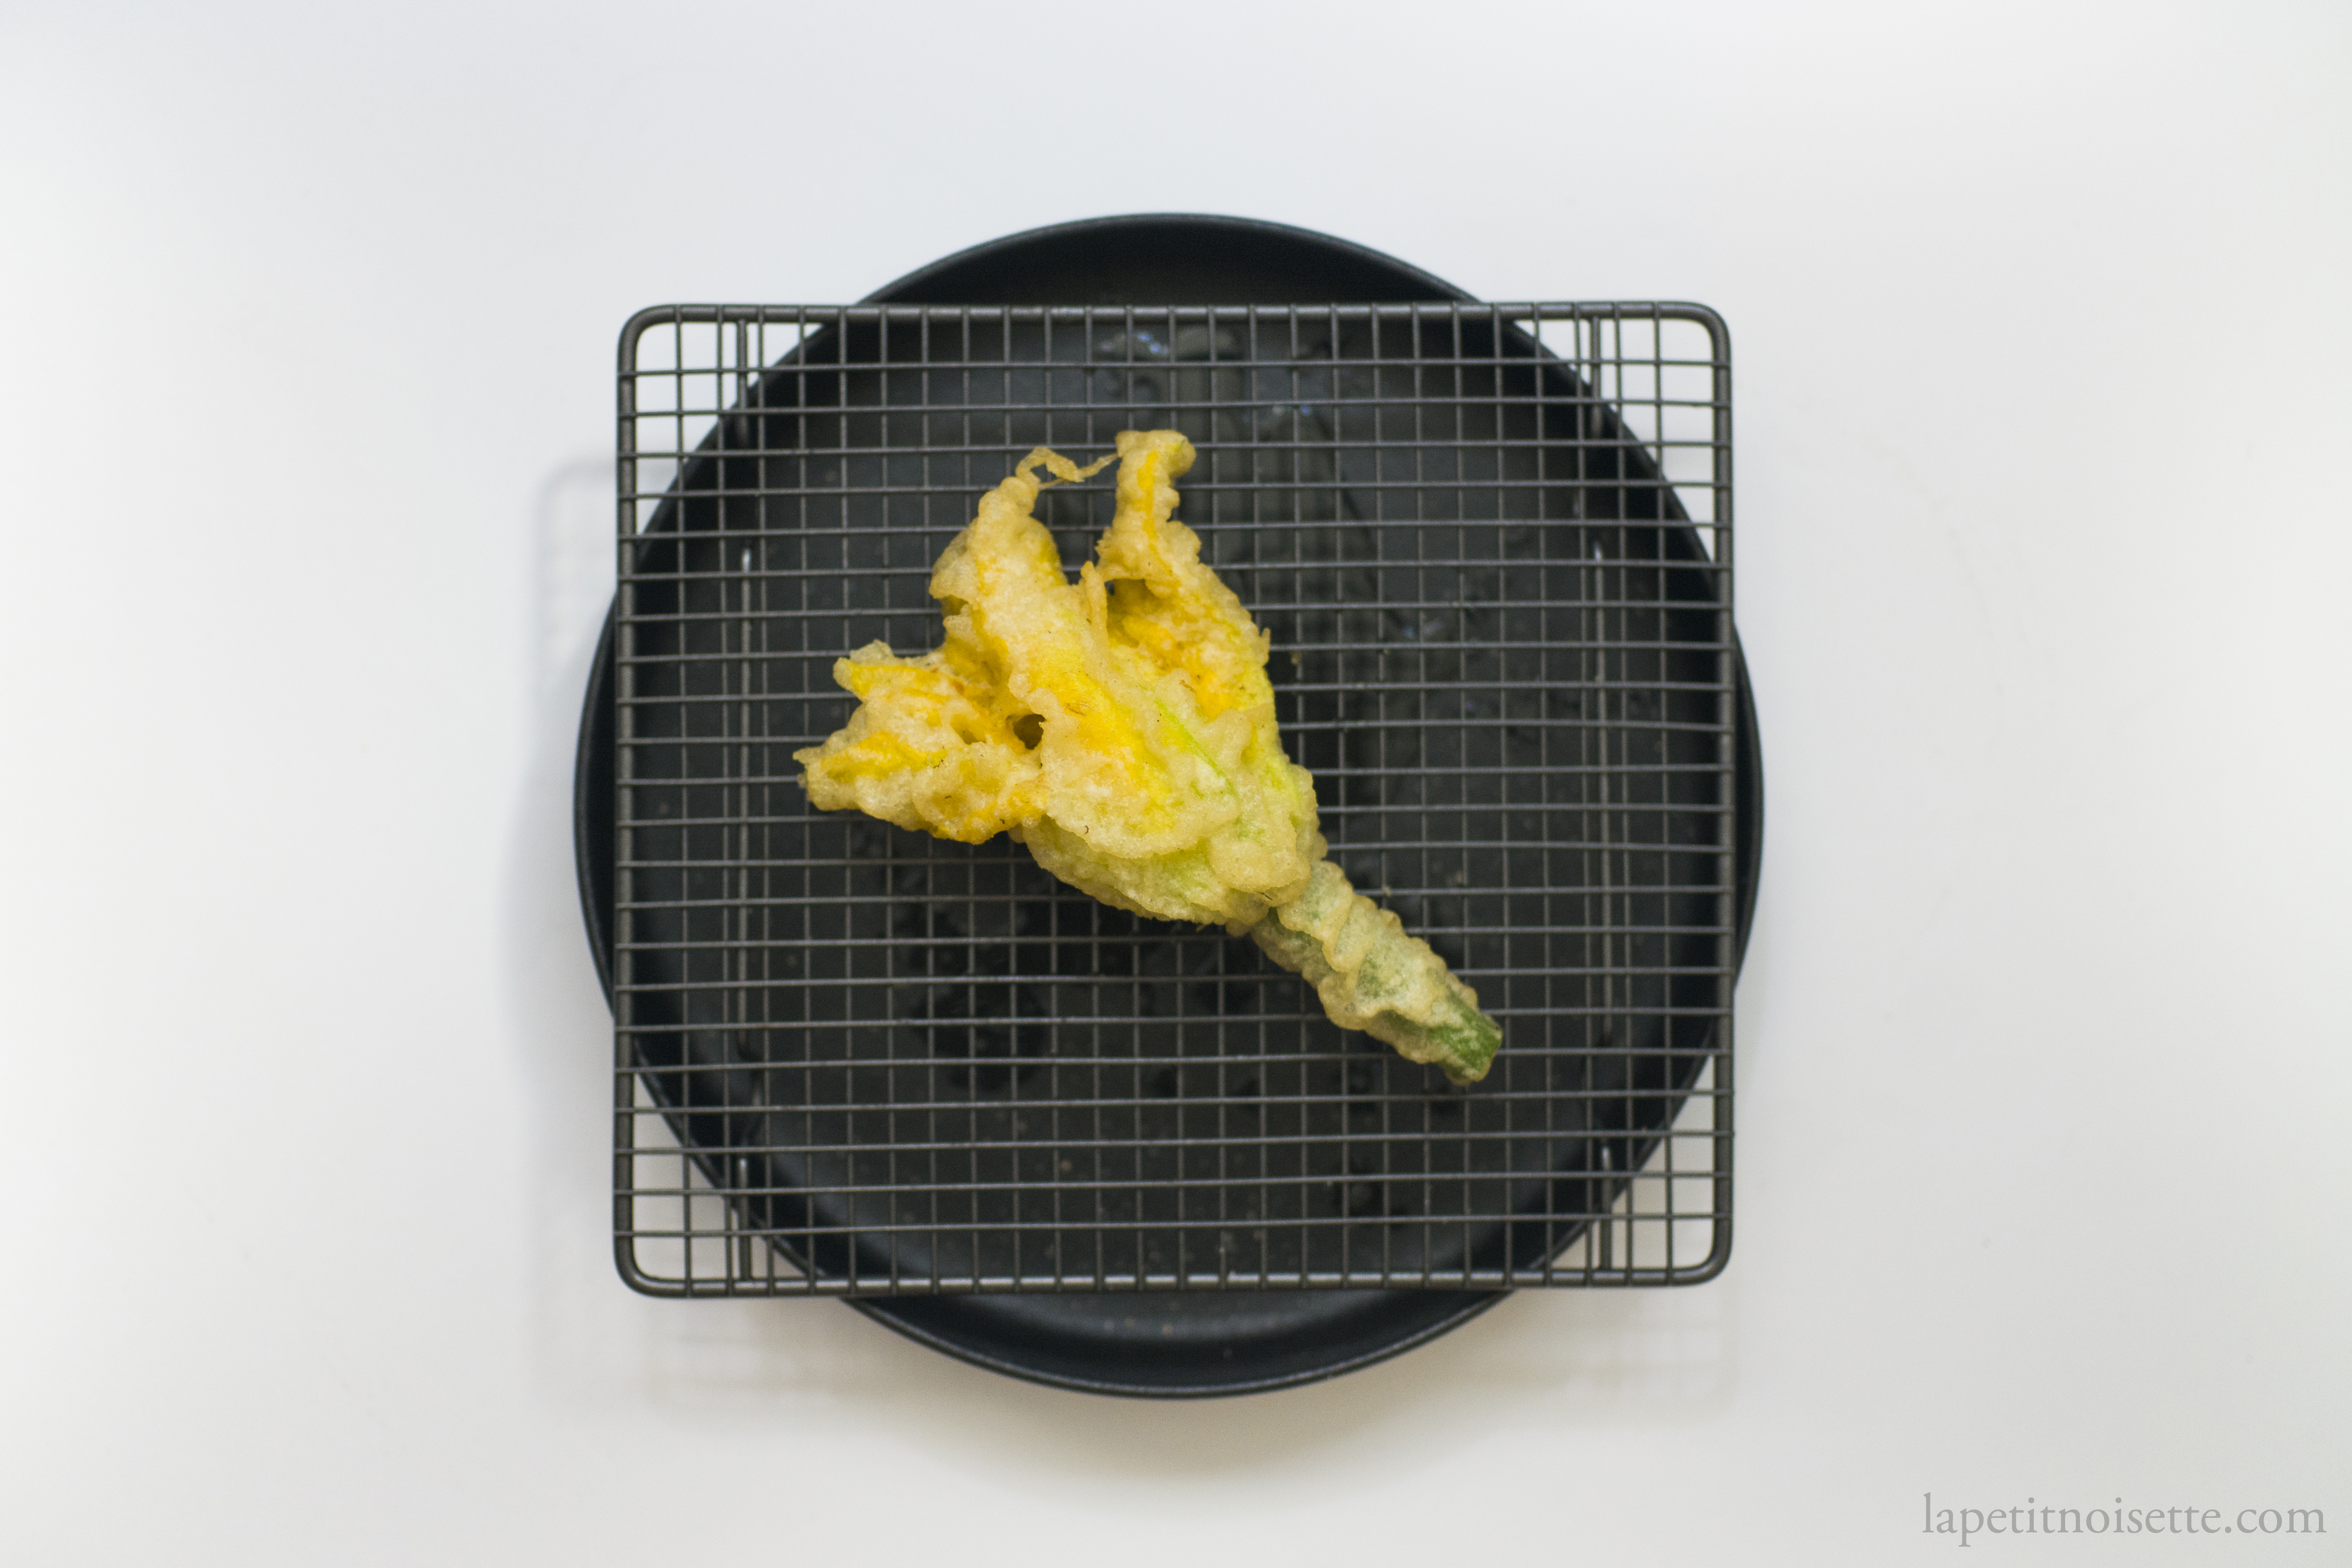
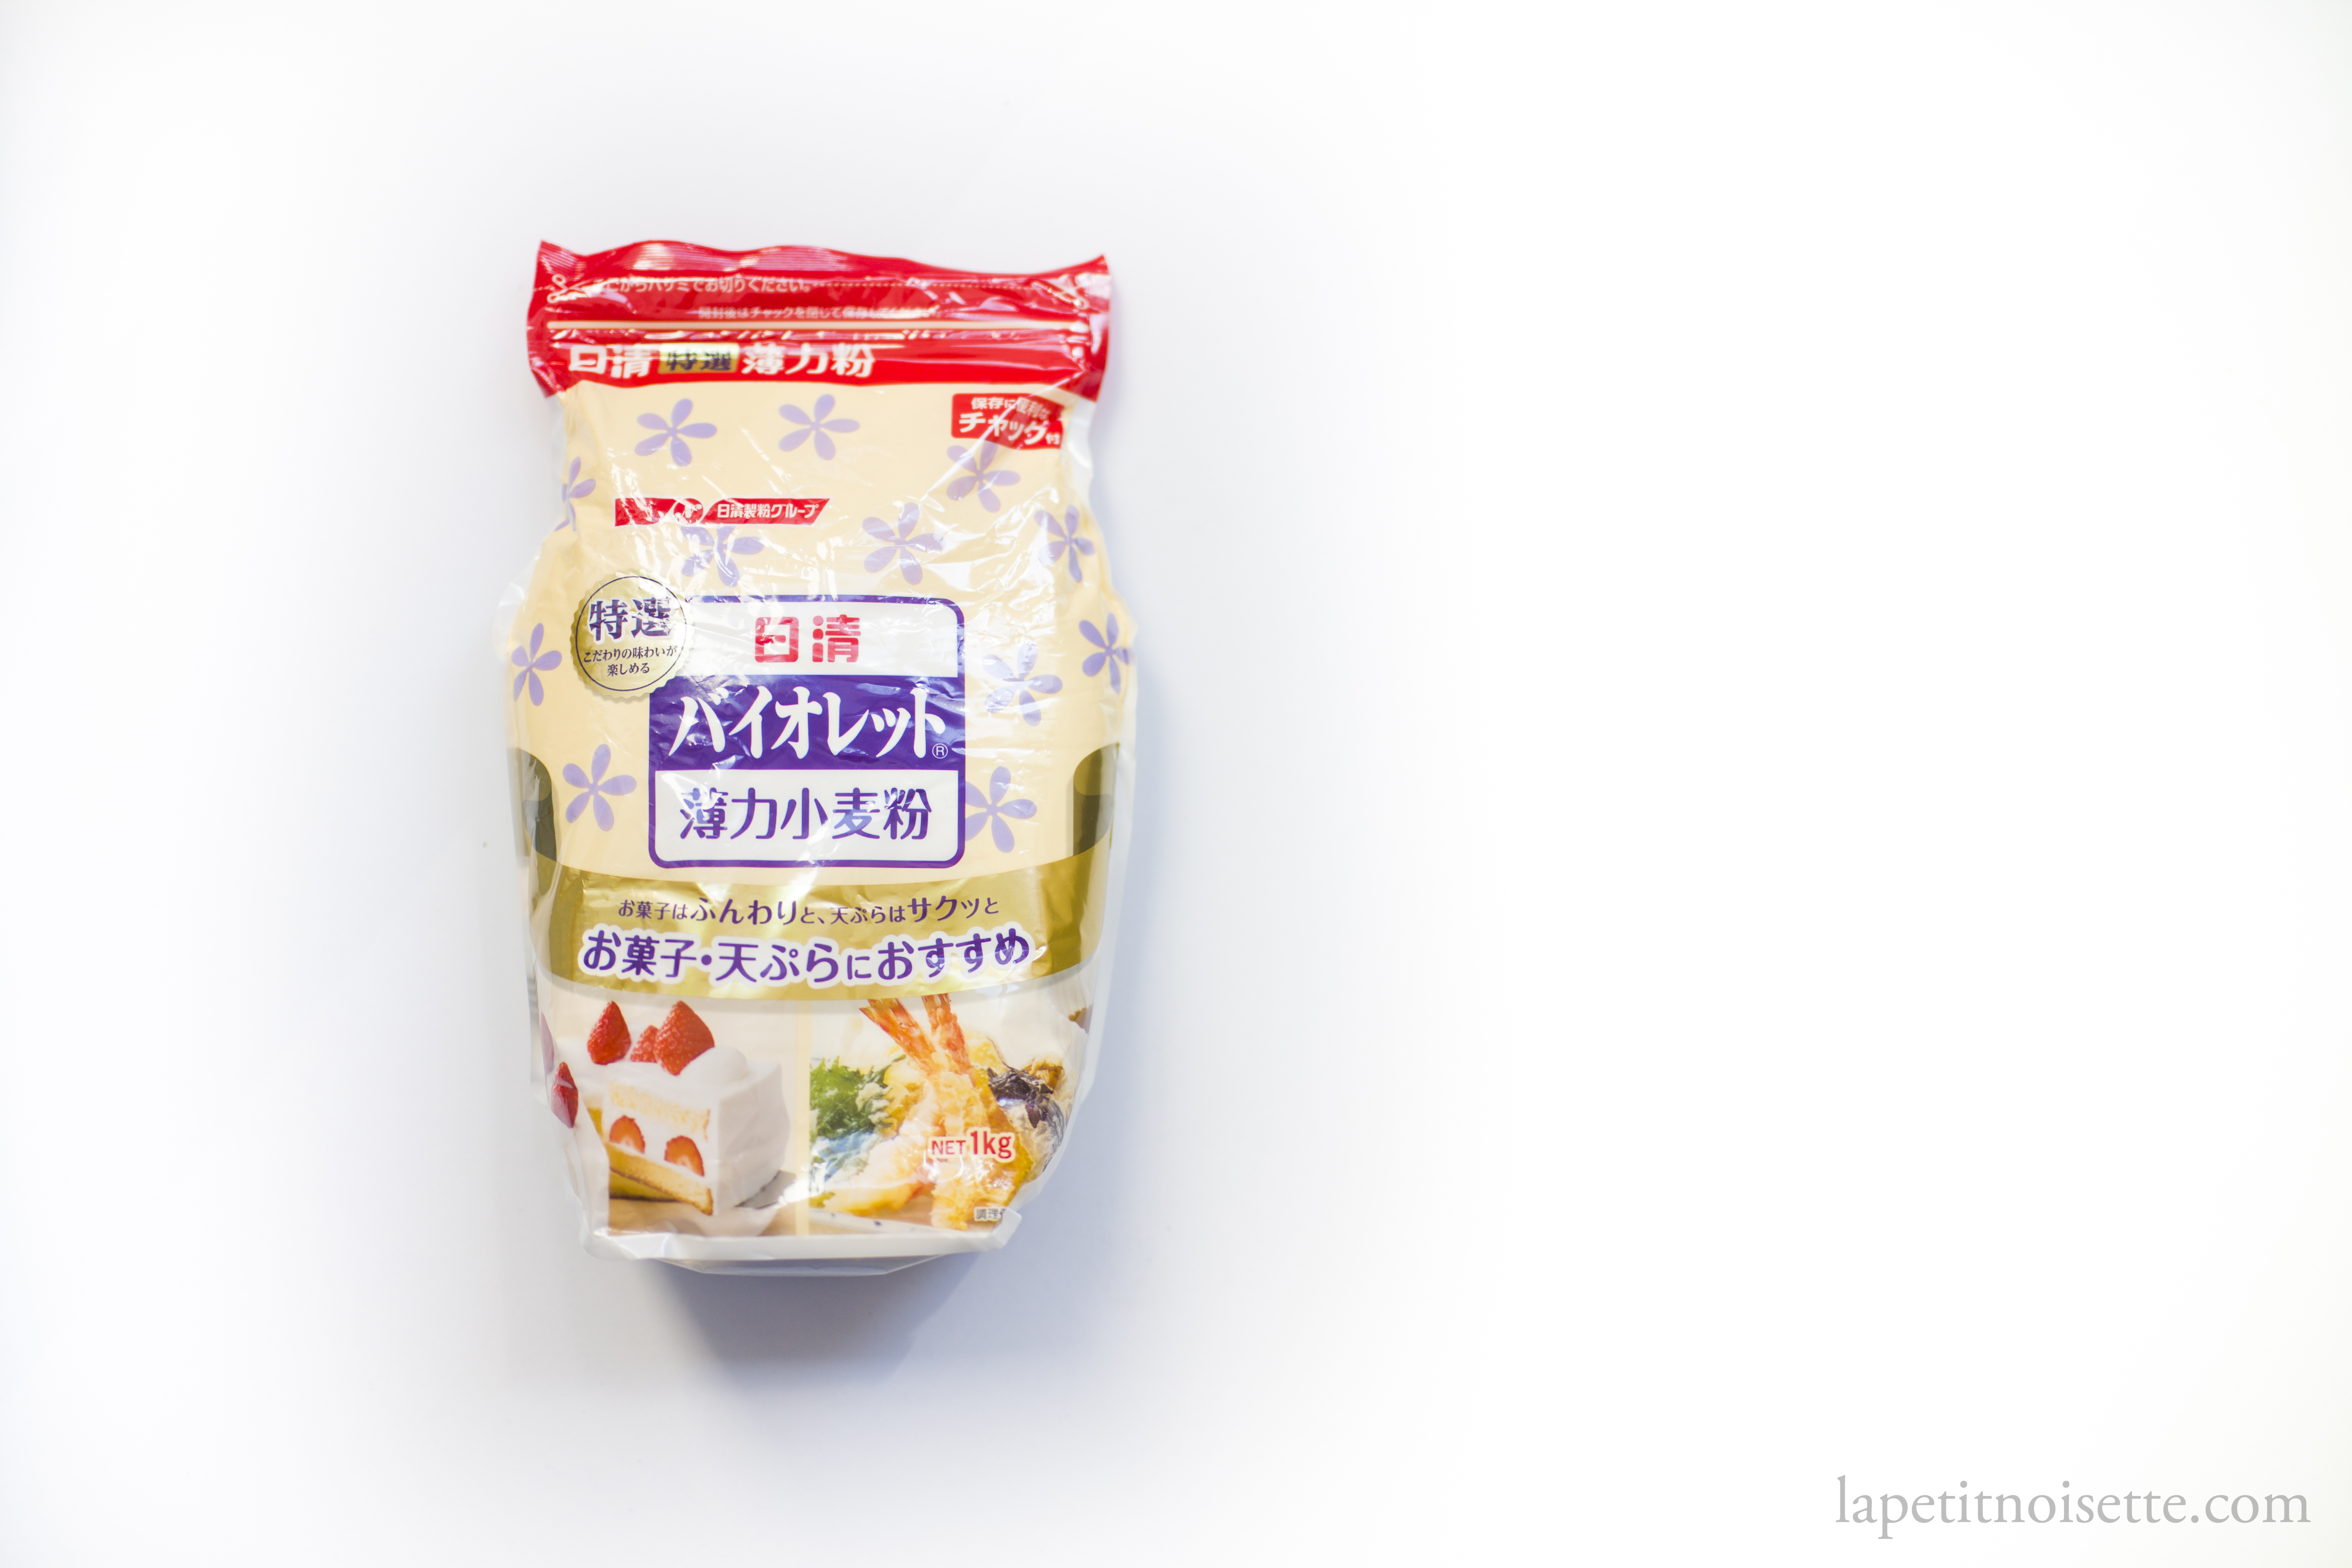
Let’s get back to one of the questions left earlier: the flour to liquid ratio. The conventional 1:1 ratio of liquid to flour yields too thick a batter at low temperatures. When testing this recipe, we found that a 2:1 ratio and 1.9:1 in turn yielded a batter that was too thin, yielding a tempura that was crispy with no other dimension to it. Where this became interesting is testing out at 1.6:1 and 1.7:1 ratio. The resulting batter was an interesting level of thickness that was just viscous enough to cling to the tempura, resulting in a uniform batter coating that could capture all the bubbles to form a uniform shell, but without the little crispy bits sticking out which characterise tempura. It was more similar to a fish and chips batter. In the end the optimal ratio we found was anywhere between 1.78:1 and 1.84:1, depending on the kind of low protein flour you used. Throughout our testing, we used the Nisshin Super Violet cake flour which is the gold standard low protein flour amongst tempura chefs. When using this flour we found the optimal ratio to be 1.8:1 liquid to flour, or 160g of water and 50g of eggs to 116g of flour. However, when testing cake flour from the UK and Australia, we found that we needed a higher ratio of liquid to flour to get the same results, as though cake flour outside Japan has a higher protein content.
Where does alcohol fit into this?
As vodka inhibits gluten and freezes anywhere between -25°C and -40°C depending on the alcohol content, our last few tests were to try out everything above again, but substituting out some of the water with vodka. The rationale behind this was that there was a possibility of having a less viscous batter at lower temperatures compared to a liquid with just water and egg. Alas this was not the case, as it seemed that the addition of egg into the liquid at low temperatures makes the batter too viscous regardless of whether pure water or a mixture of vodka and water was used. In the end, the best way to calibrate the thickness of the batter was through the liquid to flour ratio and it was pointless adding vodka at any stage.
An Approximate Of Tempura Niitome’s Tempura
- 160g of water
- 50g of egg (approximately 1 egg)
- From an entire 1kg bag of hakurikiko flour, 117g of flour (if using cake flour from outside Japan, use 113g)
- 2kg of dry ice (or a -60°C freezer)
- A large bowl of ice/15g of dry ice
- Neutral flavoured oil
- 15g of lightly toasted sesame seed oil
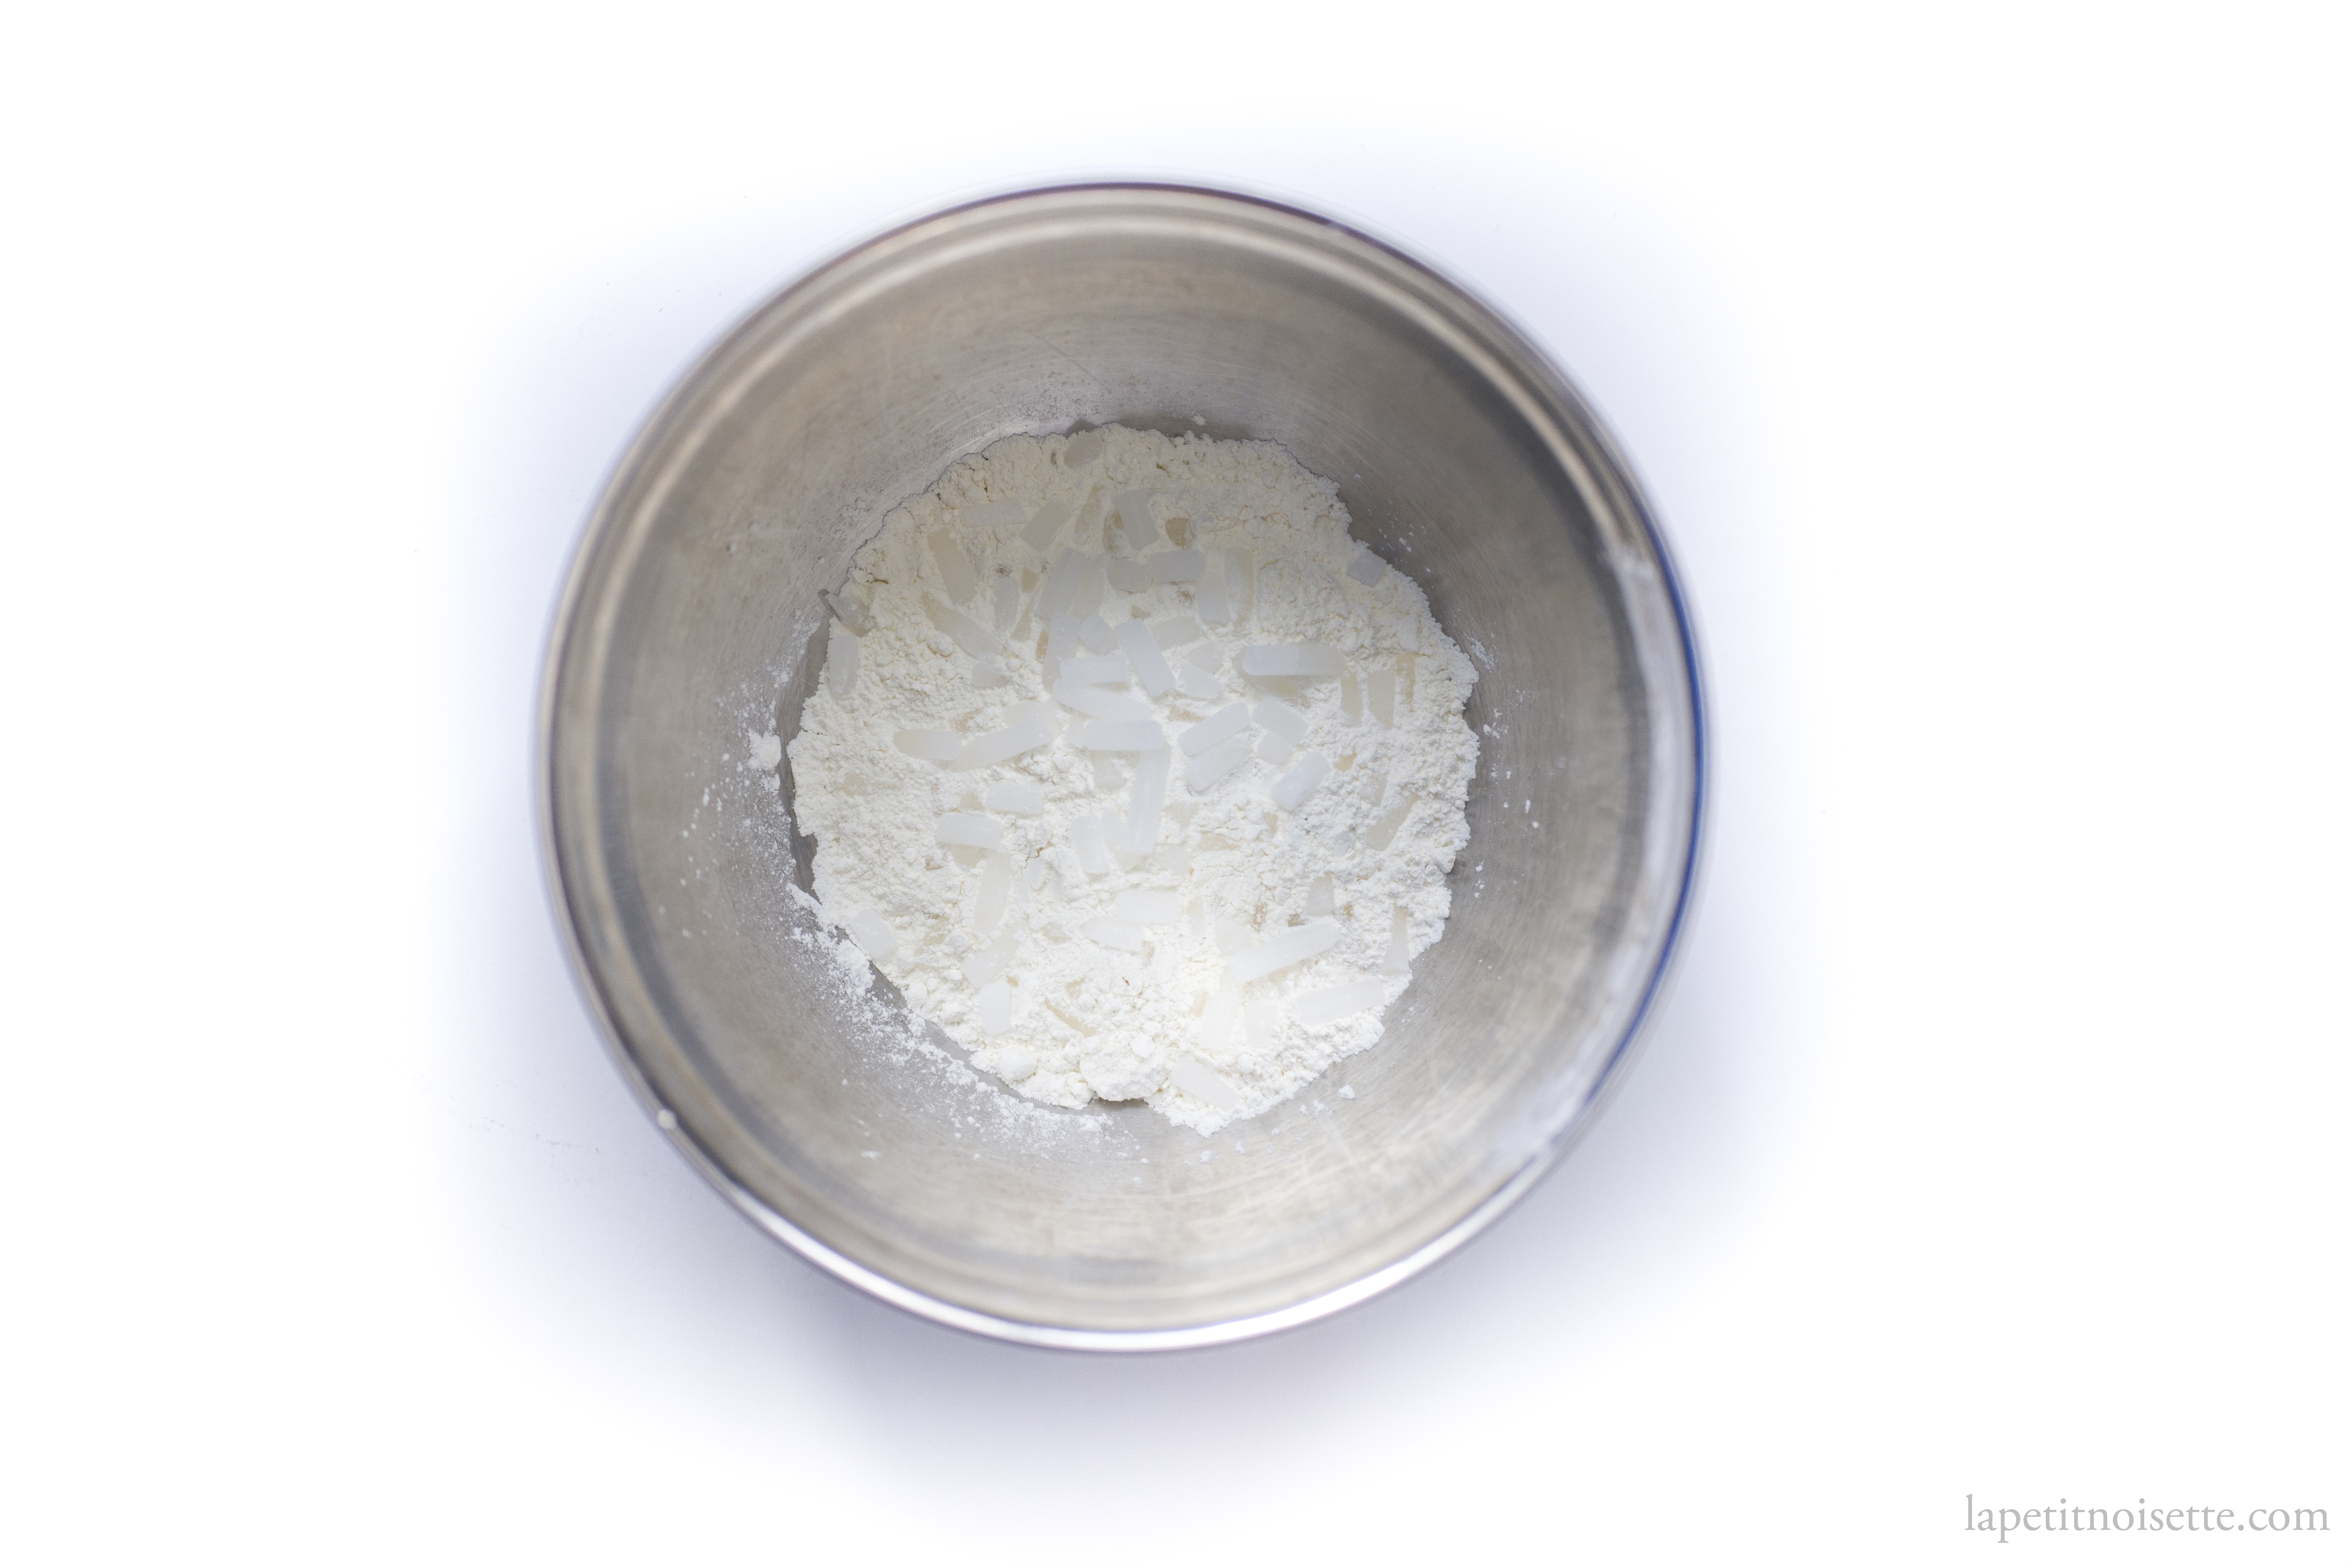
Two days before, add the dry ice into a dry esky and pour the entire contents of a bag of flour into the dry ice. Mix well so that the flour is mixed amongst the dry ice. Close the lid of the esky and allow it to cool for 24 to 48 hours. The lid of the esky should be shut but from airtight, as the sublimation of dry ice will build up pressure from carbon dioxide, which may cause your esky to explode. On the day of frying the tempura. Heat a pot of neutral flavoured oil up to 180°C to 190°C. To this oil, add 15g of lightly toasted sesame seed oil. When the oil is close to reaching the desired temperature, mix the water and egg together and whisk vigorously together for 30 seconds with a whisk. The liquid should be very foamy. Place the bowl of liquid over a weighing scale and zero the weighing scale.
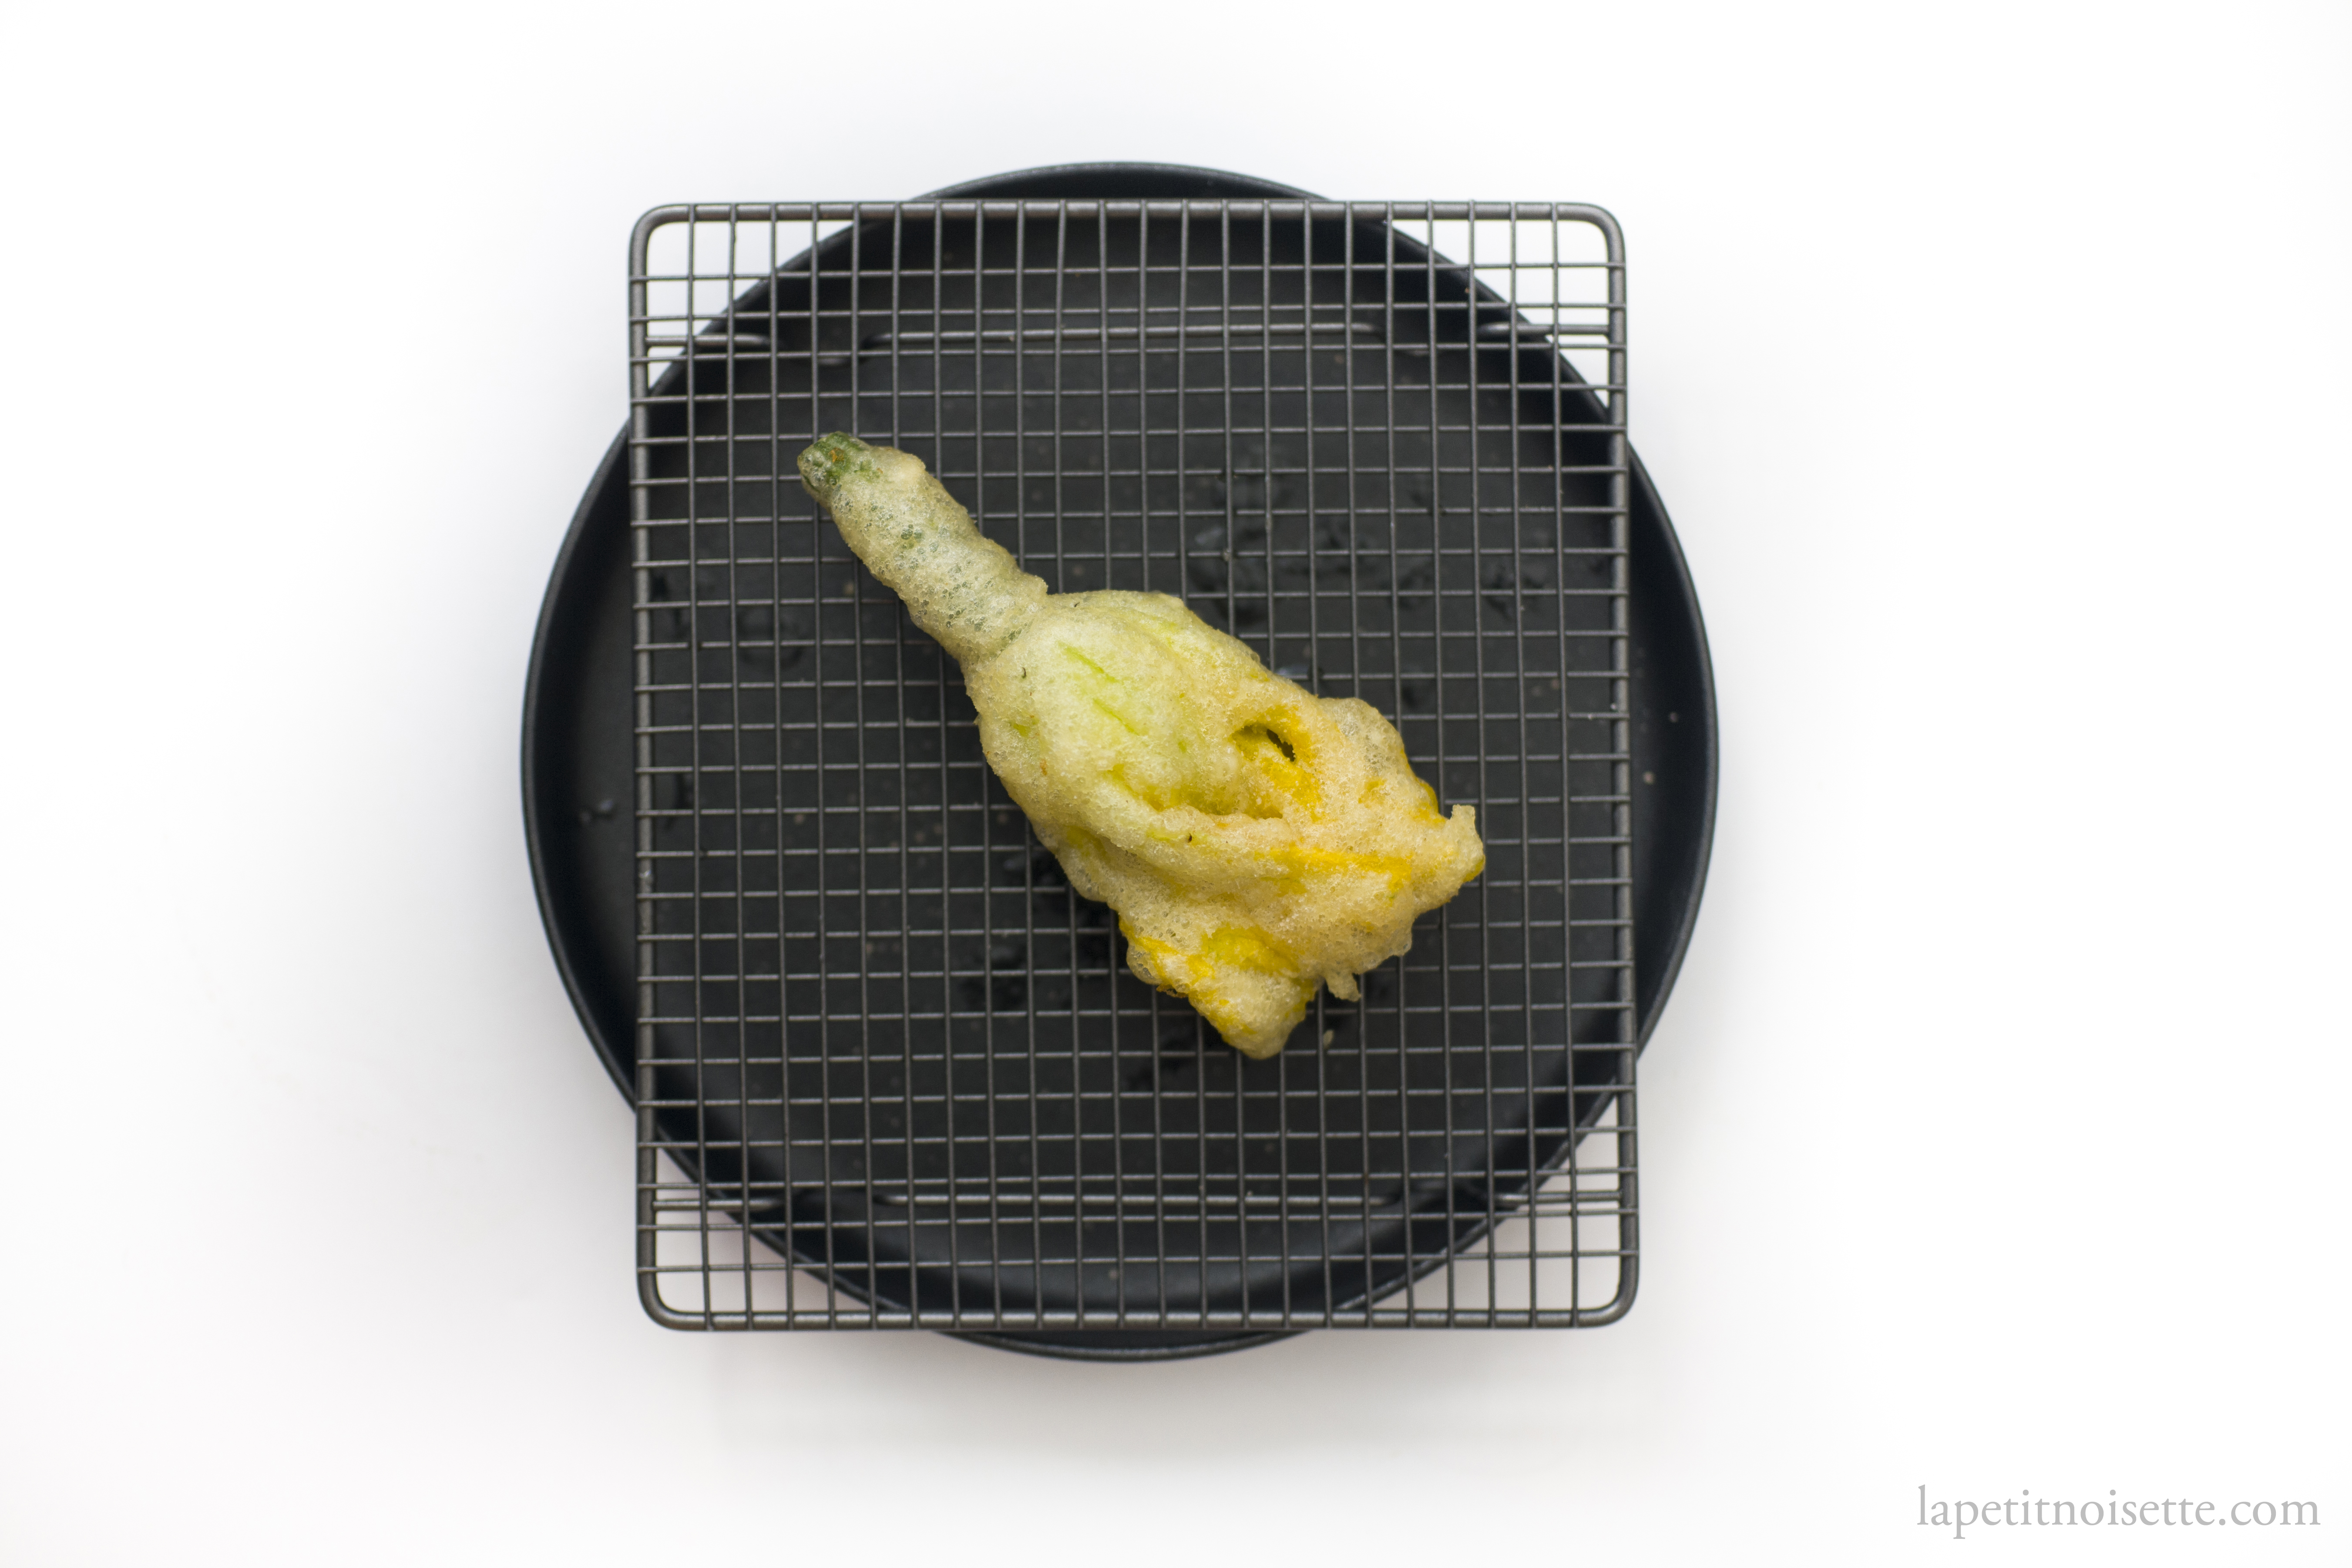
Add some of the dry ice and flour mixture to a sieve and sieve the desired weight of flour into the mixture. The sieve should filter out any dry ice from the flour. Once the flour has been fully added, give the batter a little mix with a spoon and combine before placing the batter bowl over a bowl of ice ready to go. Alternatively, you can weigh out 15g of dry ice to add directly into the batter. You want the batter to be made as close to the time you’ll be using it as possible, so it’s totally fine to let the oil go over the desired temperature, switch off the heat and let it cool back down to the temperature you want whilst you make the batter. At tempura Niitome, the food that is made into tempura is not first dusted with rice flour or cornstarch, but instead goes straight into the batter. I recommend the same for this batter as well.
Tempura Niitome’s key ingredients
Even though we used the Nisshin Super Violet cake flour, which is the gold standard low protein flour amongst tempura chefs, throughout our testing, Shuji Niitome mentioned in an interview that he had moved away from this flour to flour made by a small producer based in Fukuoka named Tanaka Flour Milling (田中製粉). He uses a brand of low protein flour by them named Yameno/Kametokujo (【薄力粉】かめ特上), which you can recognise from the tortoise logo at the front. As for oil, he uses a pot of sesame oil produced by Takemoto Oil & Fat Co under the brand name Maruhon (マルホン胡麻油). For those that are unfamiliar with sesame seed oil used in deep frying, a particular type of oil called Taihaku sesame seed oil is used. Taihaku oil is made from untoasted sesame seeds, and thus has an almost transparent look and neutral flavour. In a large pot of Tahaku oil (太白胡麻油), he adds a small amount of Maruhon’s Taikou oil (太香胡麻油), which is lightly toasted to impart a little of the sesame seed aroma into the tempura. This is very subtle as it’s being diluted in a whole pot of Tahaku oil. He uses a variety of koshihikari rice from Aichi Prefecture called the the scent of Aichi (Aichi no kaori/愛知の香り).
Really applaud your articles on tempura, especially about Niitome where I’ve always wanted to go to and see the difference his steps makes in making tempura.
Thank you!
Just read and it’s excellent. Thanks for your rigour.